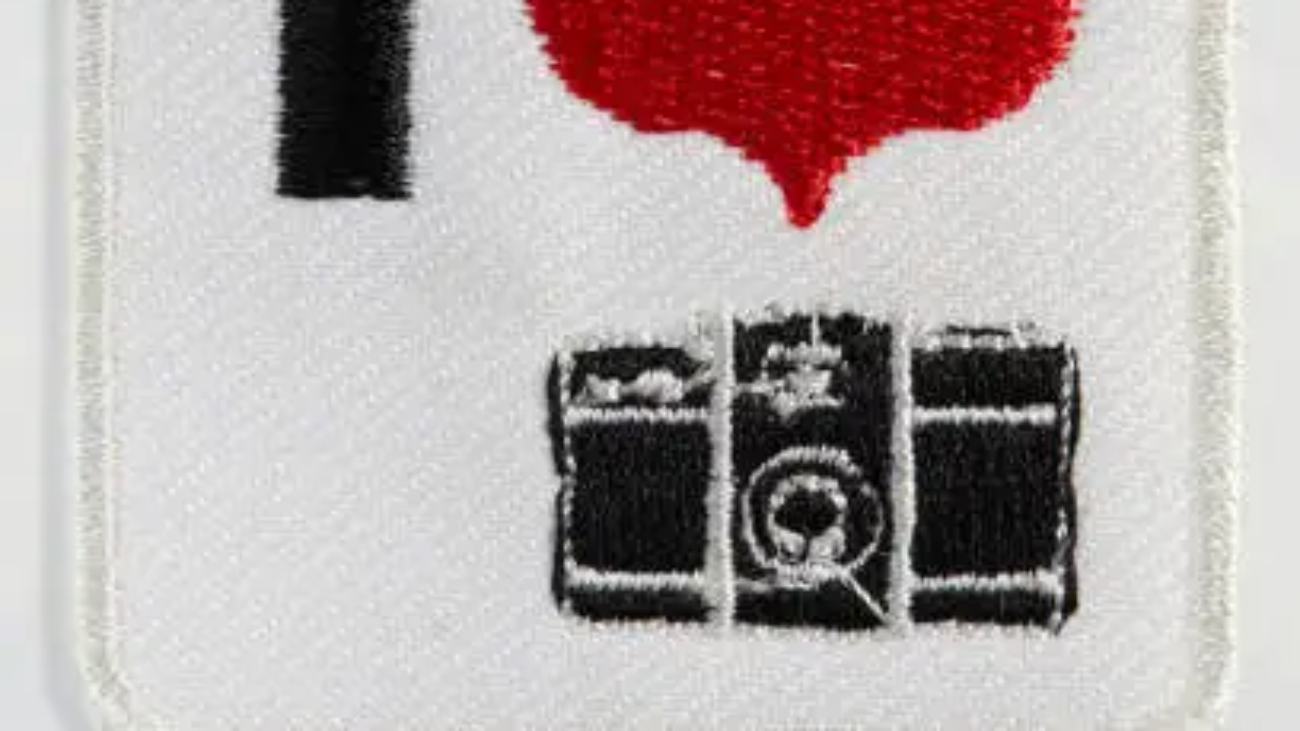
3D Puff Digitizing

3D Puff Digitizing: Why it’s the #1 Trend for Hoodies & Caps 

In the world of custom apparel, 3D puff digitizing is revolutionizing how brands and designers create eye-catching, tactile designs. From streetwear giants to boutique brands, this technique is dominating hoodies, caps, and accessories—and for good reason. At Gem Punch, we’ve mastered the art of 3D puff embroidery digitizing, combining technical precision with creative flair. Here’s why this trend is unstoppable and how it can elevate your designs.
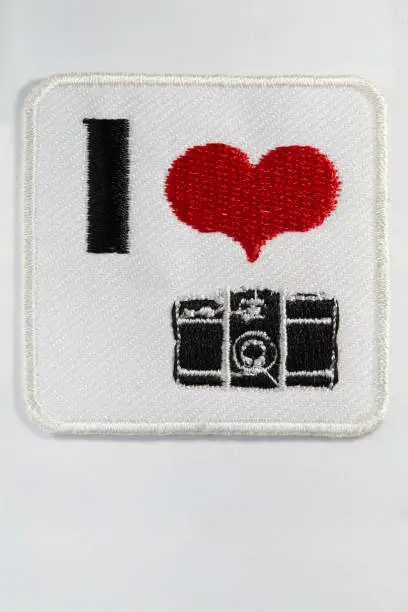
3D Puff Digitizing

What Is 3D Puff Digitizing?

3D puff digitizing is an advanced embroidery technique that uses foam underlayers to create raised, textured designs. Unlike flat embroidery, the foam is stitched over and trimmed, resulting in bold, three-dimensional effects that add depth and luxury to any garment.


How It Works: 

  1. Foam Cutting: A foam layer is shaped to match the design.
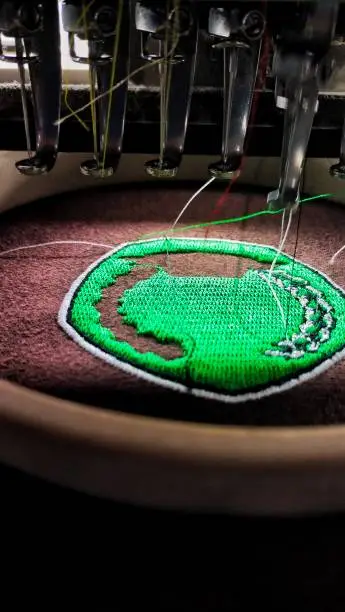
  2. Embroidery Stitching: Machines stitch over the foam, embedding it into the fabric.
  3. Trimming: Excess foam is removed for a crisp, 3D finish.


Why 3D Puff Digitizing Dominates Fashion


  1. Tactile Appeal Drives Engagement

Consumers crave sensory experiences. 3D puff digitizing delivers:

Textured Surfaces: Raised designs invite touch, enhancing brand interaction.

Premium Perception: Mimics high-end appliqué work at a fraction of the cost.


  1. Streetwear & Social Media Demand Boldness

Streetwear: Hoodies with oversized 3D logos or caps with raised mascots dominate Instagram feeds.

Viral Potential: 3D puff catches light and shadows, perfect for TikTok close-ups and unboxing videos.


  1. Unmatched Durability

Longevity: Foam underlay protects stitches from fraying, even after repeated washes.

Versatility: Works on cotton, denim, twill, and performance fabrics.


  1. Customization without Limits

Personalization: Names, logos, and intricate shapes (e.g., 3D stars, animals) pop with dimension.

Brand Differentiation: Stand out in crowded markets with tactile merch.


Top Applications of 3D Puff Digitizing


Garment Trending Design Pro Tip
Hoodies Full-back logos, sleeve accents Pair puff + flat stitches for contrast
Caps Front-panel mascots, side motifs Use 2mm foam for curved surfaces
Beanies Raised snowflakes, holiday themes Opt for smaller designs to avoid bulk
Bags Durable brand logos, geometric patterns Reinforce edges for heavy-use items


Common 3D Puff Digitizing Mistakes (And How to Avoid Them) 

While stunning, 3D puff embroidery requires expertise. Here’s how Gem Punch ensures perfection:


  1. Foam Thickness Errors

Issue: Too thick = cracking; too thin = flattening.

Fix: We use 1.5–3mm foam tailored to fabric and design size.


  1. Poor Stitch Density

Issue: Overcrowded stitches tear foam; sparse stitches loosen over time.

Fix: Our digitizers calibrate stitch density for **optimal hold and flexibility**.


  1. Uneven Trimming

Issue: Ragged edges ruin the 3D effect.

Fix: Laser-guided trimming tools ensure crisp, clean lines.


Why Brands Trust Gem Punch for 3D Puff Digitizing

100+ 5-Star Reviews: Praised for precision and fast turnaround.

Free File Previews: Approve your design before stitching.

Unlimited Revisions: No extra cost until you’re 100% satisfied.
3D Puff Digitizing: Why it’s the #1 Trend for Hoodies & Caps

Key Takeaways 

✅ 2025’s Top Trend: 3D puff digitizing adds luxury and durability to hoodies, caps, and accessories.

✅ Technical Mastery Matters: Foam thickness, stitch density, and trimming precision make or break designs.

✅ Gem Punch Delivers: Fast, flawless digitizing trusted by 1,000+ brands since 2012.


Ready to Dominate 2025 with 3D Puff Designs?

Get a Free Quote from Gem Punch today—and transform your apparel into tactile masterpieces with expert 3D puff digitizing services.


FAQs: 3D Puff Digitizing Explained


  1. How long does 3D puff embroidery last?

With proper care (cold washes, no direct ironing), designs stay vibrant for 5+ years.


  1. Can you convert existing logos to 3D puff?

Yes! Send us your logo, and we’ll optimize it for 3D foam embroidery.


  1. Is 3D puff digitizing more expensive than flat embroidery?

Slightly, due to foam materials and labor—but the ROI in brand visibility is unmatched.


  1. What’s the minimum order for 3D puff patches?

We accept orders as small as 50 pieces, ideal for startups and small businesses.


  1. Do you offer bulk discounts?

Yes! Contact us for custom pricing on 500+ piece orders.
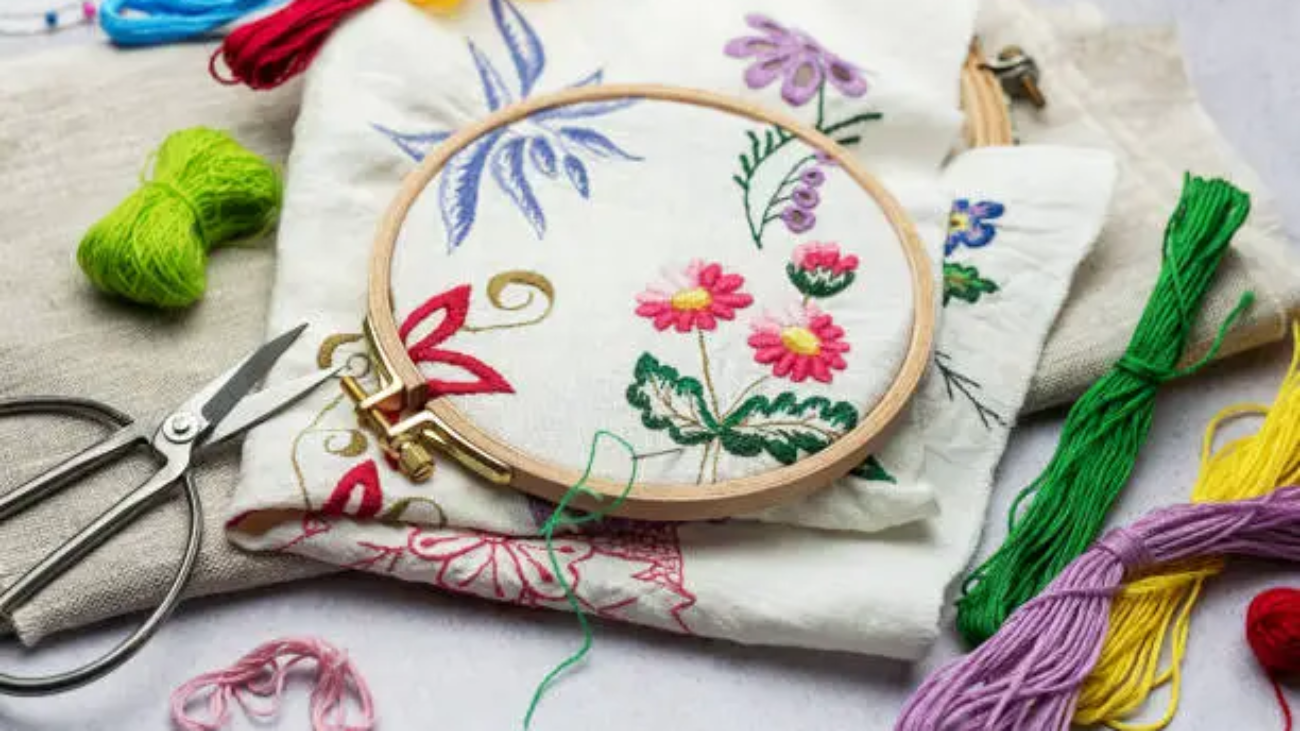
Top 5 Mistakes to Avoid When Digitizing Logos for Embroidery

Top 5 Mistakes to Avoid When Digitizing Logos for Embroidery

Top 5 Mistakes to Avoid When Digitizing Logos for Embroidery; Embroidery digitizing is an art form that bridges creativity and technical precision. A well-digitized logo can elevate a brand’s identity, while a poorly executed file can lead to costly rework, damaged fabrics, and frustrated clients. At Gem Punch, we’ve spent years perfecting the craft of embroidery digitizing, and we’ve seen firsthand how common mistakes can derail even the most beautiful designs.


Whether you’re a business owner ordering custom patches or a designer venturing into embroidery, here are the “top 5 mistakes to avoid” when digitizing logos—and how to fix them like a pro.

Top 5 Mistakes to Avoid When Digitizing Logos for Embroidery

  1. Ignoring Fabric and Garment Type

The Mistake: Using the same digitizing settings for every fabric. A logo stitched on a thick denim jacket won’t translate well to a delicate polo shirt if the stitch density or underlay isn’t adjusted.

Why It Matters: Different materials behave differently under thread tension. For example:

Stiff fabrics: (like canvas or leather) require tighter stitches to prevent gaps.

Stretchy fabrics: (like jersey or performance wear) need looser stitches to avoid puckering.

The Fix: 

Always ask about the ‘garment type’ before digitizing.

Adjust stitch density: Use ‘lower density’ for lightweight fabrics and ‘higher density’ for heavy-duty materials.

Incorporate ‘stabilizers’ in your design plan for stretchy fabrics.


  1. Overcomplicating Small Details

The Mistake: Trying to replicate every tiny detail of a complex logo, such as ultra-thin lines or intricate gradients.

Why It Matters: Embroidery has physical limitations. Tiny text or overly detailed elements can:

Clump together, creating a messy, unreadable design.

Cause thread breaks or needle damage.

The Fix: 

Simplify the design: Remove elements smaller than ‘3mm’ (e.g., hairline strokes, micro-text).

Use ‘block letters’ instead of serif fonts for text under 10mm.

For gradients, opt for ‘color blocking’ or halftone effects instead of stitch shading.


  1. Skipping the Underlay Stitches

The Mistake: Jumping straight into the top stitching without a proper underlay.

Why It Matters: Underlay stitches act as the ‘foundation’ of your embroidery. They:

Stabilize the fabric.

Prevent distortion during stitching.

Improve the longevity of the design.

The Fix: 

Always use underlay stitches, especially for designs on stretchy or textured fabrics.

Choose the ‘right underlay type’: 

‘Tatami’ for large fill areas.

‘Zigzag’ for outlines and text.

‘Edge Run’ to secure fabric edges.


  1. Neglecting Pull Compensation

The Mistake: Forgetting to account for thread pull, which causes shapes like circles to appear oval or letters to look distorted.

Why It Matters: Embroidery thread naturally “pulls” the fabric as stitches are layered, leading to misalignment.

The Fix: 

Enable ‘pull compensation’ in your digitizing software.

Manually adjust shapes:

Stretch circular designs horizontally by ‘10-15%’.

Widen vertical elements slightly to counteract thread tension.

Test the design on a ‘similar fabric scrap’ before finalizing.

Mistakes to Avoid When Digitizing Logos for Embroidery

  1. Using the Wrong Stitch Types

The Mistake: Applying a single stitch type (e.g., satin stitches) to every part of the design.

Why It Matters: Different stitch types serve different purposes:

Satin Stitches: Ideal for borders and text (creates a smooth, glossy finish).

Fill Stitches: Best for large, solid areas (prevents thread buildup).

Running Stitches: Perfect for fine details and outlines.

The Fix: 

Break the design into sections and assign stitch types strategically.

Example: Use ‘fill stitches’ for the background of a logo and ‘satin stitches’ for the text.


Bonus Tip: Always Test Before Production! 

Even seasoned digitizers test their files. Run a sample on the ‘exact fabric’ your client will use. Look for:

Thread tension issues.

Misaligned elements.

Color bleed (especially on dark fabrics).


Why Partner with Gem Punch?

At Gem Punch, we’ve mastered the science of embroidery digitizing to deliver flawless results every time. Our team:

  1. Analyzes your logo’s ‘complexity, colors, and intended use’.
  2. Optimizes stitch types, density, and underlay for your ‘specific fabric’.
  3. Provides a ‘free file preview’ to ensure perfection before stitching.


Ready to Transform Your Logo into Embroidery Art? 

Avoid these mistakes and trust the experts at Gem Punch to handle your digitizing needs. Get a Free Quote today—or explore our Embroidery Digitizing Services to learn how we turn complex designs into stitch-perfect reality.


Frequently Asked Questions


  1. How long does logo digitizing take?

At Gem Punch, most standard designs are digitized within 24–48 hours, depending on complexity. Intricate designs (e.g., photorealistic patches or multi-layered 3D puff) may take slightly longer.

  1. What factors affect the cost of digitizing?

Pricing depends on:

Design complexity (e.g., number of colors, stitch types, and details).

Garment type (e.g., digitizing for towels requires specialized stitch settings).

Size (larger designs often require more stitches).

We offer transparent pricing and free quotes—no hidden fees.


  1. Can you fix a poorly digitized file from another vendor?

Absolutely! We regularly troubleshoot files with issues like puckering, thread breaks, or misalignment. Send us your file, and we’ll diagnose the problem (e.g., incorrect pull compensation or missing underlay) and re-digitize it for flawless stitching.


  1. What file formats do you need to digitize my logo?

We accept vector files (AI, EPS, PDF) for the best results. If you only have a raster image (JPG, PNG), we can convert it—but note that low-resolution images may require manual adjustments.


  1. Do you offer revisions if the design doesn’t stitch well?

Yes! We provide unlimited free revisions until you’re 100% satisfied. After testing the design, if you notice issues like gaps or misalignment, we’ll tweak the file at no extra cost. Your perfect stitch is our priority.

Budget-Friendly Embroidery Digitizing Services

Top Tips for Choosing the Best Budget-Friendly Embroidery Digitizing Services

Embroidery digitizing can transform any logo or piece of artwork into a stitch file that an embroidery machine can use. Whether you’re a business looking to brand apparel or a hobbyist wanting to create unique projects, finding budget-friendly embroidery digitizing services is crucial. Here, we provide essential tips to help you select an affordable yet quality service.

Budget-Friendly Embroidery Digitizing Services

Understand Embroidery Digitizing

Before diving into the selection process, it’s important to understand what embroidery digitizing involves. This process converts graphic images into a format that an embroidery machine can read, ensuring that your designs are stitched exactly as envisioned.

Tip 1: Compare Pricing Structures

Different digitizing services have varying pricing models. Some charge by stitch count, while others charge a flat rate based on the complexity of the design.

Analyze the Cost vs. Quality Balance

While low prices are tempting, they can sometimes lead to compromised quality. Review portfolios and read customer testimonials to ensure that a low-cost option still meets your quality expectations.

Tip 2: Check the Technology and Software Used

The quality of digitizing software and technology a service provider uses can significantly impact the quality of the final stitch-out.

Importance of Advanced Digitizing Software

Opt for services that use industry-leading software like Wilcom or Pulse. These tools often provide superior results and greater detail in the embroidery.

Tip 3: Assess Turnaround Times

When you’re on a tight schedule, turnaround time becomes a critical factor in your choice of an embroidery digitizing service.

Finding the Right Balance between Speed and Quality

Evaluate if the service can offer quick delivery without sacrificing the quality of the digitized design.

Understand Embroidery Digitizing

Tip 4: Look for Good Communication and Customer Support

Effective communication is vital, especially when specific details or colors are crucial in your embroidery designs.

The Role of Customer Support in Embroidery Services

A company that provides excellent customer service and is responsive to your needs will likely deliver a better experience and a product that meets your expectations.

Tip 5: Review Portfolio and Testimonials

A reliable way to gauge the effectiveness of a digitizing service is to look at their previous work and client feedback.

The Significance of a Strong Portfolio

Request access to a portfolio of their work and read through client testimonials to understand their satisfaction levels and the quality of work delivered.

Frequently Asked Questions

  1. How much does embroidery digitizing cost?

Costs can vary widely based on the complexity of the design and the pricing model of the service. Typically, prices range from $10 to $100 per design.

  1. Can I get a discount for bulk orders?

Many Embroidery Digitizing Services offer discounts for bulk orders, which can be a cost-effective option for businesses needing multiple designs.

  1. What file formats should I expect from an embroidery digitizing service?

Common file formats include DST, PES, and EXP, among others. Ensure the service can provide the specific format compatible with your embroidery machine.

  1. How do I choose the right resolution for my embroidery design?

The resolution depends on the complexity of the design and the fabric you plan to embroider on. Consult with your service provider to determine the appropriate resolution.

  1. What is the typical turnaround time for receiving a digitized design?

Turnaround times can range from 24 hours to several days, depending on the service provider and the complexity of your design.

By following these tips and understanding what to look for in an embroidery digitizing service, you can ensure that you choose a quality provider that meets your budgetary needs.

Power of Embroidery Digitizing

Unlock the Silent Power of Embroidery Digitizing

Imagine your brand’s logo—crisp, vibrant, and flawlessly embroidered onto every piece of merchandise. This isn’t just about aesthetics; it’s about the power of embroidery digitizing. According to a Statista survey, 89% of consumers emphasize the importance of consistent branding to earn their trust. Yet, many businesses underestimate how crucial digitizing is in maintaining this consistency. At GemPunch, we’ve transformed the visual identities of over 1,200 brands through precision embroidery. Let’s delve into how embroidery digitizing can become your brand’s secret weapon.

Power of Embroidery Digitizing

What Is Embroidery Digitizing? Understanding the Craft

From Pixels to Perfect Stitches

Embroidery digitizing is the process of converting digital artwork, like logos, into formats that embroidery machines can execute. Using specialized software, digitizers meticulously map out:

  • Stitch Types: Including satin, fill, and running stitches.
  • Density: Adjusting stitches per inch to ensure compatibility with various fabrics.
  • Underlay: Laying the foundation stitches that add stability to the finished design.

Why It’s More Than Just “Digital Embroidery”:

Unlike straightforward embroidery, digitizing requires a keen consideration of fabric type, thread tension, and design intricacies. A poorly digitized logo can lead to material puckering or fraying, ultimately harming your brand’s reputation.

Why Embroidery Digitizing Is Essential for Brand Identity

Beyond Aesthetics—Building Trust and Recognition

  1. Uniformity across All Platforms: Ensuring your logo appears identical on all merchandise, from polos to tote bags—no pixelation or color mismatches.
  2. Durability Equals Long-Term Exposure: Embroidered logos are proven to outlast printed ones by threefold, making them ideal for both work wear and promotional items.
  3. Conveys a Premium Image: According to Forbes, 68% of consumers perceive embroidered branding as a marker of luxury, enhancing your brand’s value.
  4. Versatility for Various Materials: Tailoring designs to unique materials like leather, stretch fabrics, or towels, ensuring premium results.

What Is Embroidery Digitizing

Mastering Embroidery Digitizing: 5 Pro Tips for Flawless Execution

Expert Guide to Stitch Mapping

  1. Simplify Your Design: Focus on bold shapes and high-contrast colors, avoiding tiny text and complex gradients.
    • Pro Tip: Utilize GemPunch’s Free Artwork Audit to refine your logo.
  2. Select the Right Thread: Color-match with Pantone standards and consider using metallic threads for a touch of luxury.
  3. Fabric-Specific Testing: Adapt stitch angles for different materials, such as curved surfaces on hats versus flat jackets.
  4. Incorporate 3D Puff for Depth: Enhance logos on caps or bags for a striking, tactile effect.
  5. Collaborate with Professionals: Avoid common pitfalls of DIY software by partnering with GemPunch’s Certified Digitizers.


Trends in Embroidery Digitizing: Innovate to Stand Out

  1. Hybrid Techniques: Merge embroidery with screen printing for dynamic, textured designs.
  2. Eco-Conscious Materials: Attract environmentally aware consumers with threads made from recycled polyester.
  3. Smart Textiles Integration: Embed NFC technology in logos for interactive experiences, like scanning a jacket to access your website.
  4. Minimalist Micro-Logos: Trend towards small, detailed logos suited for modern athleisure or tech apparel.


Conclusion: Weave Your Brand into Public Memory                 


Power of embroidery digitizing isn’t just a cost—it’s a strategic investment in your brand’s identity. From ensuring flawless consistency to embracing cutting-edge trends, every stitch we craft tells a part of your story. Ready to make your brand unforgettable? Begin your digitizing project with GemPunch today.


Frequently Asked Questions: Expert Answers to Common Queries

  1. What is the difference between embroidery and embroidery digitizing?

Embroidery involves decorating fabric with a needle and thread, while embroidery digitizing is the process of converting artwork into a digital file that an embroidery machine can interpret. Digitizing is a crucial step to ensure the embroidery is precise, consistent, and aligned with the original design.

  1. Can GemPunch digitize designs for any type of fabric?

Yes, GemPunch can digitize designs for a wide range of fabrics, from sturdy denim to delicate silk. We adjust stitching techniques and thread types to accommodate the specific properties of each fabric, ensuring optimal results and longevity of the embroidered design.

  1. How do I choose the right thread colors for my design?

Choosing the right thread colors is essential for maintaining the integrity of your brand’s colors. At GemPunch, we offer a Pantone matching system to ensure that the colors used in your embroidery match your brand’s specific shades. We also provide samples for approval before finalizing the project to ensure satisfaction with the thread colors chosen.

  1. What should I do if I need a rush order for embroidery digitizing?

If you need a rush order, GemPunch offers expedited services to meet tight deadlines. Contact our customer service team with the details of your project, and we will prioritize your order to ensure timely delivery without compromising on quality.

  1. How can I ensure that my embroidered logo will look good on small items like hats or sleeves?

For smaller items, it’s important to simplify the design to avoid details that might not translate well to a reduced scale. GemPunch’s expert digitizers will help optimize your logo by focusing on bold shapes and eliminating fine details that are difficult to embroider on small surfaces. We also recommend a pre-production sample to visually approve how the design translates to smaller items.

Top 10 Tips for Creating High-Quality Embroidery Designs

Top 10 Tips for Creating High-Quality Embroidery Designs

Master the art of embroidery with these essential techniques and best practices

Embroidery is a creative craft that blends patience, precision, and artistry. Whether you’re an experienced professional or a beginner, improving the quality of your embroidery designs can elevate your work. In this guide, we’ll explore 10 proven tips for crafting stunning, professional-grade High-Quality Embroidery Designs.

Top 10 Tips for Creating High-Quality Embroidery Designs

Introduction

Embroidery is a timeless craft that has decorated textiles, clothing, and home furnishings for centuries. With modern technology like digital embroidery machines, creating intricate designs has never been more accessible. However, achieving high-quality embroidery goes beyond owning a machine—it involves understanding the right techniques, selecting appropriate materials, and applying best practices.

In this article, we’ll share 10 invaluable tips that will help you create embroidery designs that stand out. From machine mastery to color selection, these practical strategies are designed to enhance your embroidery skills and produce polished results.


Master Your Machine: Optimize Your Embroidery Speed

Achieving high-quality embroidery starts with understanding your embroidery machine. Optimal speed plays a crucial role in design precision. As recommended by industry experts, an ideal speed for most embroidery projects is around 750 stitches per minute (SPM). For smaller items like caps, reducing the speed to 600–650 SPM ensures better accuracy.

Refer to your machine’s user manual to adjust the speed settings effectively. Experiment with different speeds to determine the best match for your projects and machine capabilities.


Hoop It Up: The Importance of Proper Hooping and Stabilization

Proper hooping is a fundamental step in achieving flawless embroidery. A well-hooped fabric should produce a taut drum-like sound when tapped. Select a hoop size that fits your design without excess room to ensure stability.

Use stabilizers like tear-away, cut-away, or water-soluble options based on the fabric type and design complexity. Stabilization prevents puckering, distortion, and movement during stitching.


Choose the Right Hoop Size for the Job

Using the correct hoop size is critical to maintaining design integrity. A hoop that is too small risks puckering, while an oversized hoop can lead to compromised stitching. Measure your fabric and design dimensions carefully and opt for a hoop that accommodates your project without unnecessary slack.


Select a Design that Complements the Fabric

Matching your design to the fabric is essential for professional-quality embroidery. Oversized designs can overwhelm delicate fabrics, while tiny patterns may get lost. Consider the design’s placement on the fabric to prevent distortion or misalignment.

For a balanced outcome, focus on creating harmonious proportions and spacing between the design elements and fabric edges.

Select a Design that Complements the Fabric

Thread and Fabric: The Perfect Pair

Quality materials are the backbone of excellent embroidery. Opt for natural fabrics like cotton or linen for durability and appearance. High-quality embroidery threads, such as polyester or rayon, ensure vibrant and lasting results.

Select threads compatible with your chosen fabric and technique, ensuring smooth stitching and minimal thread breakage.

Master the Art of Stitching Techniques

Proficient stitching techniques are vital for creating intricate designs. Key stitches like satin, fill, and backstitch form the foundation of most embroidery patterns. Practice these techniques on scrap fabric before working on your final design to achieve consistent tension and spacing.


Color Theory 101: Create Harmony with Color Combinations

Color selection significantly impacts the appeal of your embroidery design. Familiarize yourself with complementary and analogous color schemes to create visually harmonious patterns. Use a color wheel to experiment and finalize color combinations that elevate your design.


Plan and Sketch Your Design

A well-planned design often translates to a polished result. Begin by sketching your ideas on paper and refining them with embroidery software. Keep designs simple and bold, avoiding overly intricate details that may not translate well to stitching.

Plan and Sketch Your Design

Pay Attention to Details: Thread Color Consistency and More

Consistency in thread color and stitch quality is key to producing professional results. Stick to a cohesive color palette that enhances your design while ensuring neat and evenly spaced stitches throughout.

Invest Time and Effort into Precision and Quality

Precision and patience are the hallmarks of great embroidery. Dedicate time to perfecting every stitch, maintaining consistent tension and alignment. Practice regularly to hone your skills and achieve better results with each project.


Conclusion

Creating high-quality embroidery designs is a rewarding process that requires skill, attention to detail, and practice. By following these 10 tips, you’ll be able to create beautiful, durable designs that stand out. From mastering your machine to understanding color theory, each step is a building block toward becoming a skilled embroiderer. Take your time, invest in quality materials, and let your creativity shine!


Frequently Asked Questions

What is the best stabilizer for beginners?

For beginners, tear-away stabilizers are a great choice as they are easy to use and suitable for a variety of fabrics and designs.

Can I use regular thread for embroidery?

While regular thread can work in some cases, embroidery threads are specifically designed for durability, sheen, and better performance on embroidery machines.

How do I prevent puckering in my embroidery designs?

Proper hooping, using the right stabilizer, and maintaining even tension during stitching are key to avoiding puckering.

What fabrics are easiest to embroider?

Cotton and linen are beginner-friendly fabrics due to their stable weave, while stretchy fabrics may require more expertise and stabilization.

How often should I clean my embroidery machine?

Regular maintenance, including cleaning and oiling, should be done after every project or as recommended in your machine’s user manual.

The Evolution of Embroidery Digitizing: From Hand Stitching to High-Tech

The Evolution of Embroidery Digitizing: From Hand Stitching to High-Tech

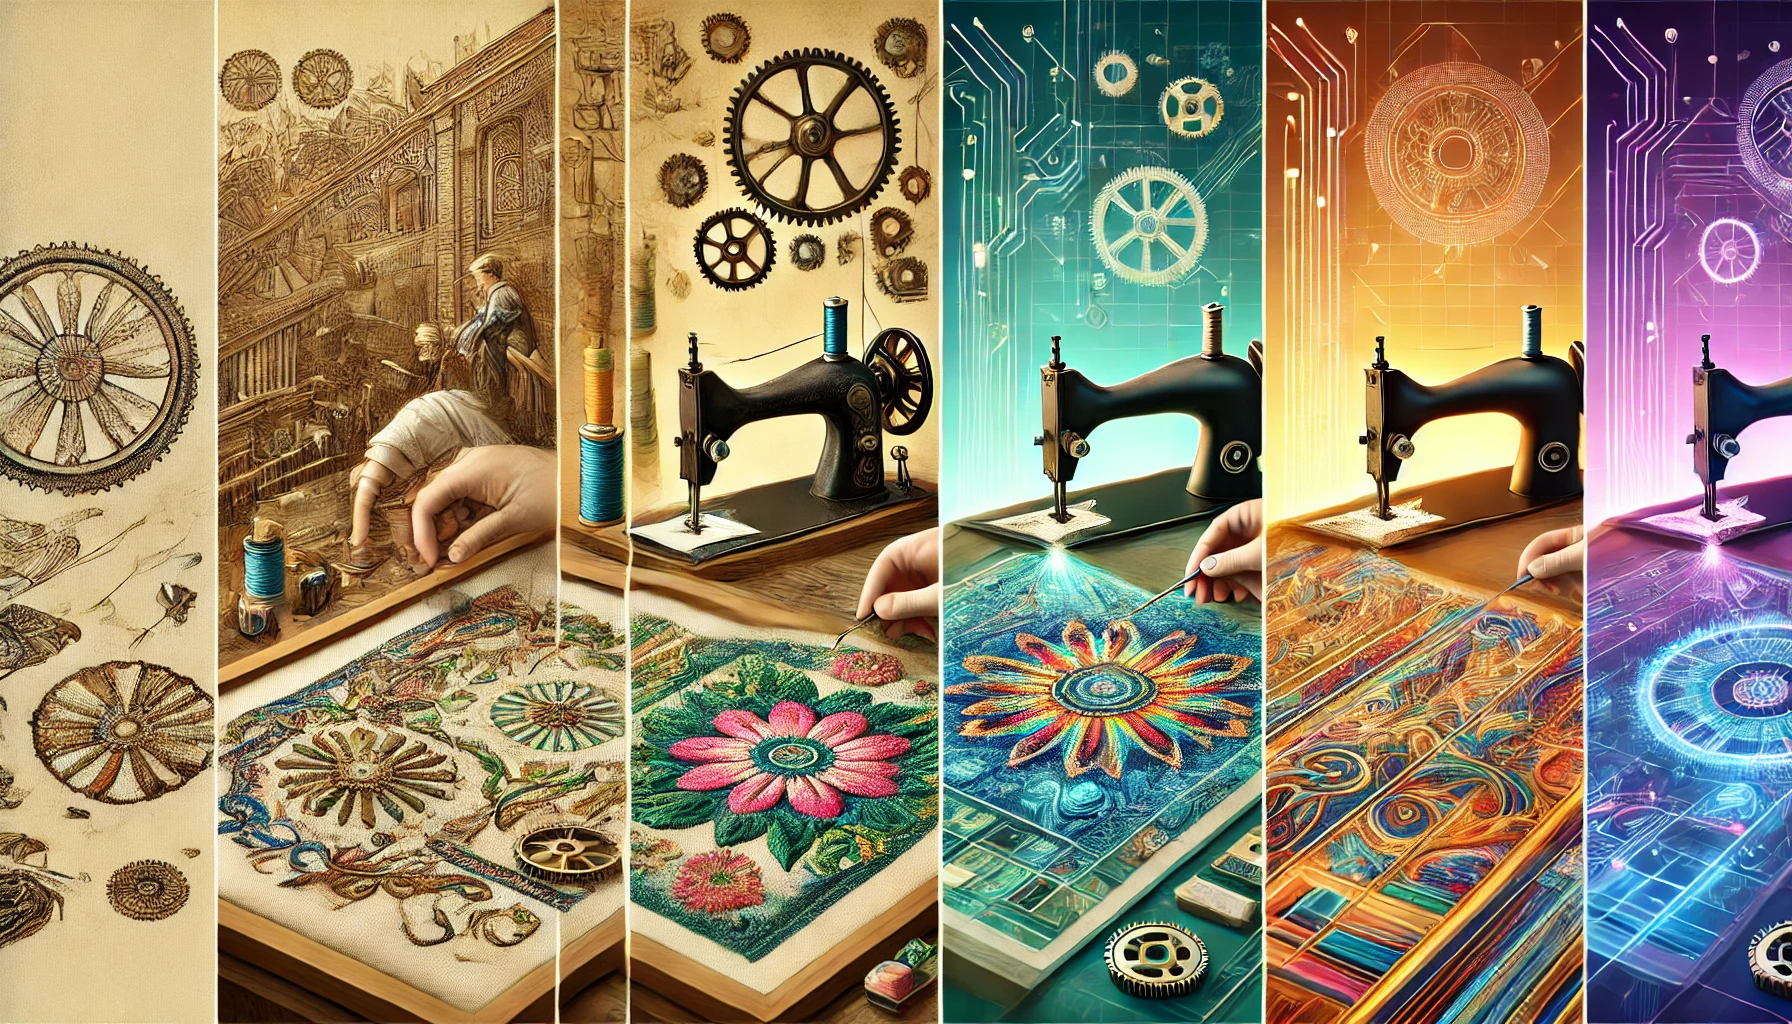
Embroidery has been a form of artistic expression for centuries, evolving significantly from the painstaking hand stitching of the past to today’s advanced digitizing techniques. This journey from needle and thread to digital files and automated machines shows the transformative power of technology in enhancing a traditional craft.

The Evolution of Embroidery Digitizing: From Hand Stitching to High-Tech

From Concept to Stitch: The Artistic Journey


The Historical Tapestry of Embroidery

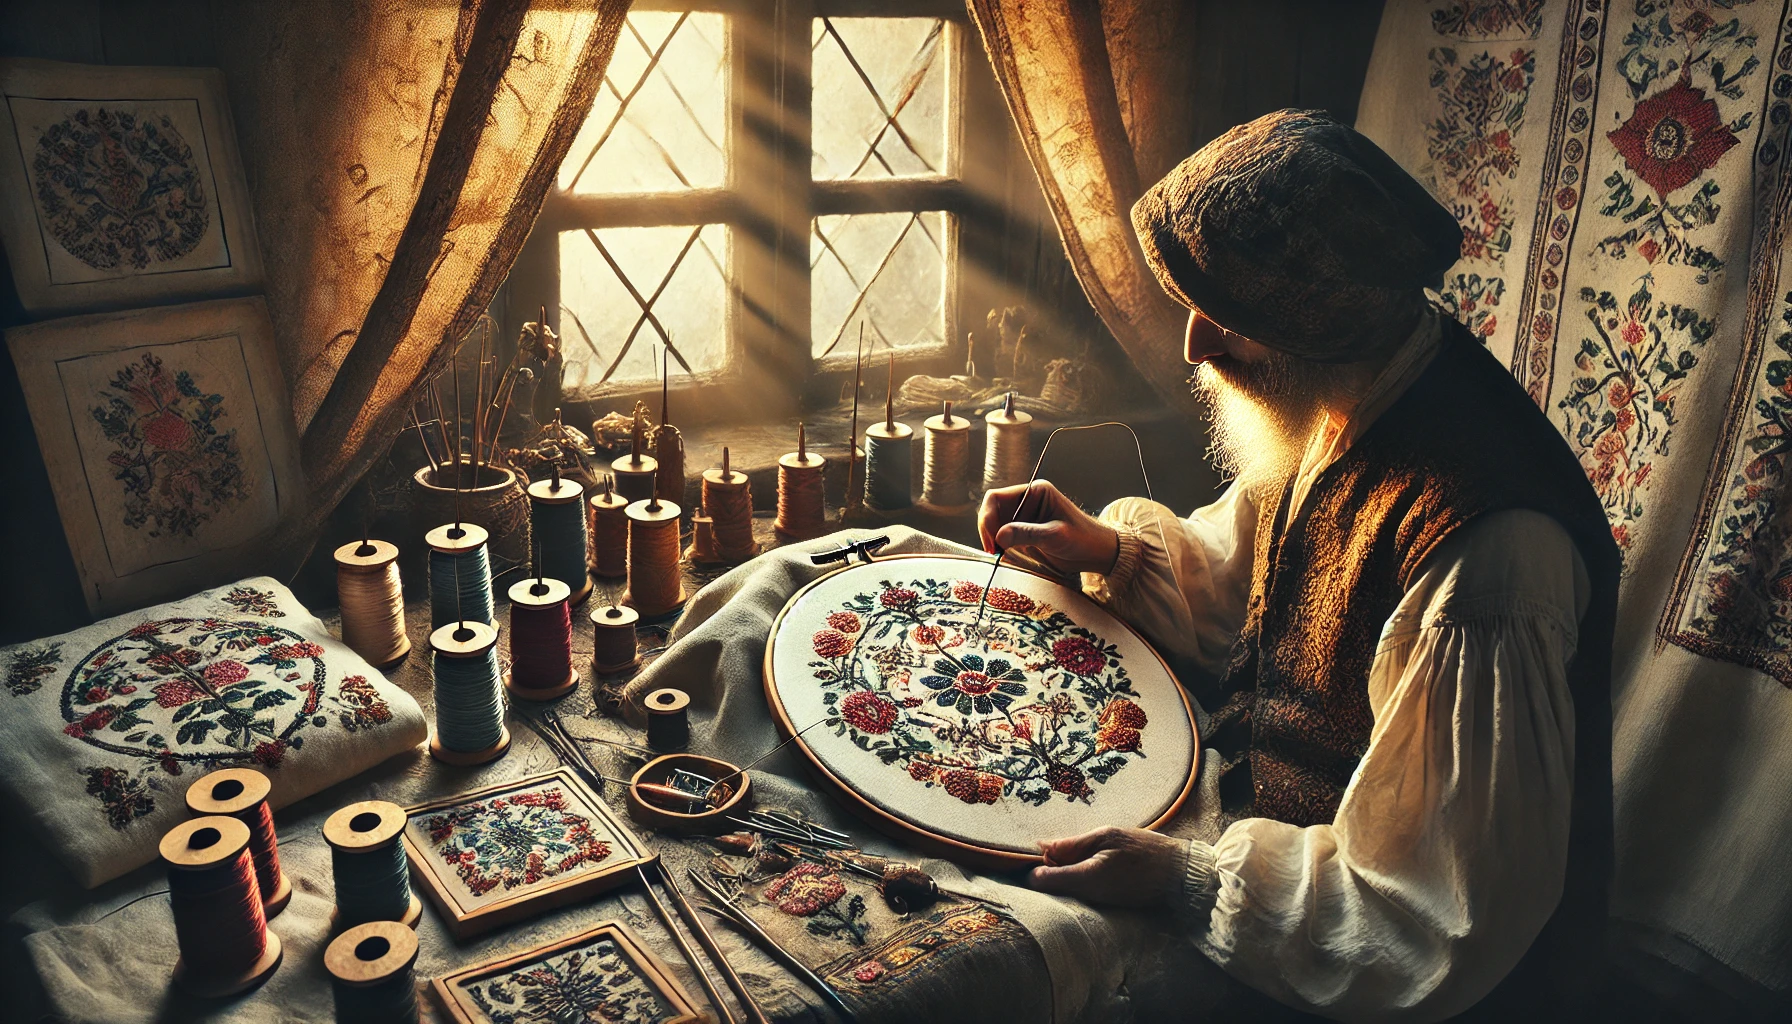
Embroidery’s rich history dates back thousands of years, with every culture bringing unique styles and techniques to this intricate craft. Initially, it was a labor-intensive process reserved for the wealthy and powerful, used to signify status and convey messages through elaborate designs. The meticulous nature of hand embroidery meant that every piece was unique, imbued with the personal touch of its creator.


Revolutionizing Tradition: The Introduction of Machines

The Industrial Revolution marked a turning point for embroidery. The invention of embroidery machines in the 19th century democratized the art, making it more accessible. These machines could mimic hand-stitched effects more efficiently, though the transition from hand to machine was gradual and not without resistance from traditionalists.


Modern Embroidery: Digitization and Automation

From Concept to Stitch: The Artistic Journey

The Rise of Embroidery Digitizing

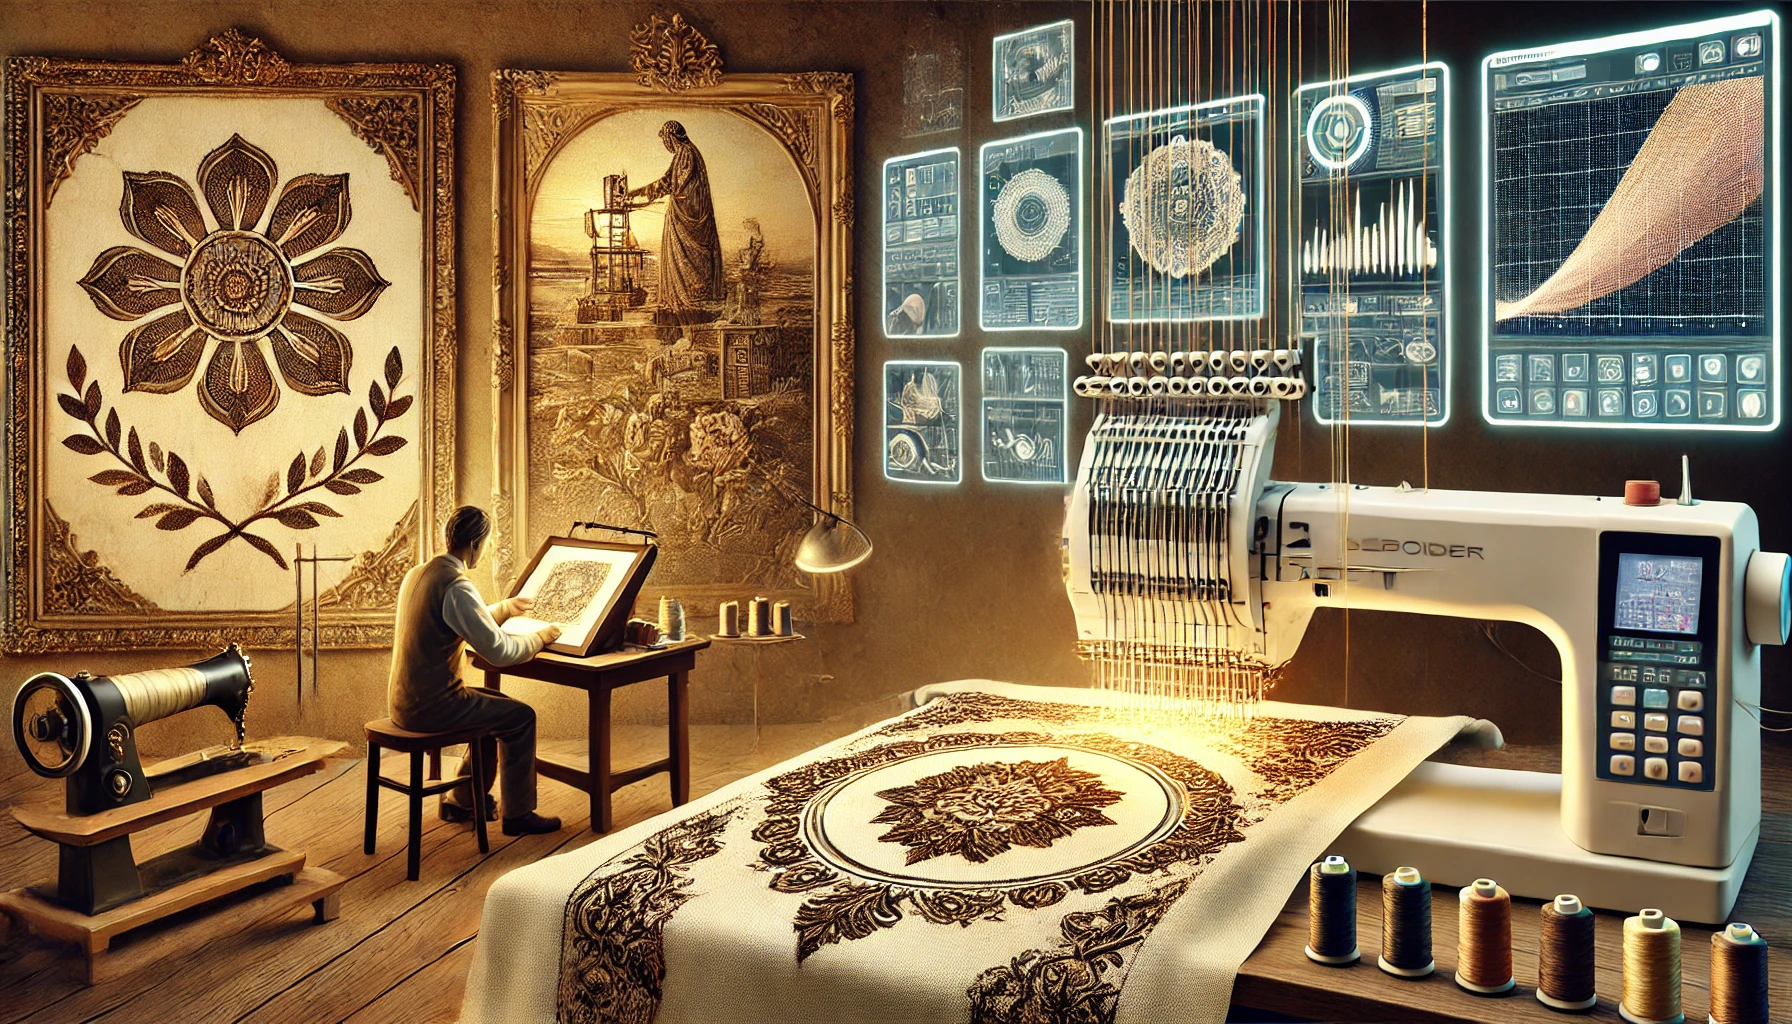
Embroidery digitizing revolutionized the industry by allowing designers to convert any artwork into a digital format that machines could understand and execute. This process involves sophisticated software that plots out stitches, color sequences, and directions, ensuring that the digital embroidery resembles the finesse and detail of handcrafted work.


Technological Enhancements in Embroidery

Today’s embroidery machines are equipped with cutting-edge technology capable of producing complex designs with precision and speed. These machines can handle multiple color threads, adjust to fabric types, and perform detailed stitching without direct human intervention, showcasing the seamless integration of technology in traditional crafts.


The Craftsmanship of Modern Embroidery


Maintaining Artistic Integrity

Despite the influx of technology, the essence of embroidery as a form of personal expression remains intact. Modern digitizers and embroiderers must have a deep understanding of traditional techniques to ensure that the digital enhancements enhance rather than overshadow the craft’s artistic quality.


Innovations and Materials

As embroidery has evolved, so have the materials and techniques used. Today’s threads are engineered for durability and vibrant color, suitable for a wide range of applications, from fashion to industrial use. Innovations like water-soluble stabilizers and specialized software continue to push the boundaries of what can be achieved with embroidered designs.

Modern Embroidery: Digitization and Automation

Challenges and Opportunities in Digital Embroidery


Preserving the Legacy

One of the greatest challenges facing the embroidery industry is preserving the rich heritage of traditional techniques amid rapid technological advancements. It’s crucial to strike a balance between leveraging new technologies and maintaining the craftsmanship and storytelling that define hand embroidery.


Looking to the Future

The future of embroidery includes the potential integration of AI and machine learning, which could further refine the design and production processes. These technologies could automate complex design decisions, allowing for customization and variability that were impossible with traditional methods.

Challenges and Opportunities in Digital Embroidery

Conclusion


The evolution of embroidery from hand stitching to digitizing is a testament to the craft’s adaptability and enduring appeal. As we continue to innovate, the field of embroidery stands on the brink of a new era where technology and tradition coalesce to create even more stunning and intricate artworks. This fusion ensures that the ancient art of embroidery will continue to inspire and evolve, bridging the past with the future in every stitch.

Understanding the Environmental Impact of Custom Embroidery

Understanding the Environmental Impact of Custom Embroidery

Stitching with Care: Exploring the Environmental Impact of Custom Embroidery

1 Introduction to Custom Embroidery & Popularity

1.1 What is Custom Embroidery?

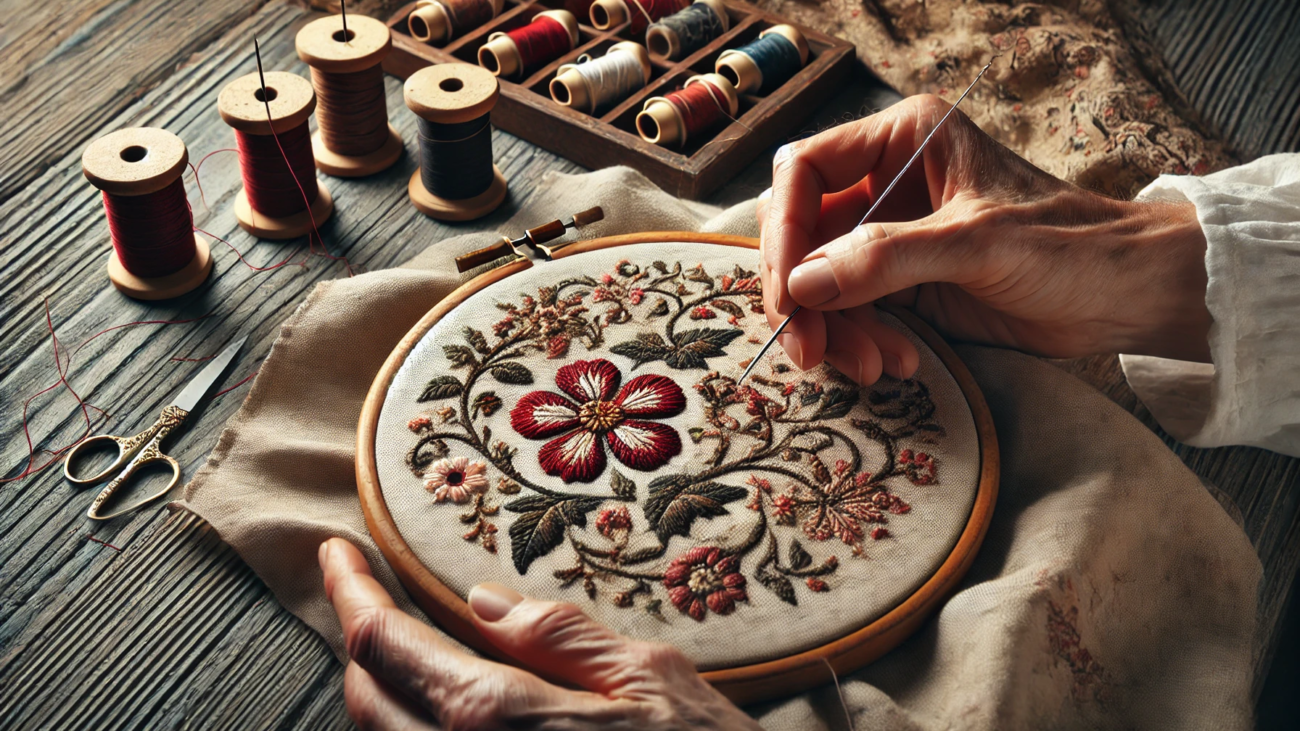
Custom embroidery is all about adding special stitching to different fabrics, creating designs, logos, or other fun motifs. It can be a team logo on a jersey or personal names on clothes. This type of embroidery helps show off a person’s personality and style. It mixes skill with creativity, turning ordinary items into memorable treasures.

Environmental Impact of Custom Embroidery

1.2 The Rise of Custom Embroidery in Fashion & Business

In recent times, more people are loving custom embroidery. This trend spans different fields—from fashion brands wanting special pieces to businesses needing branded items. With so many mass-produced products around us, custom embroidery stands out as a fantastic option for both personal and professional touches.

1.3 Public Perception & Demand for Personalized Products

Today’s consumers really like personal experiences & products. You can see this in how much people want custom embroidery! They search for items that represent their interests, affiliations, or their own unique characters. Owning something one-of-a-kind creates a meaningful connection for many folks.

  • The Materials Used in Custom Embroidery

2.1 Types of Fabrics Commonly Used

Various fabrics work great for custom embroidery—there’s cotton, polyester, denim, and blends too! Each fabric gives different feels & looks which opens so many creative doors. For example, cotton is comfortable and popular while polyester is chosen more for its toughness.

2.2 The Role of Threads & Embellishments

What about the threads used? Well, they greatly impact the final look! Threads come in materials like cotton or polyester; each has its own shine & strength attributes. Plus, adding decorations like beads or sequins can make a design pop but remember—they might affect the environment depending on where they come from.

2.3 Environmental Impacts of Material Sourcing

Sourcing materials for custom embroidery can have varying effects on the environment. For example, traditional cotton farming uses a lot of water and relies heavily on pesticides, which can harm ecosystems. On the flip side, choosing organic cotton or recycled polyester can be a smarter, more eco-friendly option, and helping to reduce environmental impact

Energy Consumption in the Embroidery Process

3.1 Overview of the Embroidery Production Process

The process of making embroidered items has several steps—starting from design creation to stitching on fabric! Each step needs energy—either from manual work or machines that use electricity—so we need to look at how this affects our planet.

3.2 Energy Usage: Manual vs. Machine Embroidery

Manual embroidery saves energy since it doesn’t need electricity, but it takes longer and isn’t always practical for larger orders. Machine embroidery is quick and works well for bulk items but uses a lot more energy than manual methods do!

3.3 Practical Ways to Reduce Energy Consumption

 To cut down on energy use, embroidery companies can use energy-efficient machines, tweak production schedules and train workers in smarter techniques too! Also, using solar panels or other renewable resources can really help reduce overall energy needs.

  • Waste & Byproducts Generated from Custom Embroidery

4.1 Fabric & Thread Waste: Statistics & Concerns

During the custom embroidery process, quite a bit of waste happens—especially leftover fabric scraps & thread! It’s estimated that textile waste adds up to around 92 million tons each year! Tackling this problem is super important if we want to lessen our environmental impact.

4.2 Chemical Byproducts from Dyeing & Treatment Processes

Dyeing and finishing fabric often involves strong chemicals that can pollute if not handled properly. This pollution doesn’t just hurt nature—it poses health risks too for workers involved. So understanding these chemical processes better helps create an eco-friendly approach to embroidery!

4.3 Recycling & Up cycling Initiatives in the Industry

Luckily, there are some recycling efforts underway to tackle waste within custom embroidery! Many brands aim to reuse fabric scraps while also using recycled materials for new products too! These initiatives not only minimize waste but also foster creativity along with sustainability!

  • Positive Environmental Practices in Custom Embroidery

5.1 Sustainable Material Choices

Making smart choices about materials is one easy way for embroiderers to lessen their environmental footprint! When businesses choose organic, recycled or renewable options—it benefits both our planet and attracts eco-conscious shoppers!

5.2 Eco-friendly Production Techniques

Using green techniques like water-saving dye processes makes a huge difference too! Many companies invest in technology designed to save both water and energy during production—so they’re doing their part!

5.3 Certifications & Standards for Sustainable Practices

There are several certifications available that guide businesses toward sustainable actions—like Global Organic Textile Standard (GOTS) or OEKO-TEX certification! These help businesses show they care about sustainability while earning customer trust and loyalty!

Environmental Impact of Custom Embroidery

Conclusion

Understanding how custom embroidery impacts the environment plays a key role as we move toward becoming conscious consumers! By focusing on sustainable materials, energy-saving practices and smart waste management—we can still enjoy beautiful personalized designs while being kind to our planet! The future of custom embroidery truly lies in our hands together; let’s stitch together a more sustainable story!

FAQs

What are the most sustainable materials for custom embroidery?

Some best options include organic cotton, hemp, and recycled polyester—these are eco-friendly choices with less negative effects on the environment!

How can businesses & individuals reduce waste in custom embroidery?

Both groups can reduce waste by reusing fabric scraps when they can and choosing more sustainable materials and opting for projects that need less thread/fabric overall.

Are there eco-friendly companies specializing in custom embroidery?

Yes indeed; quite a few companies focus on green practices! Searching for brands promoting sustainable methods will help make informed choices!