
A Complete Guide to Iron-On Custom Patches

A Complete Guide to Iron-On Custom Patches

Iron-on custom patches are a fun and easy way to personalize your clothing, accessories, and more. Whether you’re looking to add a logo, graphic, or unique design, these patches are simple to apply and make a lasting impression.

A Complete Guide to Iron-On Custom Patches, we’ll cover everything you need to know about iron-on patches, including how to create, apply, and care for them.

A Complete Guide to Iron-On Custom Patches

What Are Iron-On Custom Patches?

Iron-on custom patches are fabric patches with a heat-activated adhesive backing. Instead of sewing them onto your items, you can attach patches by applying heat with an iron. This makes them a quick and efficient option for customizing jackets, bags, hats, and more.

Benefits of Iron-On Custom Patches

  • Customization: Personalize clothing, accessories, or other fabric items with unique designs, logos, or messages.
  • Durability: Made from high-quality materials, these patches stay securely in place after multiple washes.
  • Ease of Use: Unlike sewing, applying iron-on patches is straightforward and doesn’t require advanced skills.
  • Cost-Effective: Iron-on patches are an affordable way to add custom designs without the need for expensive embroidery services. For custom embroidery, check out our digitizing services.

How to Create Custom Iron-On Patches

  1. Choose Your Design: Start by selecting the design you want for your patch. Whether it’s a logo, text, or a custom graphic, your design will be the key to personalizing your item.
  2. Select the Right Material: Iron-on patches are typically made from embroidered fabric, felt, or screen-printed material. The material choice depends on your design, durability needs, and the fabric you plan to apply it to. Explore our custom patches services for more details.
  3. Determine the Size and Shape: Choose the right size and shape for your patch based on where it will be applied. Common shapes include circles, squares, and custom shapes like logos or animals.
  4. Printing and Cutting: After designing your patch, print it onto the patch material using heat transfer paper, or have it professionally printed and cut to size. Need professional help? Check out our vector art services for high-quality designs.
How to Apply Iron-On Custom Patches

How to Apply Iron-On Custom Patches

  1. Prepare Your Fabric: Clean the fabric where you’ll apply the patch, making sure it’s smooth and wrinkle-free. Iron the area lightly if necessary.
  2. Position the Patch: Place your patch in the desired position and secure it temporarily with pins or fabric glue.
  3. Set Your Iron: Heat your iron to a medium-high setting without steam.
  4. Iron the Patch: Place a thin cloth (such as parchment paper) over the patch to protect it. Press the iron onto the patch for about 30 seconds, applying firm, even pressure to activate the adhesive.
  5. Let It Cool: Once the patch is applied, allow it to cool for a few minutes to ensure the adhesive has bonded properly.
  6. Test the Adhesion: Gently check the edges of the patch to ensure it is securely attached. If not, repeat the ironing process.

Tips for the Best Results

  • Use a Pressing Cloth: Always place a cloth over the patch to avoid direct heat and protect both the patch and fabric.
  • Iron in Circular Motions: Move the iron in circular motions to ensure the heat is evenly distributed.
  • Check the Temperature: Ensure the iron is set to a medium-high setting to avoid damaging the patch or fabric.
  • Consider Extra Security: For added durability, sew around the edges of the patch after ironing it on.

Where to Use Iron-On Custom Patches

Iron-on patches can be applied to various items, including:

  • Clothing: Add patches to jackets, shirts, jeans, or hats for a personalized touch.
  • Bags and Accessories: Customize backpacks, totes, wallets, and scarves.
  • Home Décor: Use patches to decorate pillows, cushion covers, or blankets.

Maintaining Iron-On Patches

To ensure your patches last for years:

  • Wash with Care: Turn items with patches inside out before washing, and use a gentle cycle.
  • Avoid Bleaching: Harsh chemicals and bleach can weaken the adhesive.
  • Iron with Low Heat: When ironing your garments, avoid direct heat on the patch and use low settings.
How to Maintain Iron-On Patches

Shop Custom Iron-On Patches

If you’re ready to create your own custom iron-on patches, check out the available options. Whether you want to add a personal touch to your favorite jacket or promote your brand, these patches are an easy and effective solution. Explore the collection and design your patch today at Gempunch.


Frequently Asked Questions (FAQs)

  1. How long does an iron-on patch last? Iron-on patches can last for years with proper care. Regular washing with care and avoiding harsh chemicals can help extend their lifespan.
  2. Can I use iron-on patches on all types of fabric? Yes, iron-on patches work on most fabrics, including cotton, denim, and polyester. However, avoid using them on materials that can’t withstand heat, like leather or velvet.
  3. How do I remove an iron-on patch? To remove a patch, use heat from an iron to loosen the adhesive, and then gently peel it off. You may need to use a fabric adhesive remover for any residue.
  4. Can I customize the size of my iron-on patch? Yes, custom iron-on patches can be made in any size and shape to suit your needs. Explore our custom patch services for more details.
  5. How do I apply multiple iron-on patches to one item? You can apply multiple patches at once. Just be sure to space them out evenly and follow the same ironing instructions for each patch to ensure they adhere properly.

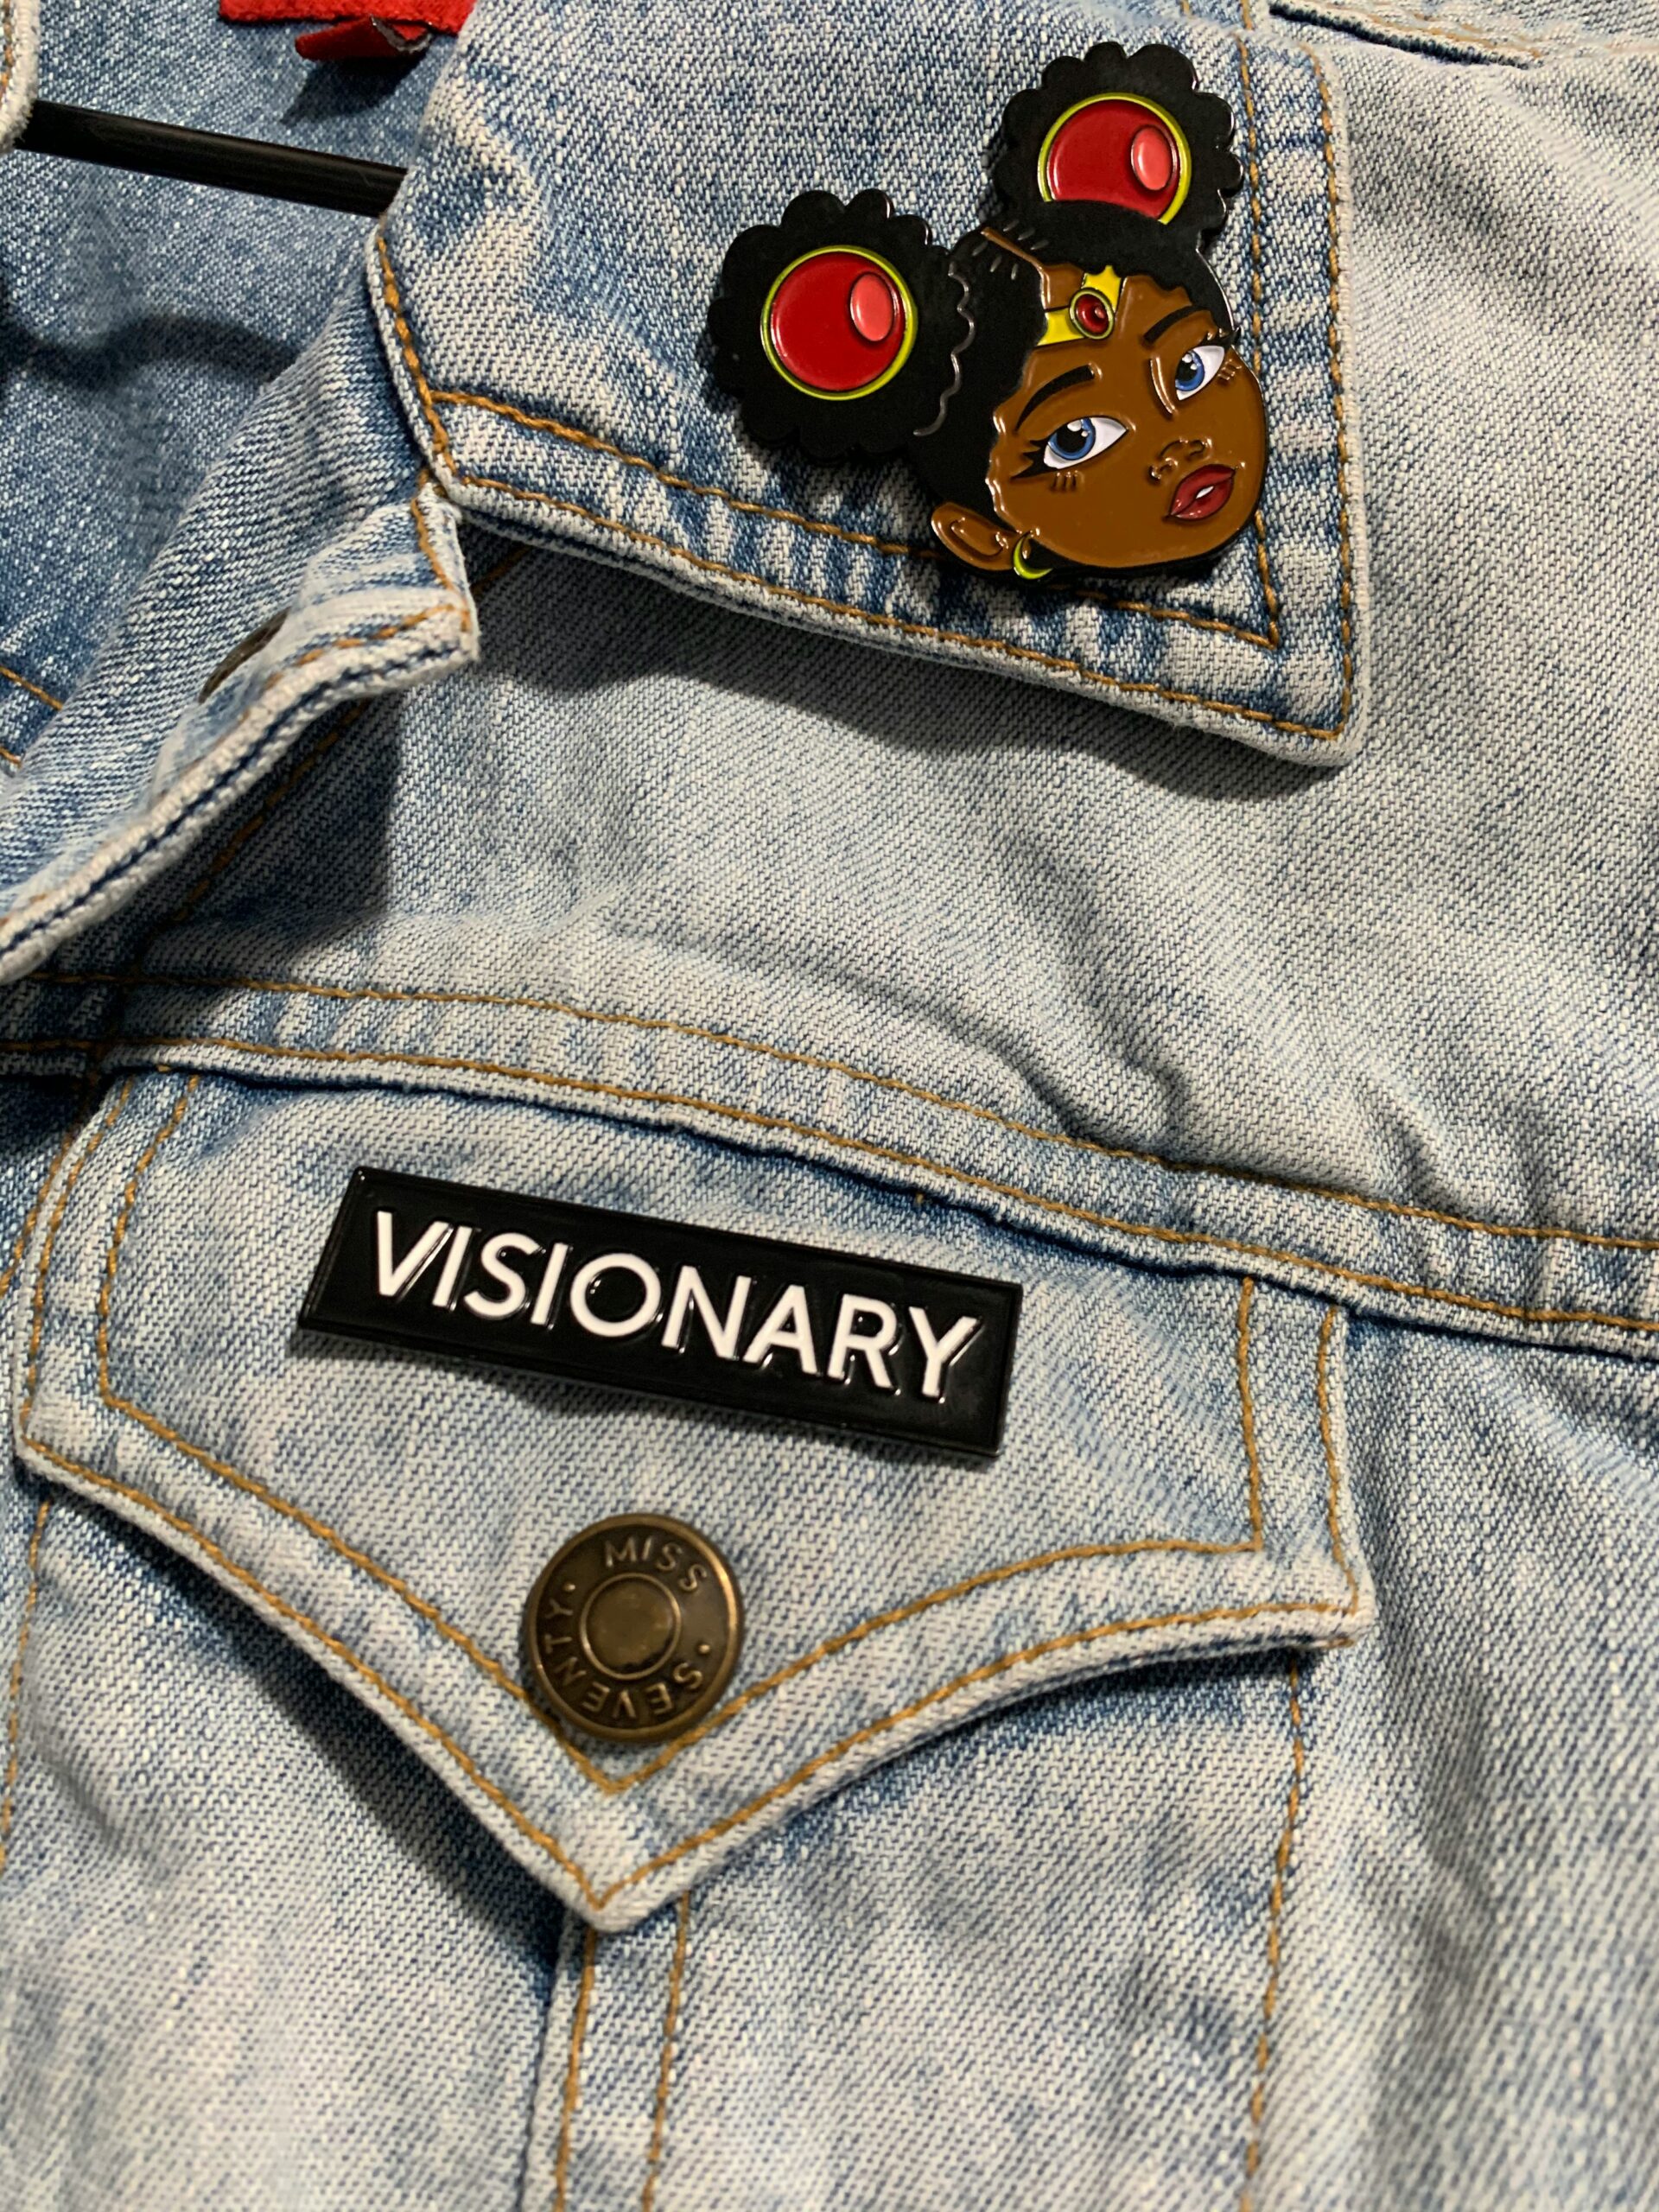
Girl Wearing Jacket with Attached Paches

How to Attach Patches: A Step-by-Step Guide

Attaching patches can be a fun and creative way to personalize clothing, repair worn-out fabrics, or display your affiliations and interests. Whether you’re going to attach patches to a jacket, backpack, or pair of jeans, the process can be straightforward if done correctly.

Follow this comprehensive guide to learn how to attach patches using different methods, ensuring a professional finish every time.

Girl Wearing Jacket with Attached Paches

Materials You’ll Need

Before you start, gather the following materials based on your chosen method:

  • Patch(es): Choose your preferred design.
  • Garment or Fabric: Ensure the item is clean and free of debris.
  • Iron and Ironing Board (for iron-on patches).
  • Sewing Kit: Needle and thread or a sewing machine.
  • Fabric Glue: For a no-sew option.
  • Pins or Clips: To hold the patch in place.
  • Heat-resistant Cloth: To protect your fabric while ironing.
  • Scissors: For trimming excess fabric or thread.

Types of Patches and Attachment Methods

Understanding the types of patches available and their corresponding attachment methods can help you choose the best approach:

Iron-On Patches

These patches have an adhesive backing that activates with heat. Ideal for fabrics like cotton or denim.

Iron-On Patches Attachment Method

Step 1: Position the Patch

  • Place the patch in your desired location.
  • Ensure the adhesive side is facing the fabric.

Step 2: Protect the Fabric

  • Lay a heat-resistant cloth or a thin towel over the patch to shield the material from direct heat.

Step 3: Apply Heat

  • Heat the iron to the recommended setting (usually medium heat without steam).
  • Press the iron firmly over the patch for 30-60 seconds.

Step 4: Let it Cool

  • Allow the patch to cool for a few minutes to ensure the adhesive sets properly.
  • Test the edges to confirm a secure bond.How to Attach Patch on Jeans Jacket

Sew-On Patches

Sewing provides a durable and permanent way to attach patches, suitable for heavy-duty items.

Sew-On Patches Attachment Method

Step 1: Secure the Patch

  • Pin or clip the patch in place to prevent it from shifting.

Step 2: Choose Your Stitch

  • Opt for a straight stitch for a clean edge or a blanket stitch for decorative purposes.

Step 3: Begin Sewing

  • Thread your needle and knot the end of the thread.
  • Start from the inside of the garment to hide the knot.
  • Stitch around the edges, ensuring the patch is securely attached.

Step 4: Trim Excess Thread

  • Once sewn, tie a knot on the inside and trim any loose thread for a tidy finish.


Adhesive Patches

Use fabric glue or double-sided adhesive sheets for a quick and temporary solution.

Adhesive Patches Attachment Method

Step 1: Apply Fabric Glue

  • Add a thin, even layer of fabric glue to the back of the patch.

Step 2: Position the Patch

  • Press the patch onto the fabric and smooth it out to remove air bubbles.

Step 3: Let It Dry

  • Allow the glue to cure for the recommended time, typically 24 hours.

Attached Patches on a Jacket

Velcro Patches

These patches allow you to switch designs easily and are common in uniforms or bags.

Velcro Patches Attachment Method

Step 1: Attach the Velcro

  • Sew or glue the Velcro strip to your fabric.

Step 2: Secure the Patch

  • Align the Velcro on the patch with the one on the fabric and press firmly.

Step 3: Adjust as Needed

  • Velcro patches can be removed or repositioned as desired.

Tips for Success

  • Pre-wash Fabrics: Wash and dry your garment before attaching patches to avoid shrinkage.
  • Test Adhesive Strength: For iron-on or glue methods, check the bond after a few days.
  • Choose the Right Thread: Match the thread color to the patch for a seamless look.
  • Work in a Well-Lit Area: Ensure precision and accuracy while sewing or gluing.

Common Mistakes to Avoid

  • Skipping Fabric Protection: Direct heat can scorch fabrics during the iron-on process.
  • Using Low-Quality Glue: Poor adhesive can cause patches to peel off quickly.
  • Misaligned Patches: Double-check placement before attaching.

Conclusion

Attaching patches is a versatile skill that allows you to express your style, repair garments, or customize accessories. By choosing the appropriate method and following these detailed steps, you’ll achieve a secure and polished result. Experiment with different techniques and enjoy the creative process of making your items uniquely yours.

Frequently Asked Questions

Can I attach a patch to any type of fabric?

Most fabrics can accommodate patches, but materials like leather, nylon, and polyester may require specialized adhesives or techniques.

How do I remove an old patch?

For iron-on patches, reapply heat to soften the adhesive, then peel it off. For sewn patches, carefully cut the stitches with a seam ripper.

Will patches survive washing and drying?

Yes, if properly attached. Sewn patches are the most durable, while iron-on and adhesive patches may weaken over time with frequent washing.

Can I reuse a patch on another item?

Velcro patches are reusable. For other types, careful removal might preserve the patch for reuse, but adhesion may not be as strong.

What should I do if the edges of my patch start to peel?

Reinforce the edges with fabric glue, or sew around the patch for added durability.

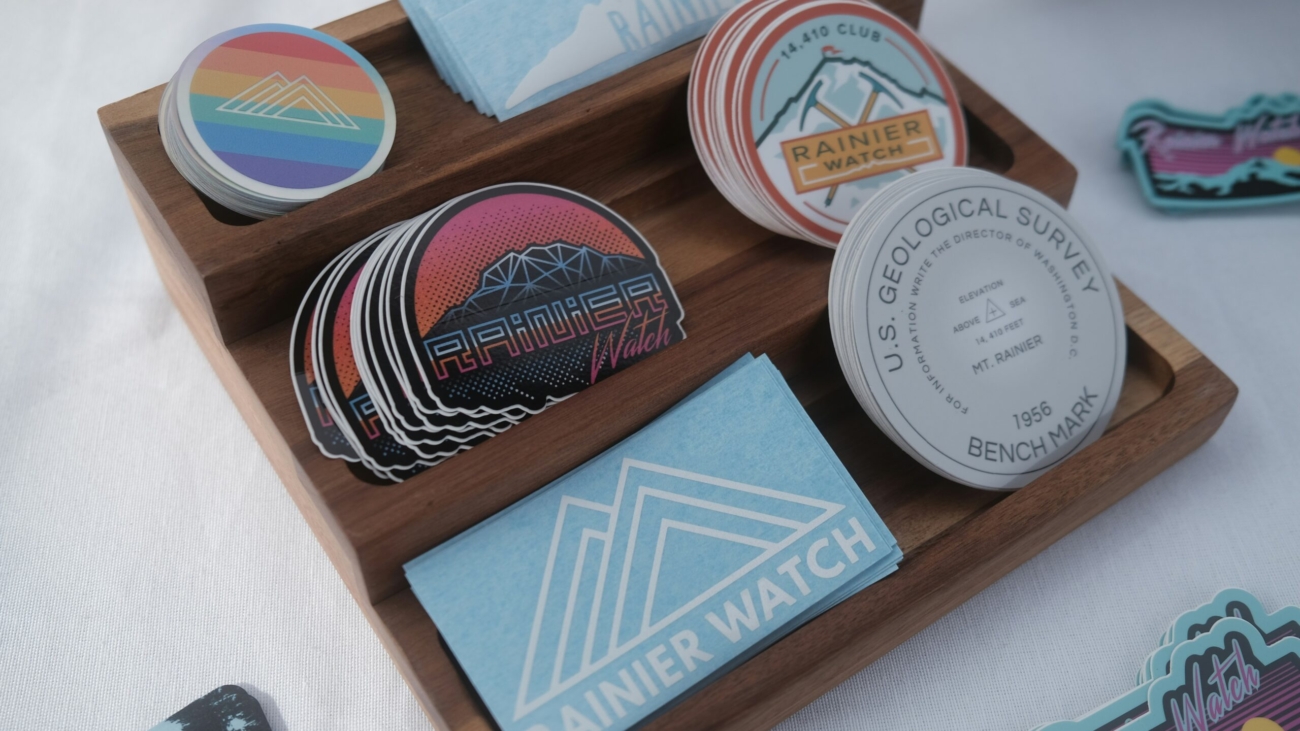
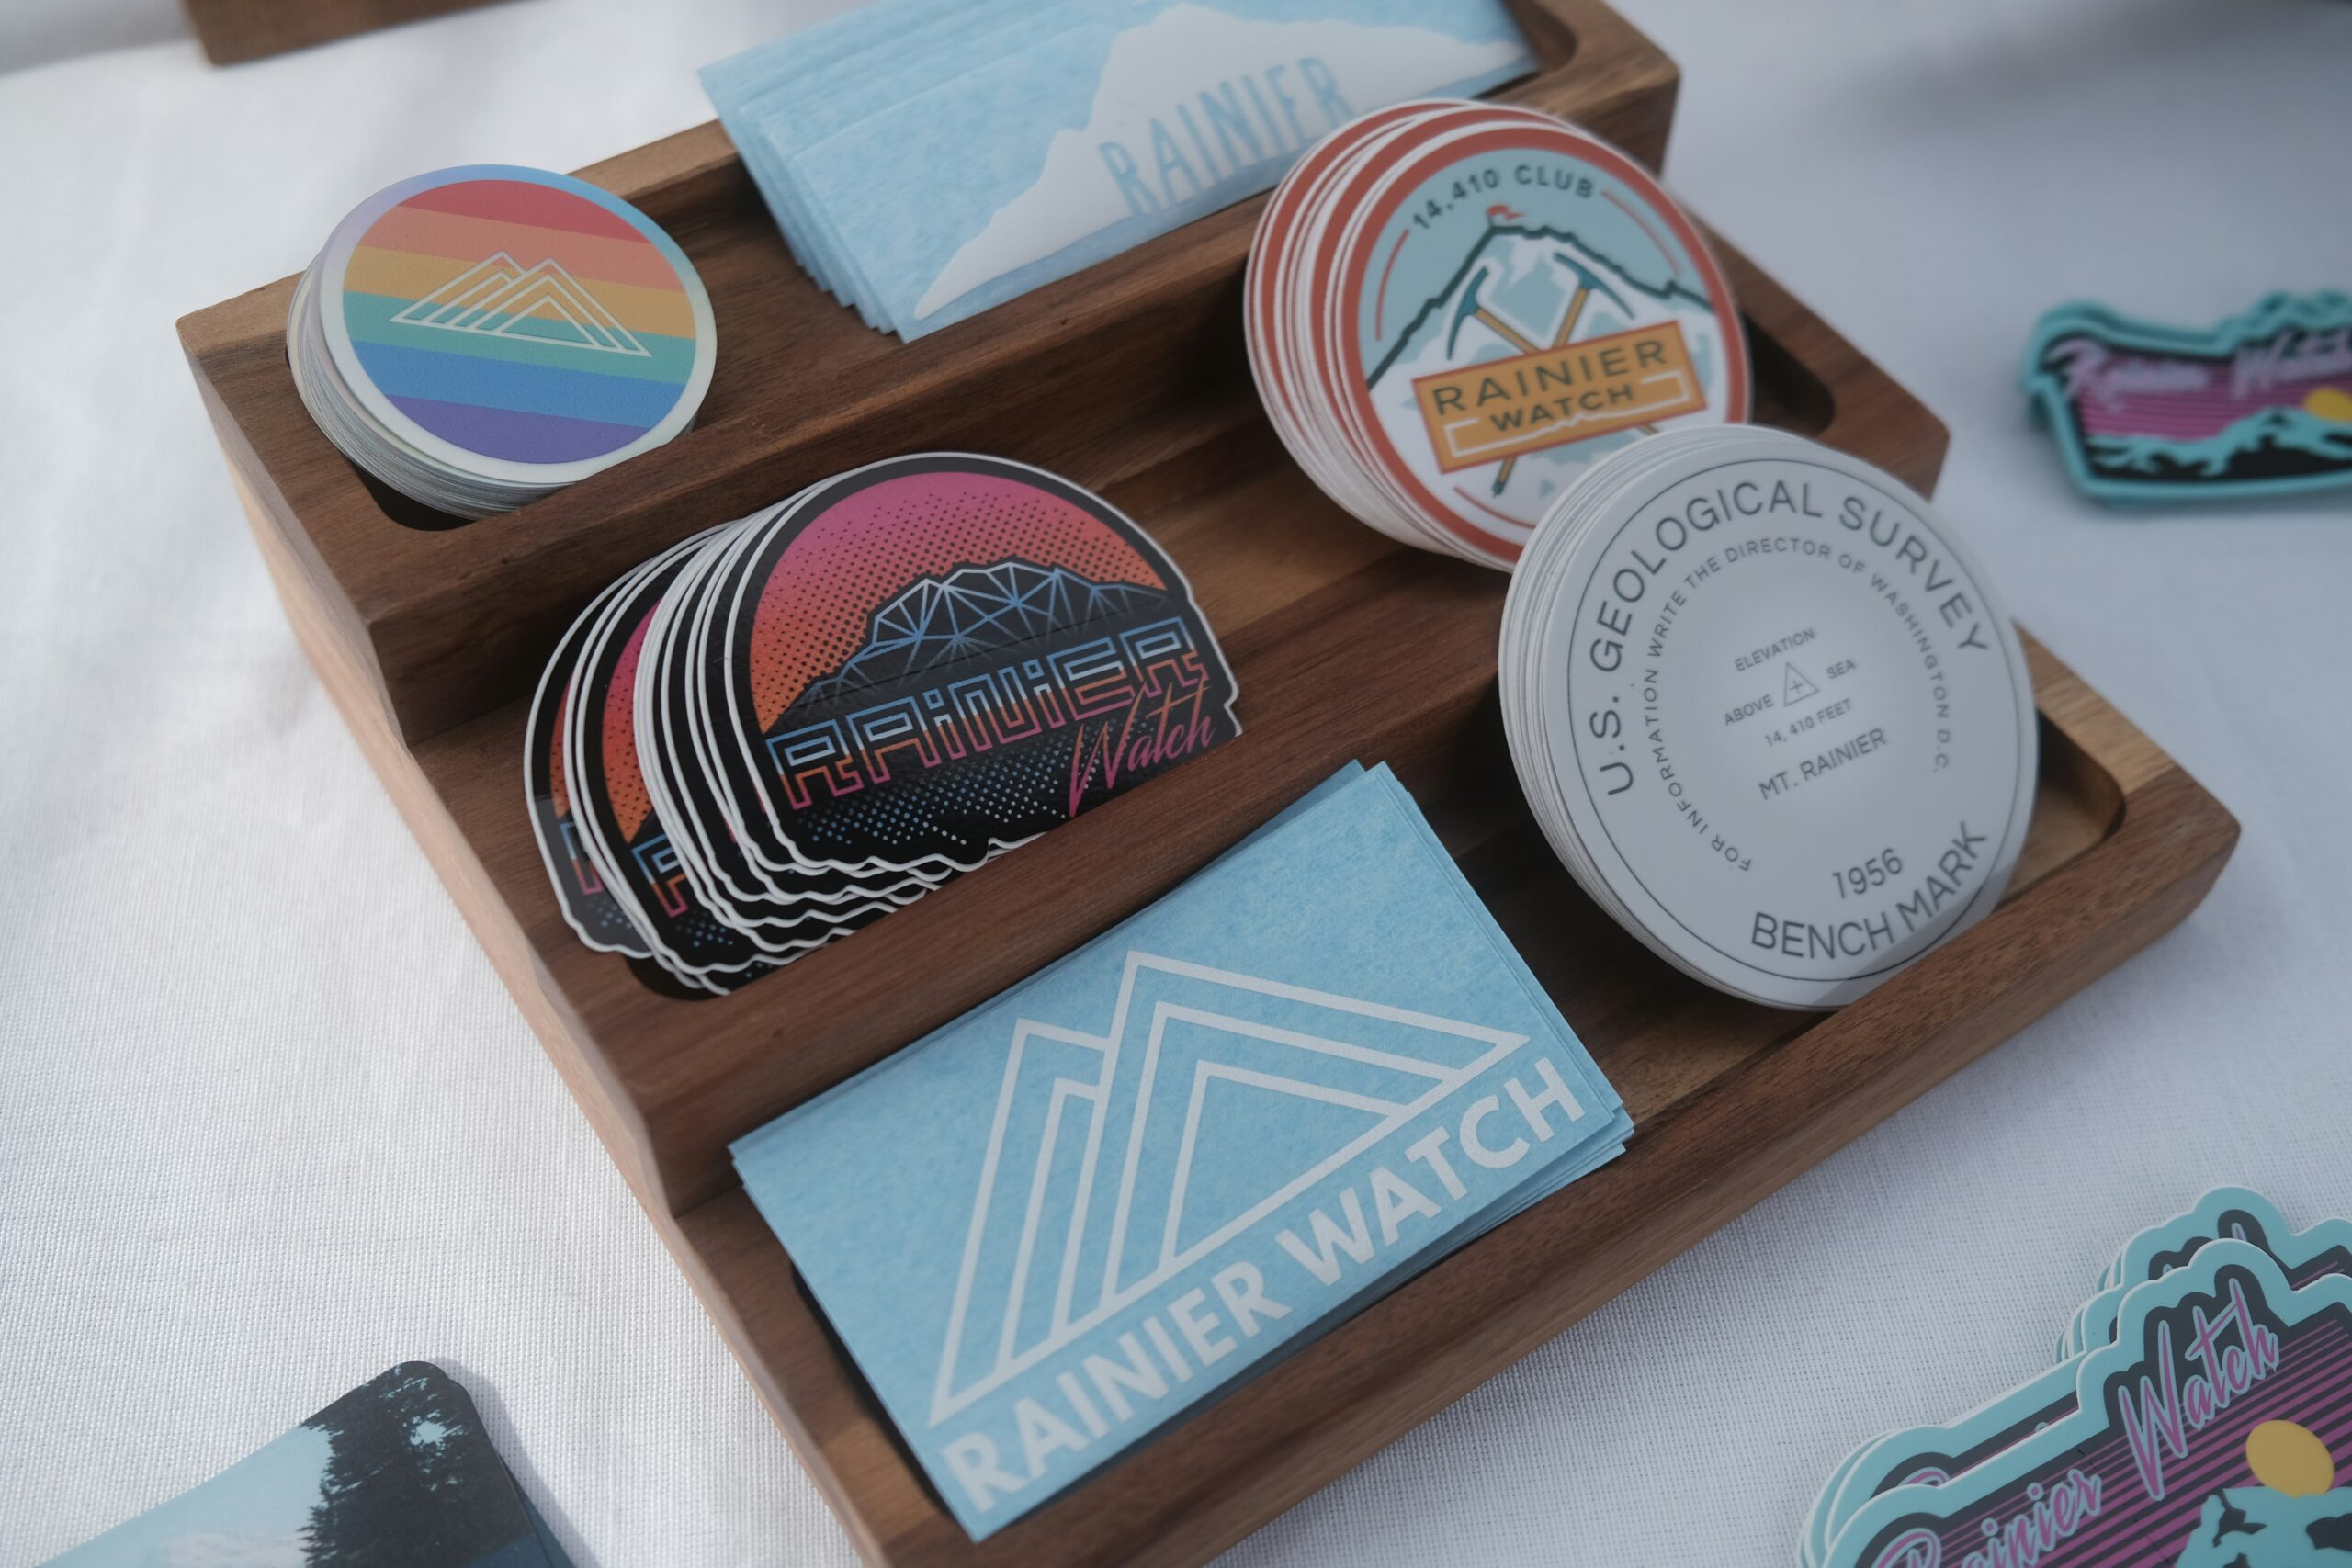
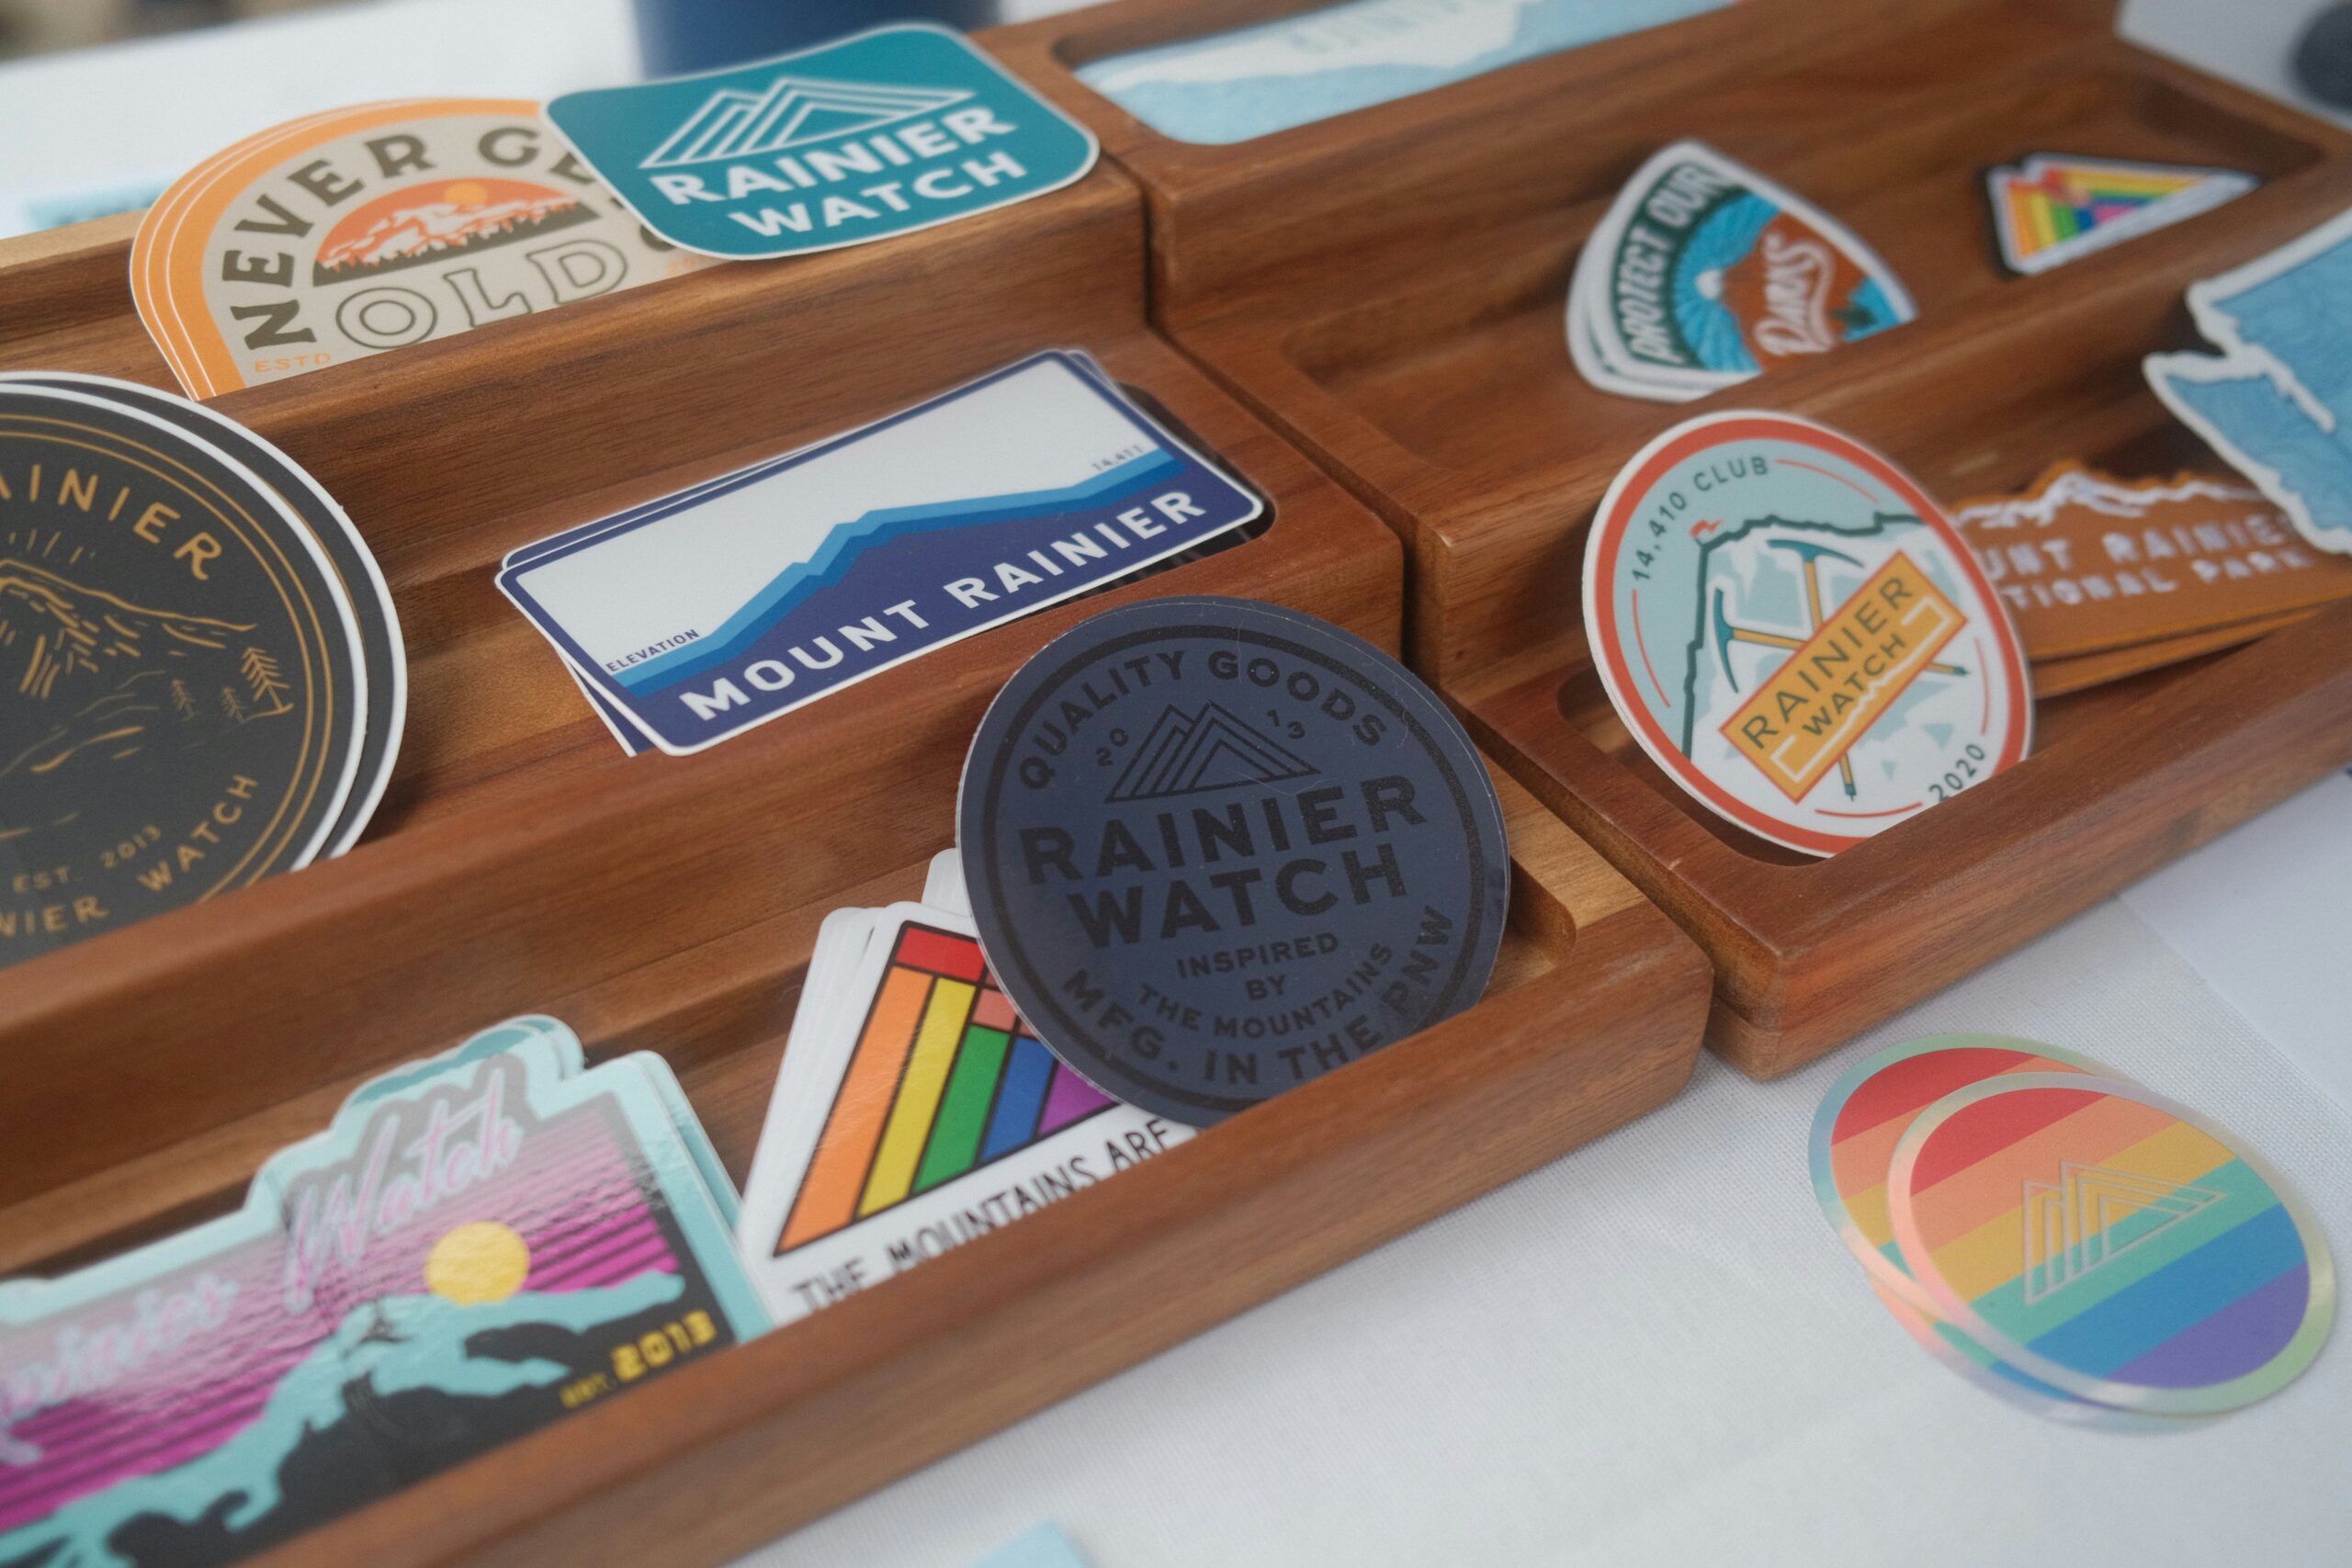
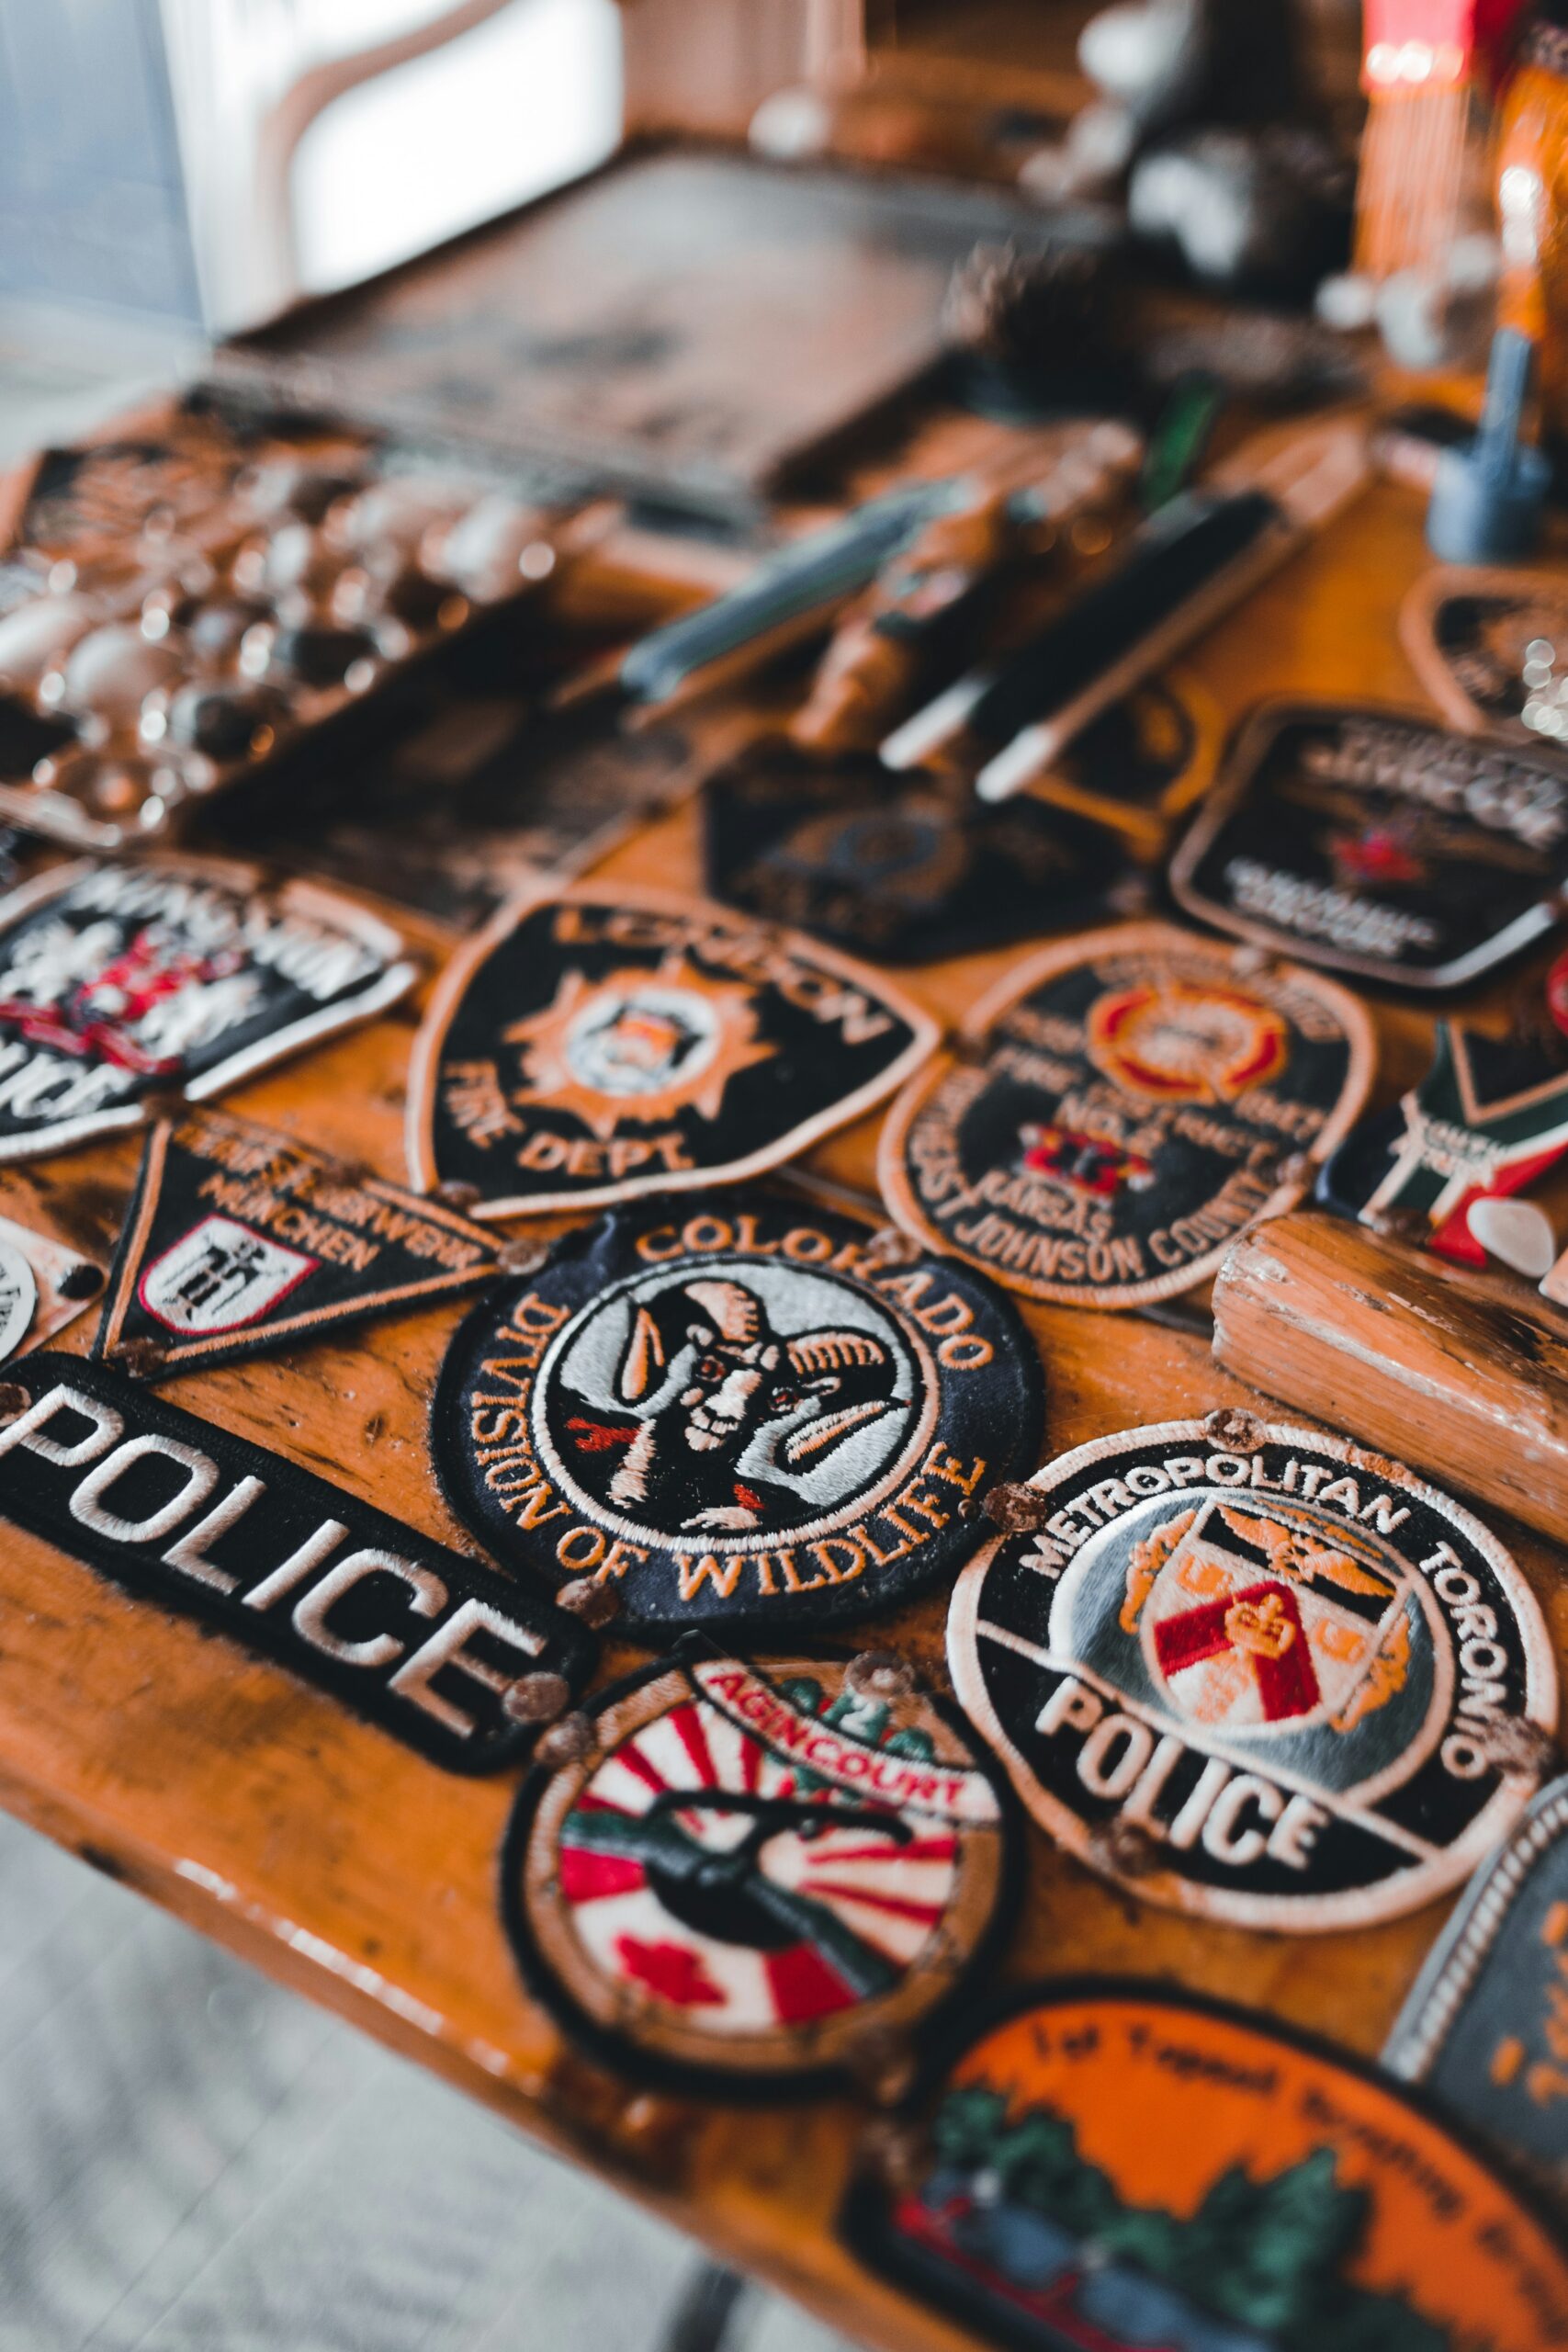
A wooden display tray featuring an assortment of colorful patches

How Custom Patches Create Emotional Connections with Audiences

In today’s competitive marketplace, brands continuously seek innovative strategies that patches create emotional connections with their audiences. Among these strategies, custom patches stand out as a unique and effective tool for creating emotional ties. These small but impactful elements can significantly enhance brand loyalty and engagement by embodying storytelling, personalization, and community-building.

A wooden display tray featuring an assortment of colorful patches

The Art of Storytelling through Custom Patches

Effective storytelling is at the heart of impactful branding, and custom patches serve as an ideal medium for this purpose. They provide a canvas for brands to narrate their journey, values, or vision through design. For example, outdoor brands frequently use patches that feature natural elements like mountains or trails to communicate their love for adventure. You can see examples of how we’ve helped brands tell their stories on our About Us page.

Evoking Nostalgia with Custom Patches

Patches have a unique ability to evoke nostalgia, tapping into fond memories and experiences. Designs that feature vintage elements or classic logos can transport customers back in time, creating a strong emotional connection. Our Blog on vintage fashion trends explores how nostalgia in design appeals to consumers, particularly those from older generations.

Personalization and Customer Identity

Personalization is a trend that continues to gain momentum in all aspects of consumer goods. Custom patches offer a way for consumers to express their identities and affiliations. On our Custom Patches page, we detail how individuals and organizations can design their patches, ensuring each piece resonates with personal or collective values.

Enhancing Community and Belonging

Brands aiming to cultivate a sense of community can utilize custom patches as symbols of inclusion and belonging. Whether it’s for a sports team, club, or corporate event, patches reinforce group identity and pride. Our section on Community Projects showcases successful stories where custom patches have played a crucial role in building community ties.

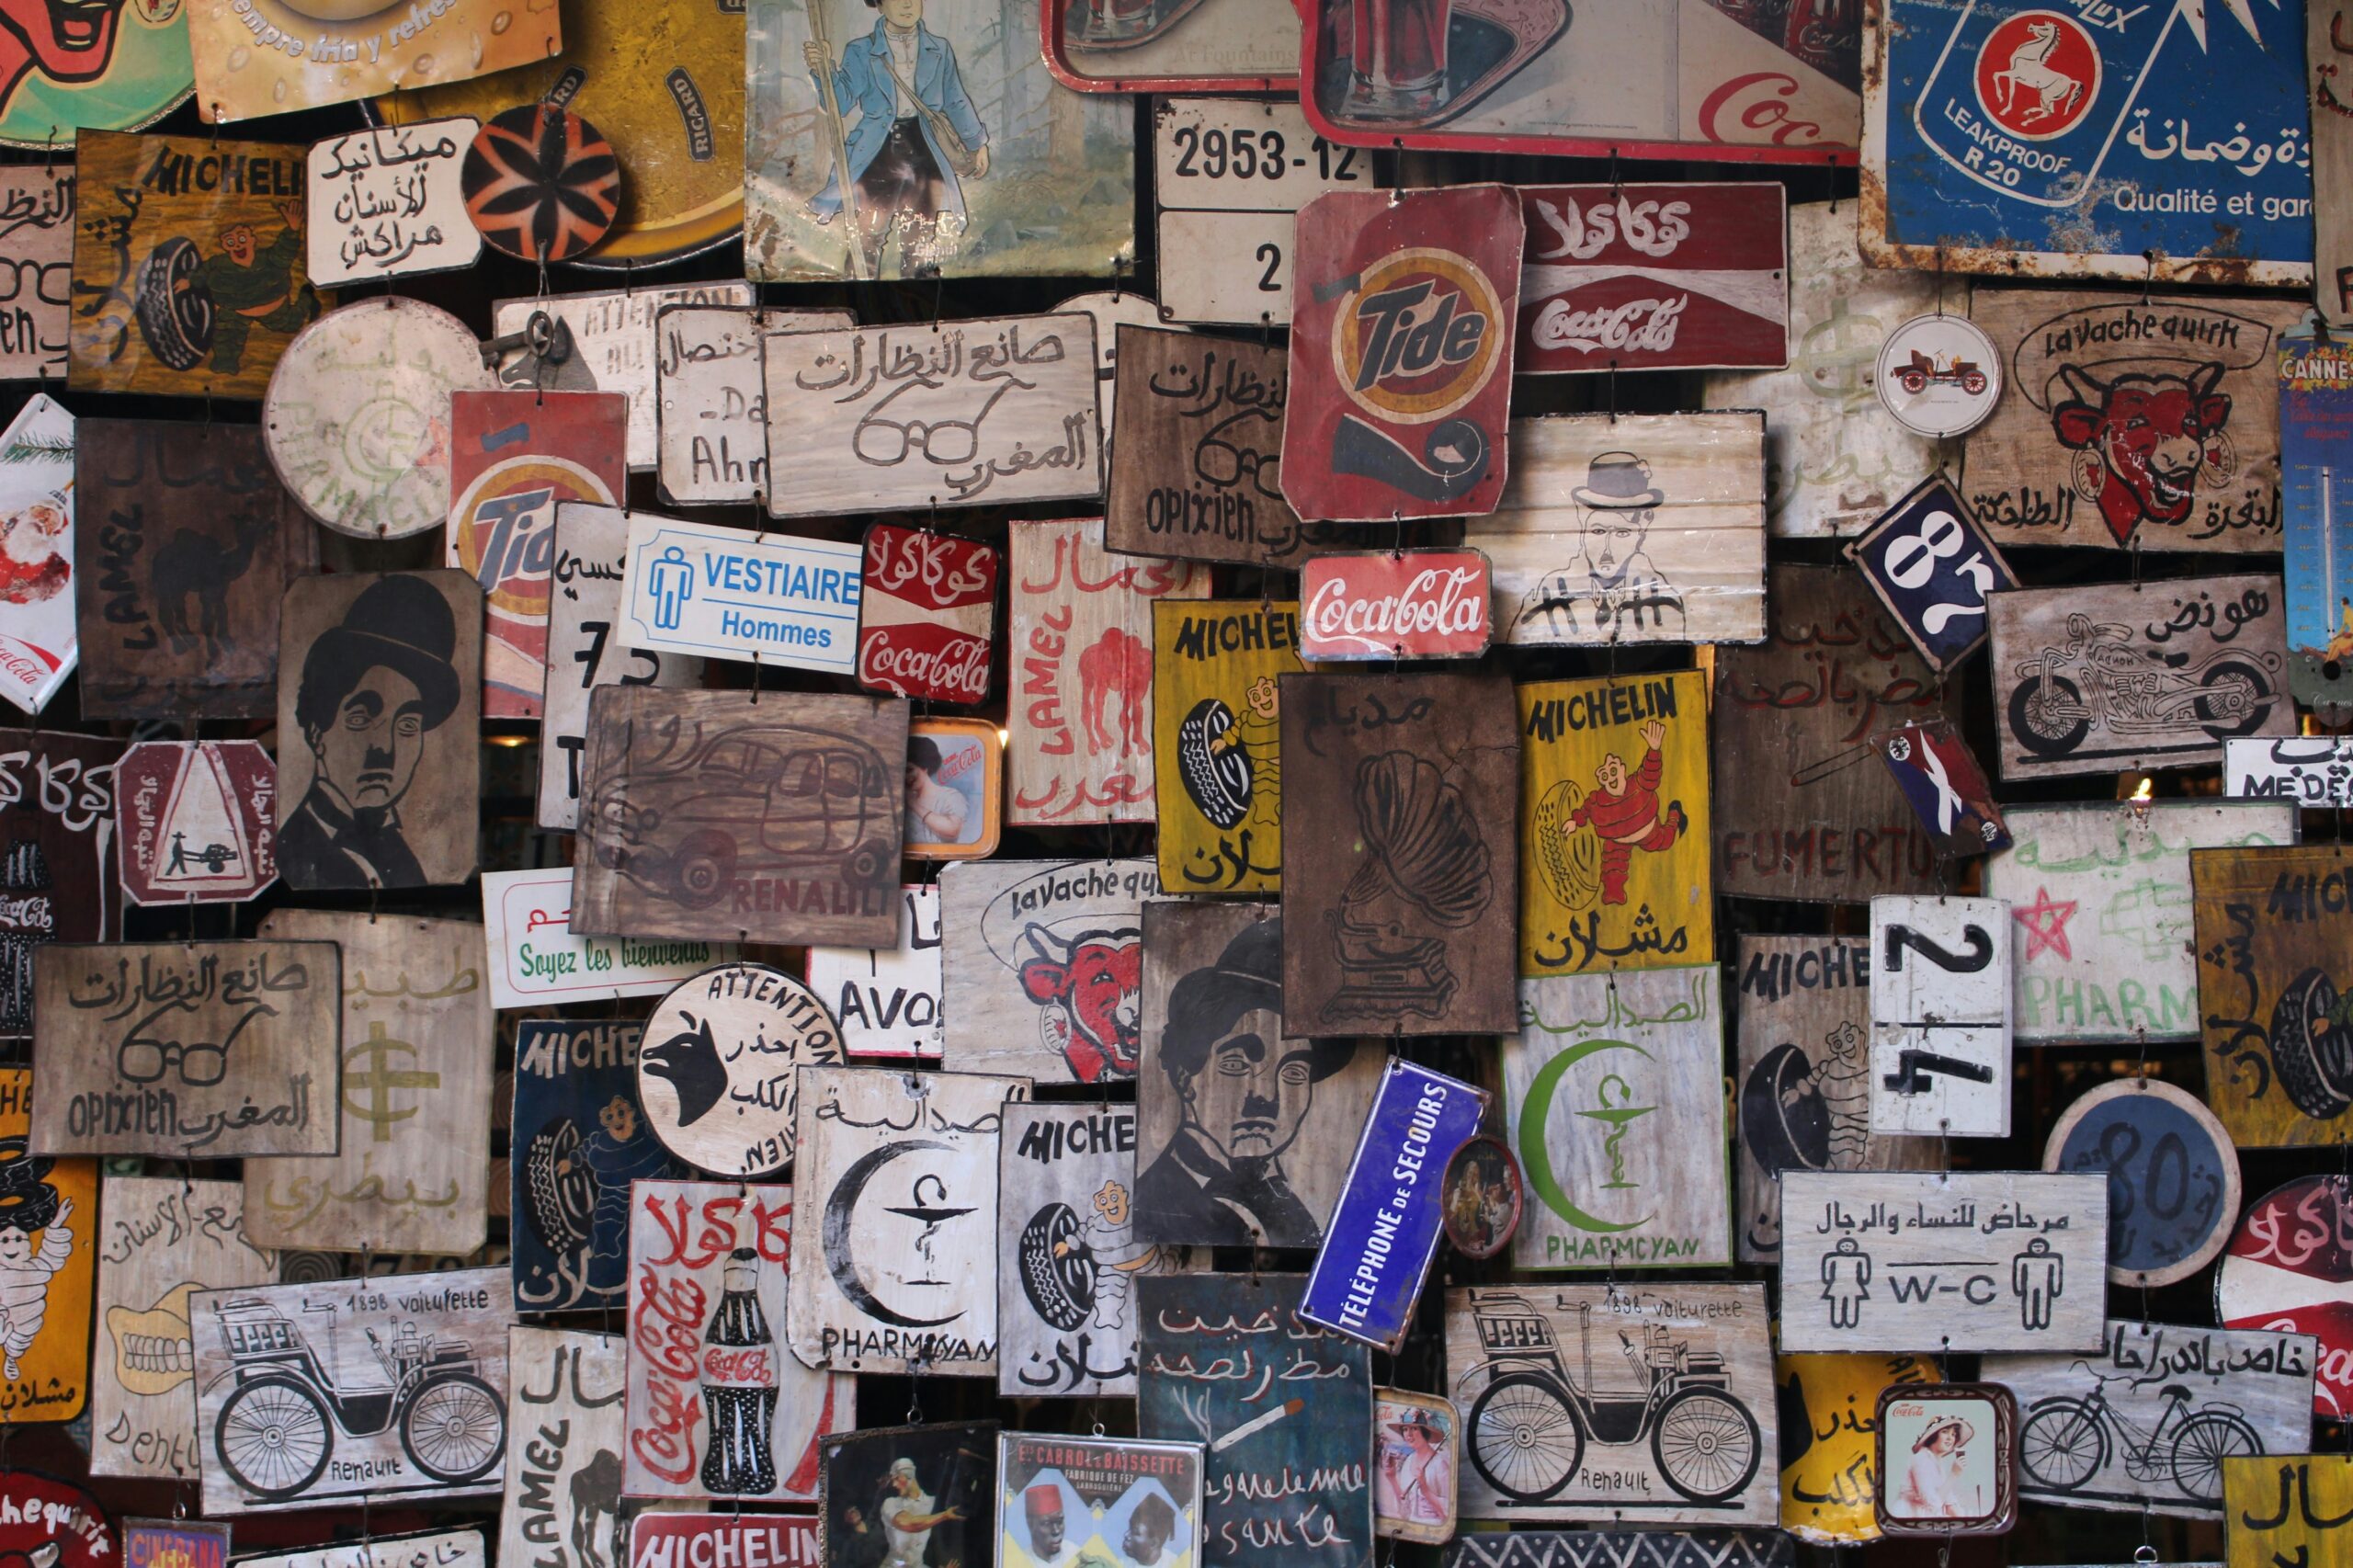
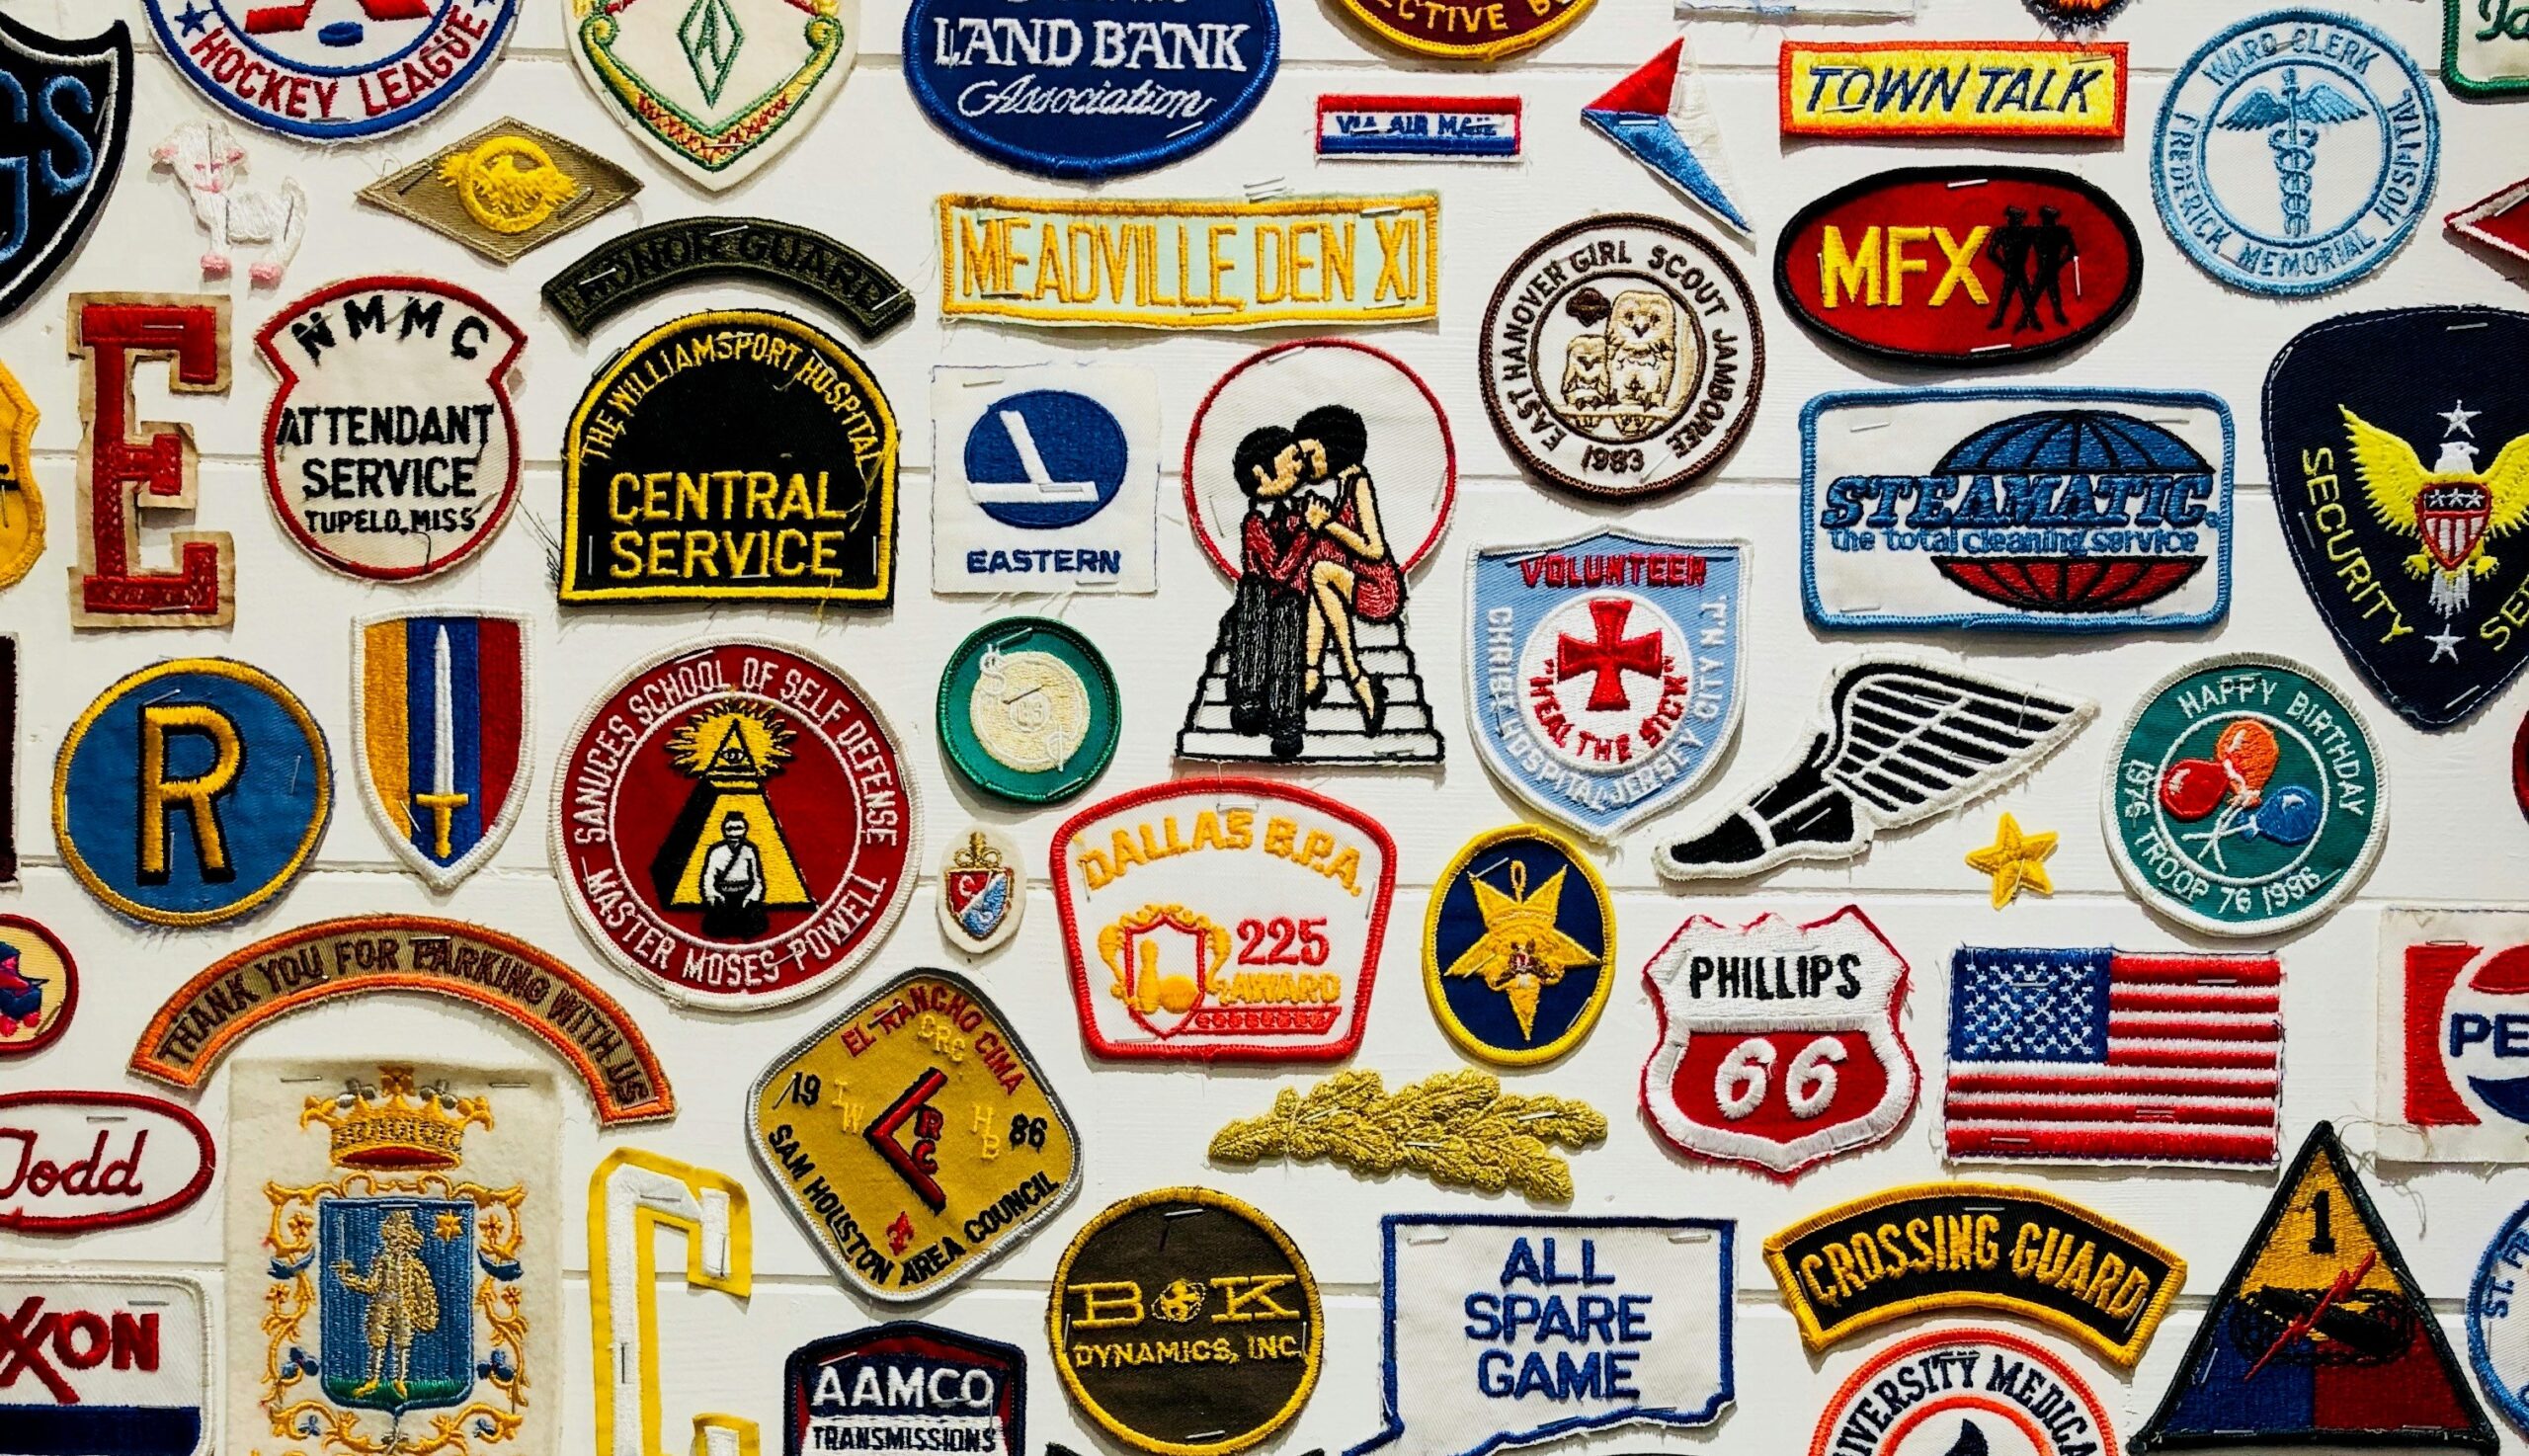
A colorful collection of vintage-inspired patches and signs displayed on a wall

Sustainability and Ethical Values in Custom Patches

With growing awareness around sustainability, brands are increasingly adopting eco-friendly practices. Patches made from organic or recycled materials not only appeal to the eco-conscious market but also align with broader corporate responsibility goals.

Limited Editions: Creating Urgency and Value

Limited edition patches can create a sense of urgency and exclusivity, adding perceived value to the products. By offering limited runs, brands can tap into the collector’s market, where patches are seen as valuable collectibles.

The Role of Patches in Corporate Branding

Corporate branding often incorporates custom patches as a way to unify and motivate teams. These patches are integral to employee uniforms, promoting a cohesive brand image internally and externally.

Custom Patches in the Age of Social Media

In the digital era, custom patches are perfectly poised for social media sharing. Encouraging customers to showcase their patches online can significantly boost a brand’s visibility and engagement.

patches displayed in assorted way

Conclusion

Custom patches are more than just accessories; they are powerful tools for emotional engagement, brand storytelling, and community building. By integrating custom patches into their marketing strategies, brands can significantly enhance their connection with audiences, achieving lasting loyalty and recognition.

Frequently Asked Questions

What are the key elements of a great custom patch design?

Align designs with brand values, use engaging visuals, and maintain high quality.

How do custom patches contribute to brand loyalty?

They foster emotional bonds and personal connections through storytelling and community-building.

Can small businesses effectively use custom patches in their marketing?

Yes, they are cost-effective and versatile for building brand identity and loyalty.

What materials are best for eco-friendly custom patches?

Organic cotton, recycled polyester, and biodegradable adhesives are great options.

Are custom patches suitable for digital marketing strategies?

Absolutely, as they are highly shareable on social media and boost online engagement.

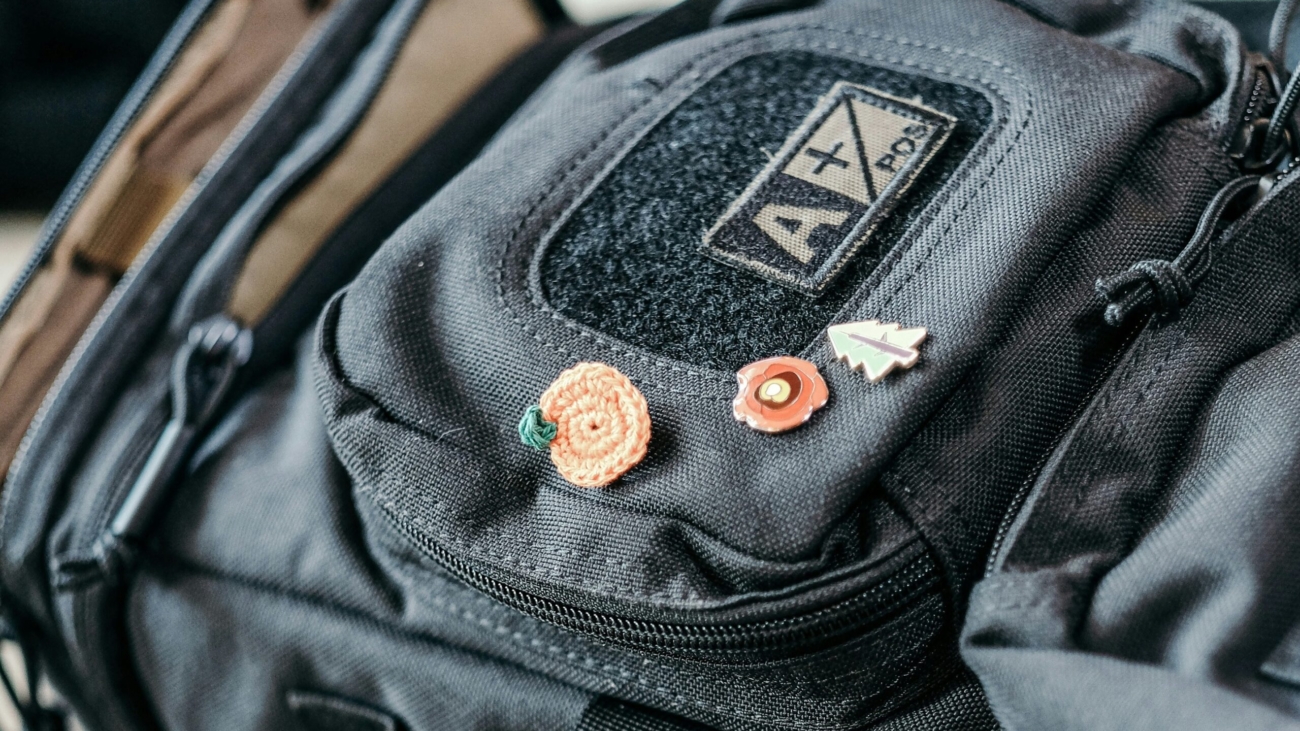
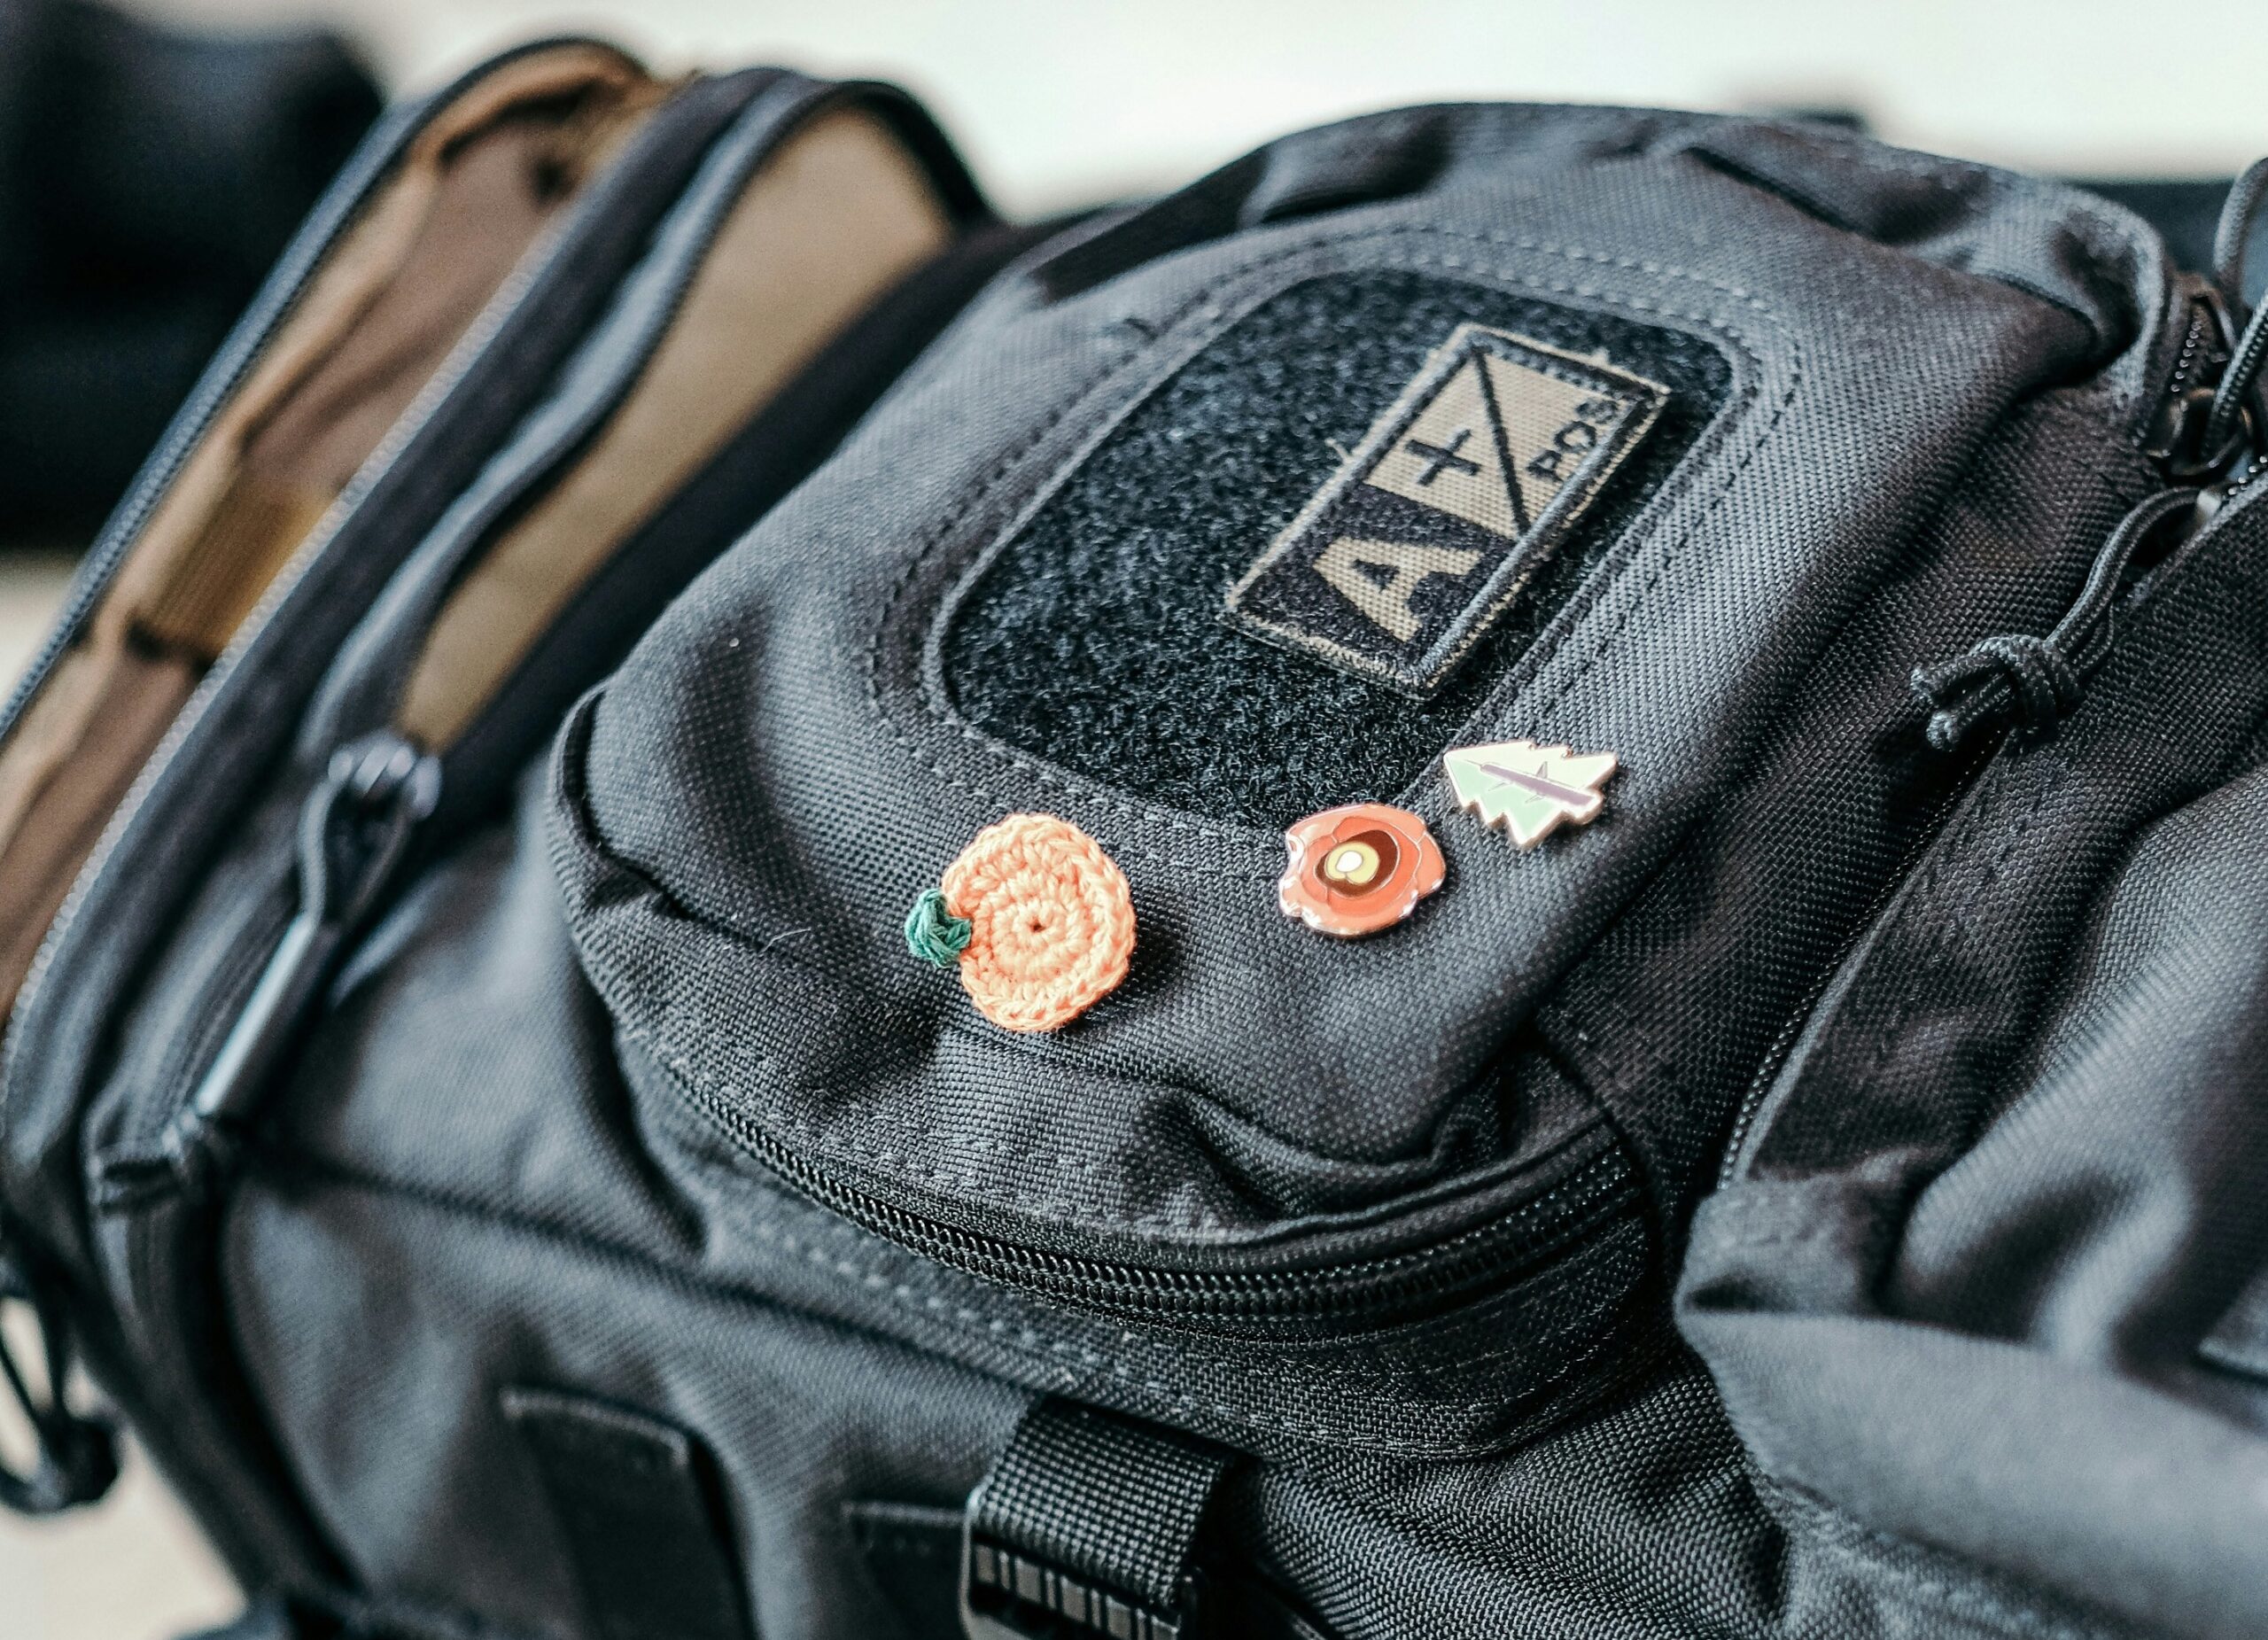
A close-up image of a black backpack featuring a fabric patch

Customizing Bags and Accessories with Embroidered Patches

Embroidered patches are more than just a trend—they’re a creative way to express personality, add flair, and transform everyday customizing bags and accessories into unique pieces. Whether you’re a DIY enthusiast or someone looking for inspiration, this guide will walk you through the steps, tips, and ideas for customizing your bags and accessories with embroidered patches.

Why Use Embroidered Patches?

Embroidered patches have a timeless charm. Here’s why they are perfect for customization:

  1. Versatility: Patches can be applied to almost any fabric or material.
  2. Personalization: They reflect individual style, interests, and creativity.
  3. Cost-Effective: A budget-friendly way to refresh old accessories.
  4. Durability: High-quality patches can withstand wear and tear.

A close-up image of Customizing Bags & Accessories

Types of Bags and Accessories to Customize

You can enhance various items with embroidered patches. Here are some popular options:

  1. Backpacks

Add patches to a plain backpack for a fun, youthful vibe. Position patches on the front pocket or the main body for the best effect.

  1. Tote Bags

Make your reusable tote bag stylish and sustainable with colorful or thematic patches. Check out our custom tote bag designs for inspiration.

  1. Laptop Sleeves

Turn a boring laptop sleeve into a statement piece by adding patches that match your interests. Explore our blog on creative laptop sleeve ideas.

  1. Hats and Caps

Attach patches to the crown or brim for a trendy look. Discover our collection of custom hats and caps to get started.

  1. Jackets and Denim

Although not a bag, jackets and denim can complement patched bags for a coordinated style. For more ideas, visit our jacket patch collection.

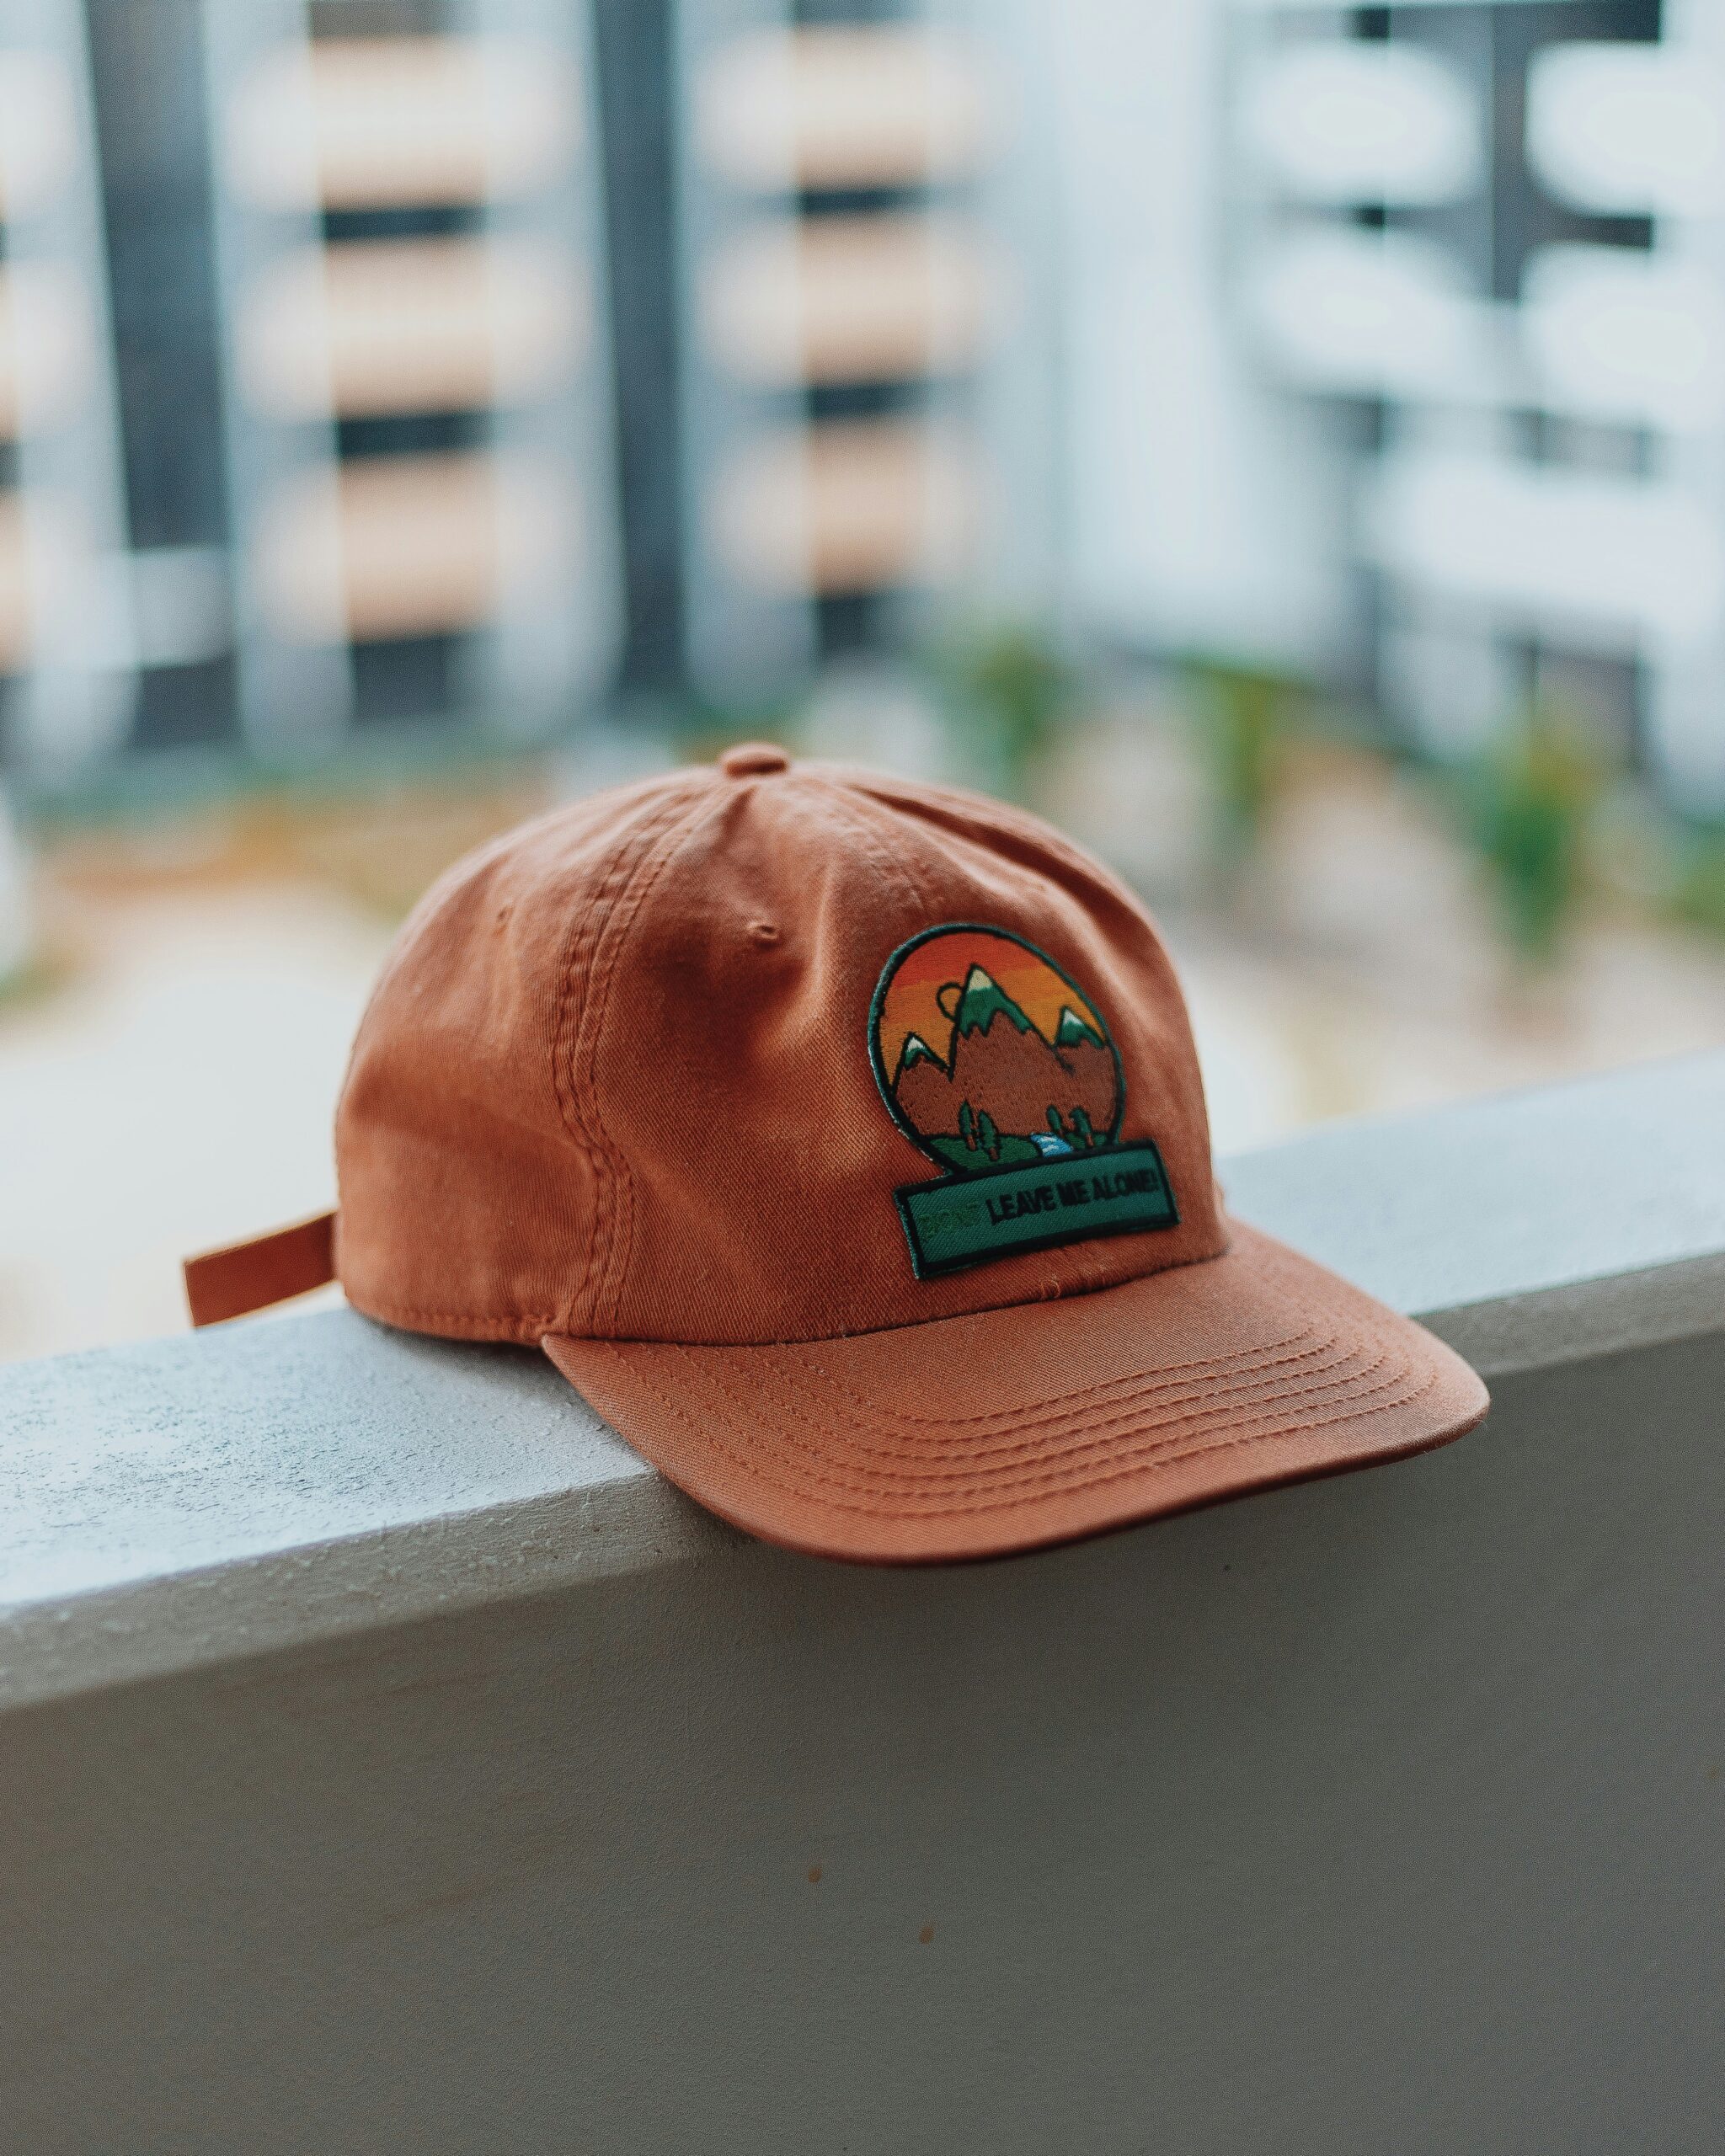
A khaki-colored trucker hat featuring a round patch

Choosing the Right Patches

The right patches can make or break your customization project. Consider these factors:

  1. Theme: Decide on a theme that aligns with your personality—such as travel, pop culture, or vintage.
  2. Size: Ensure patches are proportional to the accessory.
  3. Colors: Pick colors that complement the bag’s base color.
  4. Material: Opt for patches made of durable fabric, preferably with an iron-on or sew-on backing. Browse through our high-quality embroidered patches.

How to Apply Embroidered Patches

There are two main methods for applying patches: iron-on and sewing.

Here’s a step-by-step guide for each:

Iron-On Patches

  1. Prepare the Surface: Clean the area where you’ll apply the patch.
  2. Position the Patch: Place it in the desired location.
  3. Protect with Fabric: Cover the patch with a thin cloth to prevent direct heat damage.
  4. Iron: Use a hot iron (without steam) to press the patch for 20-30 seconds.
  5. Cool Down: Let the area cool before checking if the patch is secure.

Sew-On Patches

  1. Thread the Needle: Use a sturdy thread that matches the patch’s border.
  2. Position and Pin: Secure the patch with pins to keep it in place.
  3. Sew: Stitch around the edges using small, tight stitches.
  4. Finish: Tie off the thread securely on the inside.

For more detailed tutorials, visit our patch application guide.

Creative Ideas for Customization

Let your imagination run wild! Here are some creative ideas to inspire you:

  1. Travel-Inspired Backpacks Add patches of countries or landmarks you’ve visited to create a travelogue on your backpack.
  2. Themed Laptop Sleeves Use patches of favorite shows, quotes, or symbols to make your sleeve a conversation starter.
  3. Monogrammed Tote Bags Personalize your tote with monogrammed or initialed patches for an elegant touch.
  4. Quirky Hat Designs Mix and match quirky patches to create a one-of-a-kind cap.
  5. Seasonal Accessories Change patches seasonally to keep your accessories fresh and fun.

A close-up view of a patch on a shirt

Maintenance Tips for Patched Accessories

To ensure your customized bags and accessories last:

  1. Wash Gently: Hand wash or use a delicate cycle with cold water.
  2. Avoid High Heat: Air dry or use low heat to prevent damage.
  3. Inspect Regularly: Re-sew or re-iron patches if they start to come loose.

Where to Buy Embroidered Patches

High-quality patches can be found at:

  • Online Stores: Website like Gempunch offer a vast range.
  • Craft Stores: Visit our Gempunch for unique finds.
  • Custom Makers: Order bespoke patches from embroidery businesses for a truly personal touch. Explore Gem Punch’s custom patch services for the best results.

Conclusion

Customizing bags and accessories with embroidered patches is an enjoyable way to showcase your style and creativity. Whether you’re adding a single patch or creating a collage of designs, the possibilities are endless. Start your patching journey today and transform your everyday items into extraordinary pieces. For more ideas and resources, visit Gem Punch’s blog.

Frequently Asked Questions

Can I remove embroidered patches later?

Yes, sew-on patches can be easily removed. For iron-on patches, heating and peeling them off is possible, though it may leave residue.

What fabrics work best with patches?

Fabrics like cotton, denim, and canvas hold patches securely.

Can I wash bags with patches in a machine?

Yes, but use a gentle cycle and avoid high heat to protect the patches.

Are iron-on patches permanent?

They are semi-permanent and may require re-ironing or sewing for long-term durability.

Can I layer patches on top of each other?

Absolutely! Layering can create a dynamic and textured look.

Embroidered Cap Patch

DIY Storage Solutions for Organizing Embroidered Patches

Embroidered patches are more than just accessories; they are memories, collectibles, or even a means of self-expression. However, without proper storage, your patches can become misplaced, damaged, or lose their vibrant appearance. With a little creativity and effort, you can create DIY storage solutions that are cost-effective, functional, and tailored to your needs.

Choosing the Right Storage Solution

Before diving into the DIY process, consider the specific requirements of your patch collection. Ask yourself:

  • How many patches do I have? Larger collections may require more comprehensive solutions.
  • What are their sizes and shapes? Uniform patches can be stored differently than irregularly shaped ones.
  • Do I need accessibility or display options? Some patches may be best showcased, while others are stored out of sight.

With these factors in mind, you can choose a solution that meets your needs while ensuring the longevity of your patches.Embroidered Cap Patch

DIY Storage Options

Using a Photo Album for Patches

A photo album can be a simple yet effective way to organize your embroidered patches.

  1. Choose the right album: Look for albums with acid-free sleeves to prevent damage over time.
  2. Insert patches: Place each patch in a sleeve, arranging them by theme, size, or any preferred method.
  3. Label pages: Use sticky notes or small labels to categorize your patches for easy identification.

Binder with Plastic Sleeves

Binders with plastic pocket sleeves offer a versatile storage solution:

  • Gather materials: You’ll need a sturdy binder, plastic sleeves (such as those for trading cards), and labels.
  • Organize patches: Insert patches into the pockets, grouping them by category.
  • Label sections: Use dividers or tabs to separate different themes or types of patches. This method is ideal for patch collections you frequently add to or reorganize.

Shadow Boxes for Display and Storage

Shadow boxes serve as both storage and decoration:

  1. Prepare the box: Purchase a shadow box with a glass front for protection.
  2. Arrange patches: Pin or Velcro patches inside, creating a visually appealing layout.
  3. Mount the box: Hang the shadow box on a wall to display your collection while keeping it safe from dust and handling.

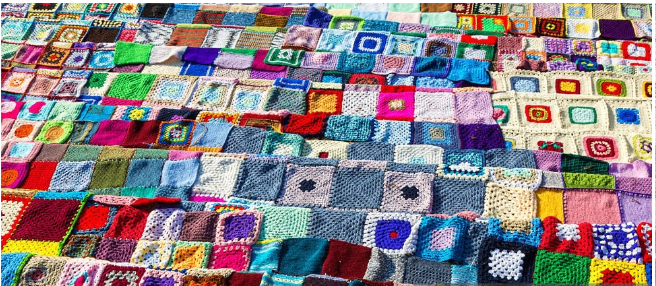
A vibrant collection of colorful embroidered patches arranged in a mosaic-like pattern

Repurposing Everyday Items for Patch Storage

Mason Jars for a Rustic Touch

Smaller patches can be neatly stored in mason jars:

  • Clean the jars: Wash and dry them thoroughly to prevent any residue.
  • Organize patches: Fold or stack patches neatly inside.
  • Label jars: Use decorative labels or tags to identify the contents. This option is excellent for both storage and decoration in a craft or sewing room.

Hanging Patches on Cork Boards

A corkboard is a fantastic way to keep patches accessible:

  1. Set up the board: Hang a corkboard on your wall or place it on a flat surface.
  2. Pin patches: Use push pins to attach patches without damaging them.
  3. Protect from dust: Cover the board with a clear plastic sheet if necessary. This method combines organization with easy access.

DIY Fabric or Felt Organizers

For a personalized touch, make your own patch organizer using fabric or felt:

  1. Gather supplies: Choose a sturdy fabric or felt, scissors, and glue or sewing materials.
  2. Create pockets: Cut and sew small pockets onto the fabric to hold individual patches.
  3. Hang or fold: Attach the organizer to a hanger or fold it neatly for compact storage.

 collection of intricately patterned embroidered patches featuring floral and geometric designs in vibrant colors

Storage Tips for Longevity

To ensure your patches remain in pristine condition:

  • Avoid direct sunlight: Prolonged exposure can cause fading.
  • Keep away from humidity: Store patches in a dry environment to prevent mold and mildew.
  • Clean patches before storage: Remove dirt or oils to avoid staining.
  • Check periodically: Inspect stored patches for signs of damage or wear.

Customizing Your Storage for a Personal Touch

Add a dash of creativity to your storage solutions:

  • Decorate your storage containers: Paint jars, personalize binder covers, or embellish fabric organizers with patches of your own.
  • Add labels: Use colorful tags or stickers to make storage easier and more enjoyable.
  • Involve your personality: Reflect your unique style in your storage choices, making them as memorable as the patches themselves.

Conclusion

Storing embroidered patches doesn’t have to be complicated or expensive. With these DIY solutions, you can maintain your collection organized, protected, and ready to enjoy or display. Whether you choose practical binders, charming mason jars, or artistic shadow boxes, your patches will be safe and beautifully organized for years to come.

Frequently Asked Questions

  1. What materials are best for long-term patch storage?
    Acid-free materials and breathable fabrics are ideal to prevent discoloration and damage.
  2. Can I store patches in airtight containers?
    Yes, but ensure they are completely dry to avoid trapping moisture, which can lead to mold.
  3. How do I protect patches from fading while displaying them?
    Use UV-resistant glass or store them away from direct sunlight.
  4. What’s the best way to organize patches by category?
    Use labeled binders, dividers, or categorized sections in your chosen storage method.
  5. Are there any eco-friendly DIY storage options for patches?
    Yes, repurpose old materials like shoe boxes, fabric scraps, or mason jars to create sustainable storage solutions.
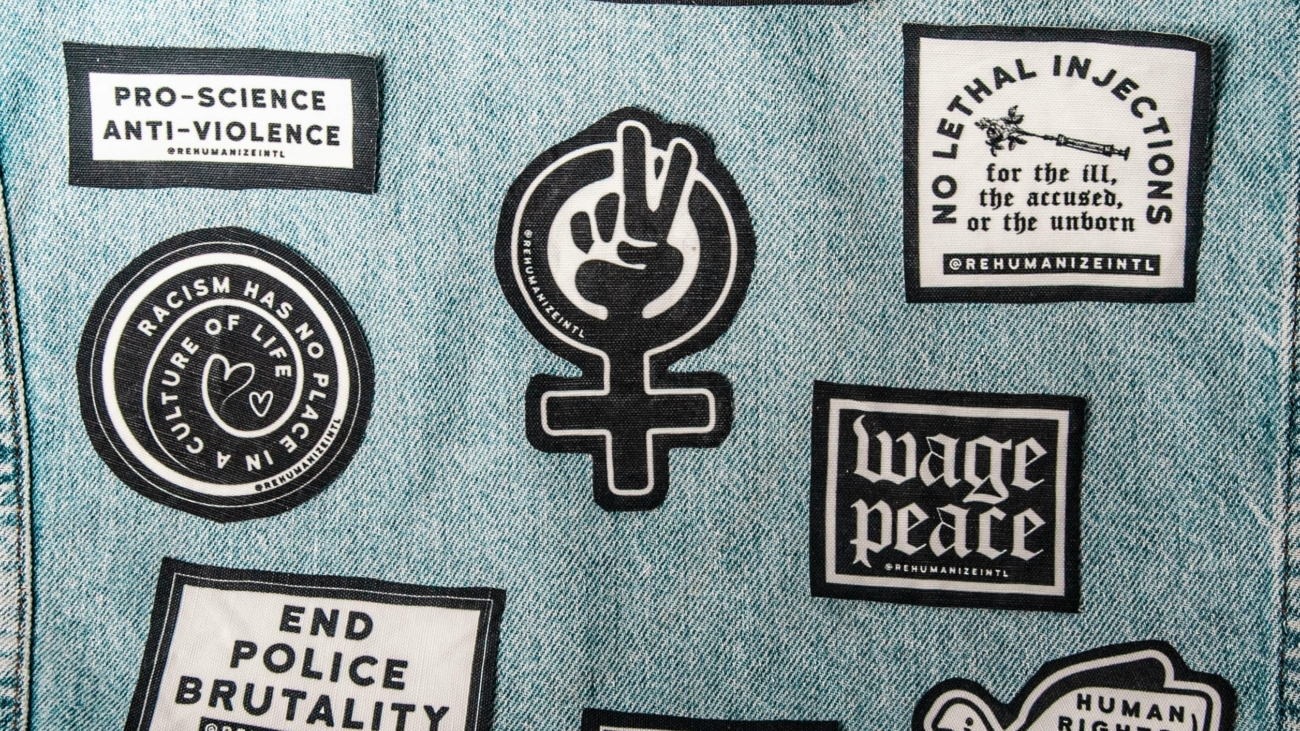
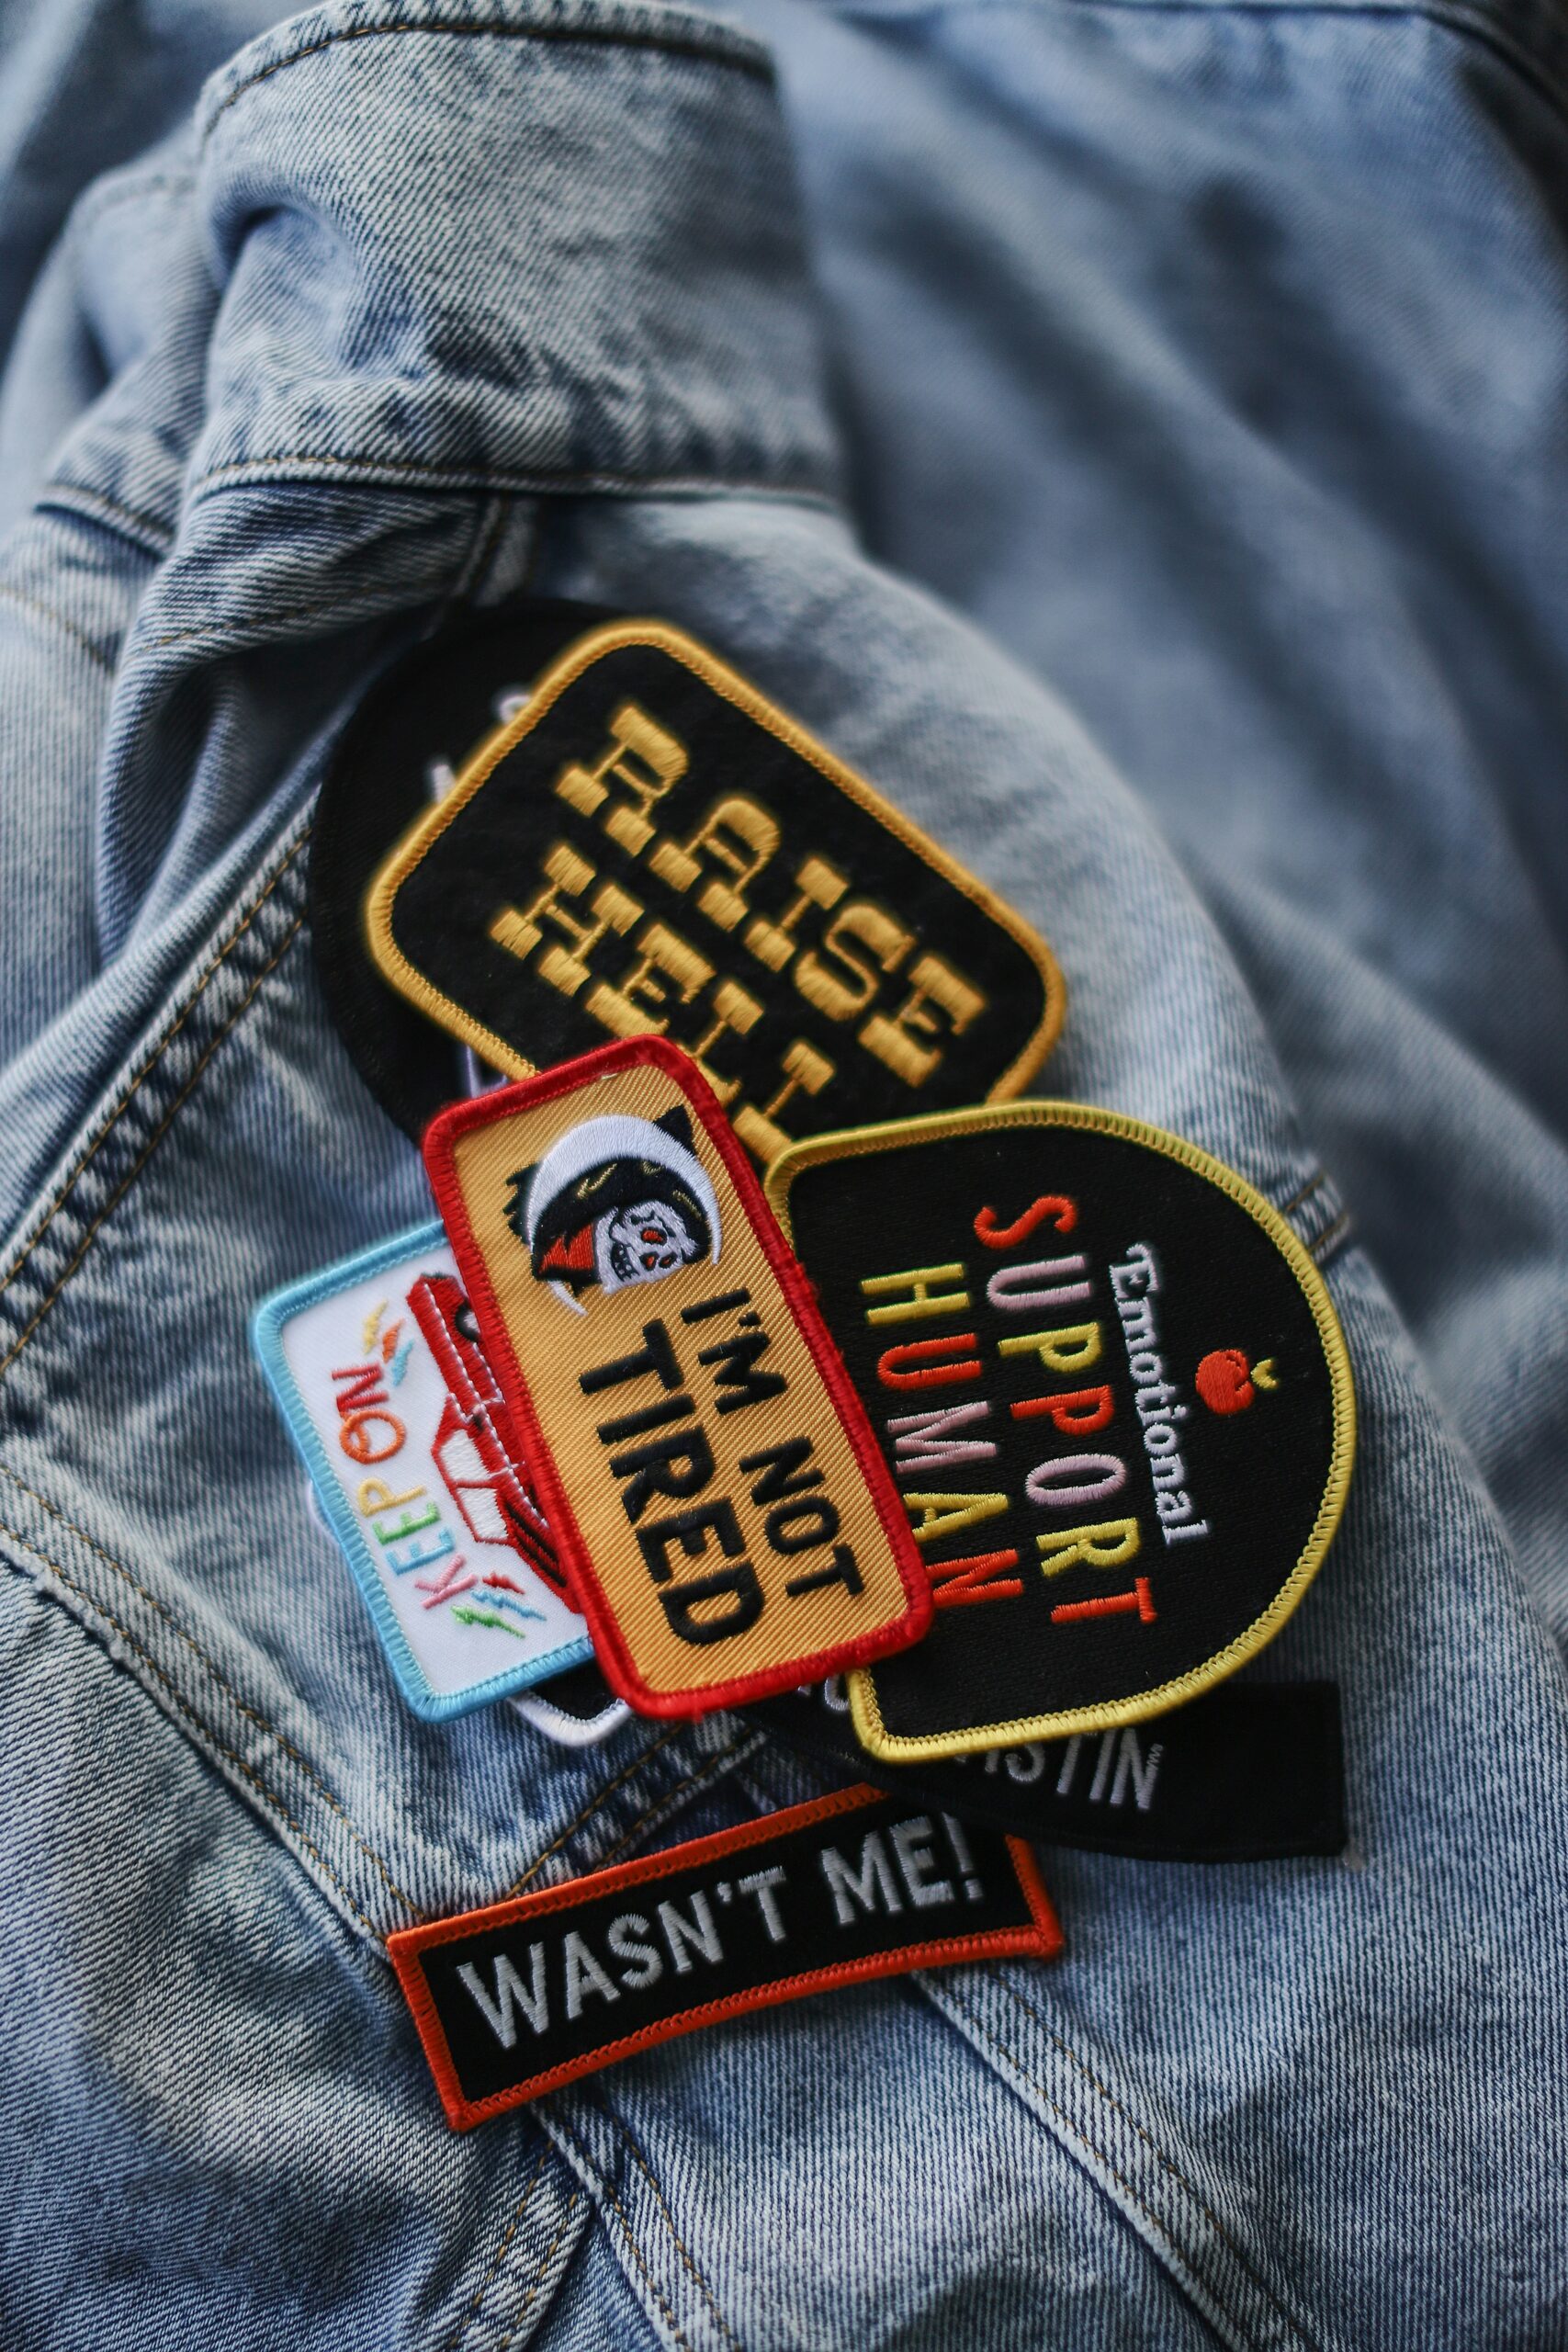
A close-up image of denim fabric featuring multiple black-and-white patches with social justice messages

Maintaining the Longevity of Your Embroidered Patches: Dos and Don’ts

Introduction

Embroidered patches add a unique touch to clothing, bags, and accessories, offering a blend of personal style and practicality. For inspiration on designing custom patches, check out this guide on embroidery design trends. However, for Maintaining the Longevity of Your Embroidered Patches, proper care is crucial. This guide delves into the dos and don’ts of maintaining embroidered patches, helping you keep them looking pristine for years to come.

A close-up image of denim fabric featuring multiple black-and-white patches with social justice messages

Why Proper Maintenance Matters

Embroidered patches are often more than just decorative elements; they can carry sentimental value or represent affiliations and achievements. Neglecting their care can lead to fading, fraying, or detachment, diminishing both their aesthetic and functional appeal. If you’re interested in extending the life of your embroidery, read our post on sustainable embroidery care. Learn more about proper maintenance tips at Gem Punch’s blog.

Common Mistakes That Shorten the Life of Embroidered Patches

Using Harsh Cleaning Agents

Bleach and strong detergents can weaken the threads and fade the colors of embroidered patches.

Ignoring Attachment Type

Not all patches are created equal—iron-on, sew-on, and adhesive patches each require specific care methods. Ignoring these differences can lead to damage or detachment.

Improper Storage and Organization

Leaving patches exposed to moisture, excessive heat, or direct sunlight can degrade their quality over time.

The Dos of Maintaining Embroidered Patches

Gentle Cleaning Techniques

Handwash garments with embroidered patches using a mild detergent. If machine washing is necessary, turn the item inside out and use a gentle cycle.

Securing Loose Edges

Inspect patches regularly for loose edges or stitches. Secure them with matching thread or fabric glue to prevent further unraveling.

Protecting During Washing

Place items with patches in a laundry bag to minimize abrasion and keep patches intact. You can find recommended tools at Gem Punch.

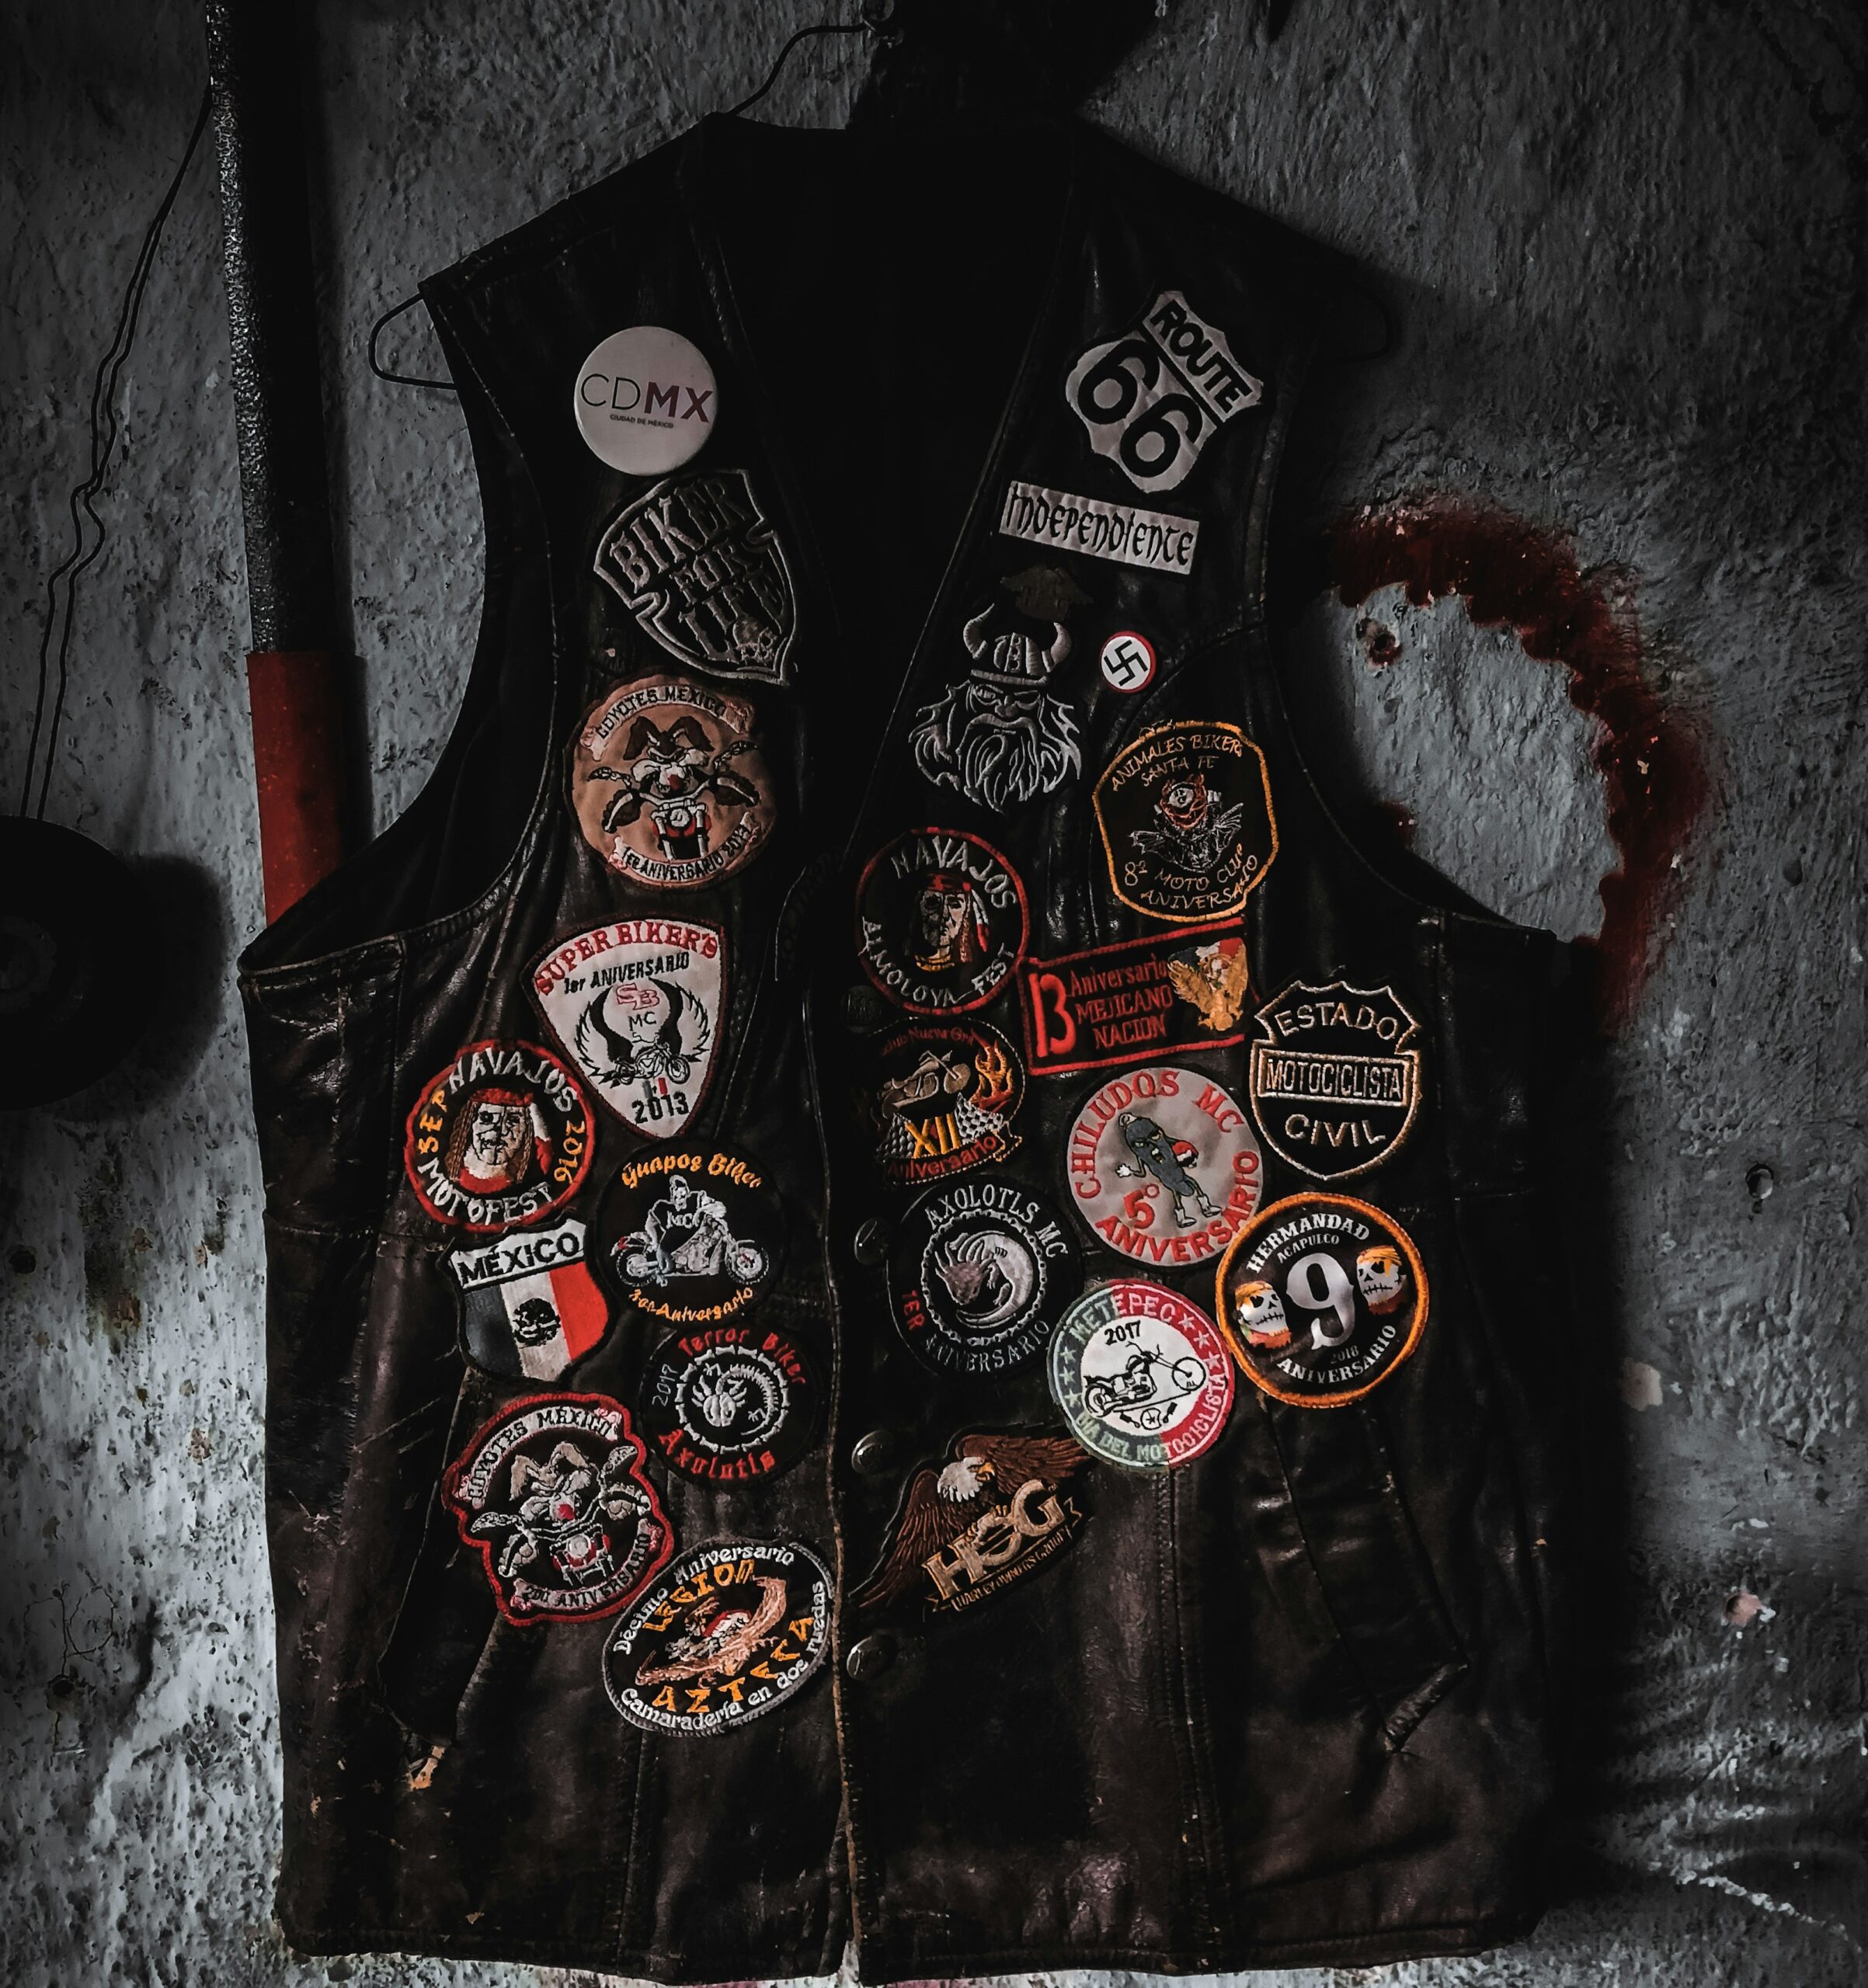
A black leather biker vest adorned with a variety of colorful embroidered patches

The Don’ts of Maintaining Embroidered Patches

Avoid High Heat

Never expose embroidered patches to high heat from irons or dryers unless specified by the manufacturer. Excessive heat can melt adhesive backings or distort the threads.

Don’t Over wash

Frequent washing can wear down patches and the surrounding fabric. Spot clean when possible to extend their lifespan.

Skip Rough Surfaces

Avoid placing patches on surfaces prone to snagging or tearing, as this can fray the threads.

Specialized Care Tips for Different Types of Patches

Iron-On Patches

Avoid over washing to preserve the adhesive backing. When reattaching, use a pressing cloth and follow the original application instructions.

Sew-On Patches

Reinforce stitching periodically to keep the patch secure. Opt for a needle and thread color that matches the patch for a clean look.

Adhesive Patches

Ensure the surface is clean before applying. Avoid washing or exposing these patches to water unless they are labeled waterproof.

Tools and Products to Simplify Patch Maintenance

  • Fabric Glue: For quick fixes on loose edges.
  • Pressing Cloths: To protect patches when ironing.
  • Laundry Bags: Ideal for washing garments with multiple patches.

DIY Fixes for Patch Damage

Loose Threads

Use embroidery scissors to trim loose threads neatly. Reinforce with matching thread and a fine needle if necessary.

Detached Patches

Reattach iron-on patches with a hot iron and pressing cloth or sew them back on using a simple running stitch.

When to Seek Professional Help

For intricate patches or those with significant damage, professional restoration services can help preserve their integrity and appearance. Find trusted services recommended by Gem Punch.

Patches on a jacket

Sustainable Practices for Patch Care

Eco-Friendly Cleaning

Use biodegradable detergents and wash embroidered items sparingly to conserve water. Read more sustainable cleaning tips.

Prolonging Patch Life

Handle patches with care to reduce wear and tear, minimizing the need for replacements.

Benefits of Proper Patch Maintenance

Taking good care of embroidered patches enhances their durability, keeps their colors vibrant, and maintains their significance as personal or organizational symbols. Proper maintenance also ensures that they continue to elevate your style or convey your message effectively.

Conclusion

By adhering to the dos and don’ts of embroidered patch care, you can keep these decorative elements looking sharp and intact for years. Consistent maintenance not only preserves their appearance but also upholds their value and meaning.

Frequently Asked Questions

Can embroidered patches withstand machine washing?

Use a gentle cycle and turn garments inside out to minimize damage. Place them in a laundry bag for added protection.

How do I reattach a loose iron-on patch?

Use a pressing cloth and a hot iron, applying pressure evenly to re-secure the adhesive.

What’s the best way to store unused patches?

Keep them flat in a dry, cool place, away from direct sunlight and moisture.

Are adhesive patches reusable?

Most adhesive patches are not designed for reuse. If removal is necessary, consider sewing them on for a permanent fix.

Can embroidered patches fade over time?

Yes, exposure to sunlight, harsh detergents, or frequent washing can cause fading. Proper care minimizes this risk.

The Role of AI in Patch Production

Revolutionizing Patch Production: The Impact of AI and 3D Printing

Introduction

In recent years, the manufacturing sector has witnessed a paradigm shift with the advent of technologies such as Artificial Intelligence (AI) and 3D patches. These technologies are not just transforming large-scale manufacturing processes but are also making significant inroads into niche areas like patch production. This blog explores how AI and 3D printing are revolutionizing patch production, enhancing customization, reducing costs, and speeding up production times.

The Role of AI in Patch Production

Streamlining Design Processes

AI algorithms are playing a crucial role in automating design processes in patch production. By utilizing AI-driven software, designers can create intricate and detailed patch designs more quickly and accurately. AI helps in predicting design trends and customer preferences, which can be incorporated into the design process to create patches that are more likely to appeal to target markets.

Quality Control and Optimization

AI systems analyze data from the production process to ensure quality and consistency in patch manufacturing. They can detect anomalies and defects that might be missed by human inspectors. Additionally, AI can optimize the use of materials, reducing waste and ensuring that resources are used efficiently.

AI and 3d patches Production

Advancements in 3D Printing of Patches

Customization at Scale

3D printing technology has opened up new possibilities for customization in patch production. With 3D printers, manufacturers can produce patches that are tailored to individual specifications without the need for expensive molding tools. This is particularly advantageous for small batches of custom patches, making it economically viable to offer personalized products.

Material Innovation

3D printing also allows for the use of a wider range of materials in patch production, including various types of plastics, metals, and even composite materials. This material flexibility enables the production of patches that are not only visually appealing but also functional with enhanced durability and wear resistance.

Integration of AI and 3D Printing

Seamless Production Workflow

The integration of AI with 3D printing technologies creates a seamless workflow in patch production. AI algorithms can directly communicate design specifications to 3D printers, further streamlining the manufacturing process. This integration reduces the time from design to production, enabling faster turnaround times for custom orders.

Cost-Effective Manufacturing

AI and 3D printing help in reducing the overall cost of patch production. By minimizing human error, reducing waste, and speeding up the design-to-production timeline, these technologies ensure that patch production is not only faster but also more cost-efficient.

Patches

Future Prospects

Sustainable Practices

Looking ahead, AI and 3D printing are set to lead the way in promoting sustainability in patch production. These technologies can optimize energy use and reduce material waste, contributing to more environmentally friendly manufacturing practices.

Expansion into New Markets

As these technologies become more accessible and cost-effective, small and medium-sized enterprises (SMEs) are likely to adopt them, leading to innovation and expansion into new markets. This could redefine competitive dynamics in the patch production industry.

Conclusion

AI and 3D printing are significantly altering the landscape of patch production. These technologies not only enhance efficiency and customization but also promise a future where patch production is more sustainable and innovative. As we continue to embrace these advancements, the patch production industry is set to evolve in exciting new directions, offering immense opportunities for businesses and consumers alike.

Frequently Asked Questions

What is AI and how does it impact patch production at GemPunch?

Artificial Intelligence (AI) is a technology that enables machines to simulate human intelligence processes. At GemPunch, AI transforms patch production by automating design processes, enhancing customization, and ensuring quality control, making our operations more efficient and our products more consistent.

How does 3D printing change the way patches are manufactured?

3D printing allows for the layer-by-layer construction of objects from various materials. This technology revolutionizes patch production at GemPunch by enabling rapid prototyping and customization without the need for expensive tooling. It allows us to create detailed, durable patches with a high degree of design flexibility.

Can I order custom patches made with AI and 3D printing technologies?

Absolutely! GemPunch specializes in custom patches designed using AI and manufactured with 3D printing to meet specific customer requirements.

What materials are used in 3D printing patches at GemPunch?

We utilize a variety of materials in our 3D printing processes, including advanced plastics and composites that ensure durability and aesthetic appeal. Each material is selected based on its properties to best suit the needs of the patch design and its intended use.

Is the production process environmentally friendly?

At GemPunch, we are committed to sustainability. Our AI and 3D printing technologies minimize waste and optimize material usage, which are part of our broader efforts to reduce our environmental footprint.

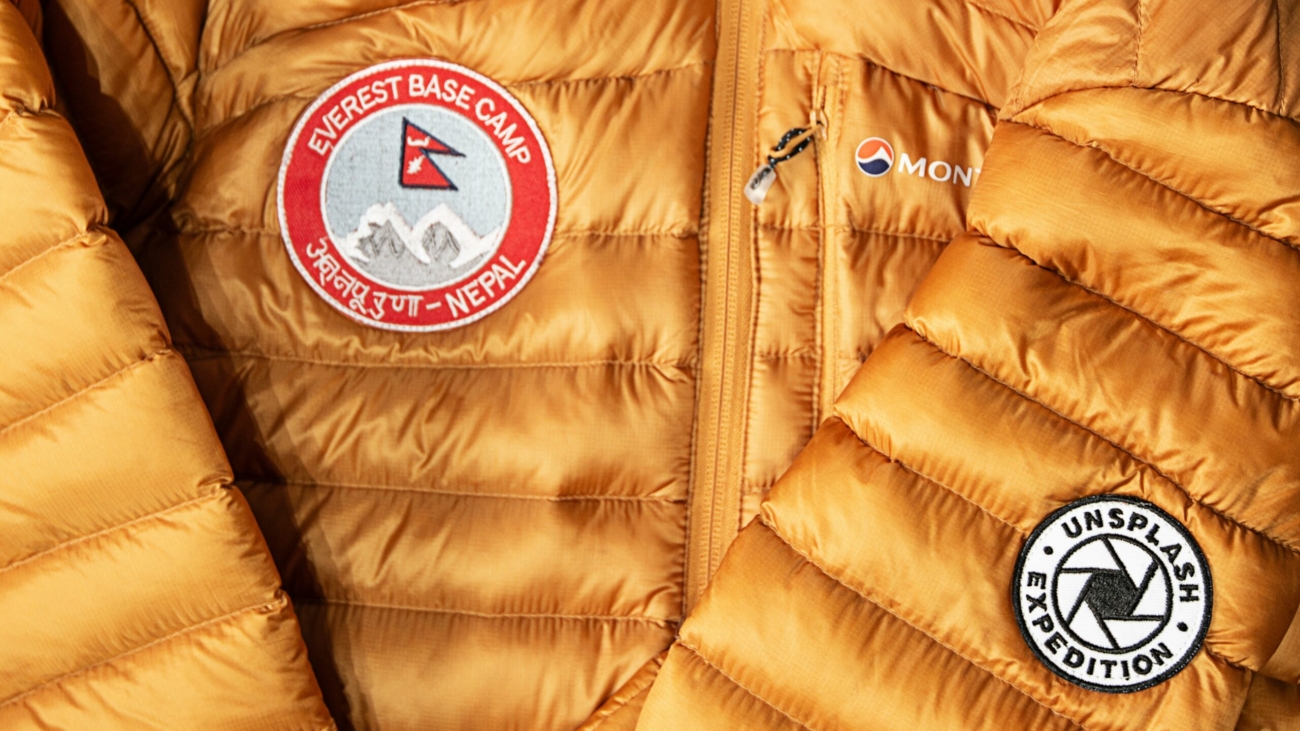
Everest Base Camp Jacket with Patches

Discover the Versatility of Custom Patches: 10 Innovative Uses for Everyday Life

Versatility of Custom Patches is not just a staple for uniforms; they’re a versatile tool for expressing individuality, enhancing style, and adding functionality to everyday items. Whether you’re aiming to personalize your wardrobe or add a distinctive touch to your home décor, custom patches provide endless possibilities.

Here are ten innovative ways to use custom patches in your daily life:

  1. Fashion Forward: Transforming Apparel

Redefining Style

Elevate your fashion game by adding custom patches to jackets, jeans, or hats. This simple addition can breathe new life into wardrobe staples or help you stand out with a unique piece that showcases your personality.

Everest Base Camp Jacket with Patches

Mending with Style

Ways to use custom patches to cleverly cover up tears or stains, extending the life of your favorite garments while adding a touch of flair.

  1. Accessorize with Flair: Customizing Gear

Bags and Totes

Make your carryalls truly your own by adorning them with patches that reflect your interests or aesthetic preferences.

Caps and Scarves

Inject some personality into everyday accessories like hats and scarves by attaching thematic or colorful patches.

Backpack with a patch on it

  1. Home Sweet Home: Décor Ideas

Pillows and Throws

Incorporate patches into your living space by customizing throw pillows and blankets, adding a personal touch that complements your interior design.

Quilted Memories

Celebrate milestones and memories by adding commemorative patches to quilts or wall hangings, creating lasting heirlooms.

  1. Celebrations: Personalized Party Accents

Weddings and Events

Integrate custom patches into your event décor for a personalized touch that guests will remember—from bridal accessories to party favors.

Unique Favors

Offer custom patches as memorable favors at gatherings, allowing guests to take home a piece of the celebration.

  1. Professional and Promotional: Branding Tools

Corporate Identity

Strengthen your business’s brand identity with professionally designed patches for employee uniforms or promotional apparel.

Creative Merchandise

Enable fans to show their support with custom patches as part of your merchandising strategy, perfect for bands, artists, and influencers.

  1. Educational Enhancements: Fun Learning Tools

Interactive Learning

Utilize patches featuring educational motifs like alphabets or historical icons to engage young learners in a tactile experience.

School Pride

Foster school spirit by creating patches for school clubs, teams, or uniforms, building a sense of community and pride.

  1. Tech Savvy: Gadget Customization

Laptop and Tech Gear

Decorate your tech accessories with patches to not only make them visually appealing but also easy to identify.

Photography Gear

Personalize your camera gear with patches that echo your photography style or destinations you’ve captured.

Patches on a Jacket

  1. Active Lifestyle: Sporting Solutions

Team Spirit

Unite sports teams with custom patches on their uniforms, promoting team identity and solidarity.

Adventure Awaits

Customize your outdoor equipment with patches that tell the story of your adventures or affiliations with nature and adventure clubs.

  1. Artistic Outlet: Crafty Creations

Patchwork Art

Create art pieces by assembling various patches into a tapestry or frame able art, showcasing your creative skills.

Gift Giving

Design unique patches as gifts, offering a personalized touch for friends and family that they can use in their own way.

  1. On the Road: Vehicle Customization

Motorcycle and Biking Gear

Display your affiliations or personal style on your motorcycle jackets or bike gear with rugged, stylish patches.

Car Enthusiasts

Adorn car interiors or gear with patches that reflect your automotive interests or club memberships.

Custom patches offer a unique blend of style, practicality, and personal expression. Whether you’re looking to add a personal touch to your items or seeking a creative outlet, GemPunch is your go-to for high-quality, customizable patches that fit every facet of your life.


Frequentl Asked Questions

1: How do I apply a custom patch to my clothing?

Answer: Custom patches can be applied in several ways, depending on the type of patch and the fabric of the clothing. Iron-on patches are the most convenient, as they can be attached by placing the patch on the desired spot, covering it with a cloth, and pressing it with a hot iron for about 30 seconds. Sew-on patches require a needle and thread, and you can stitch them directly onto the fabric for a more durable attachment.

2: Can custom patches be removed without damaging the fabric?

Answer: Yes, most patches can be removed. For iron-on patches, you can gently lift the edges and apply low heat from an iron to soften the adhesive, making it easier to peel off. For sewn-on patches, carefully snip the threads with scissors and remove the stitches. Be cautious to avoid cutting the fabric.

3: Are custom patches machine washable?

Answer: Yes, custom patches are generally machine washable. However, it’s advisable to turn the garment inside out and use a gentle wash cycle. Avoid using high temperatures as they can weaken the adhesive on iron-on patches and cause the patch to peel off.

4: What types of designs can I get on custom patches?

Answer: You can choose from a wide variety of designs for custom patches, including logos, emblems, text, and graphic images. Custom patches can be embroidered, woven, or printed, depending on the detail and colors of your design. If you have a specific design in mind, you can submit it to be transformed into a patch.

5: How long does it take to receive my custom patches after placing an order?

Answer: The production time for custom patches varies depending on the order size and design complexity. Typically, it takes about 2-3 weeks from the time of order to delivery. If you need your patches sooner, some services offer expedited production and shipping for an additional fee.


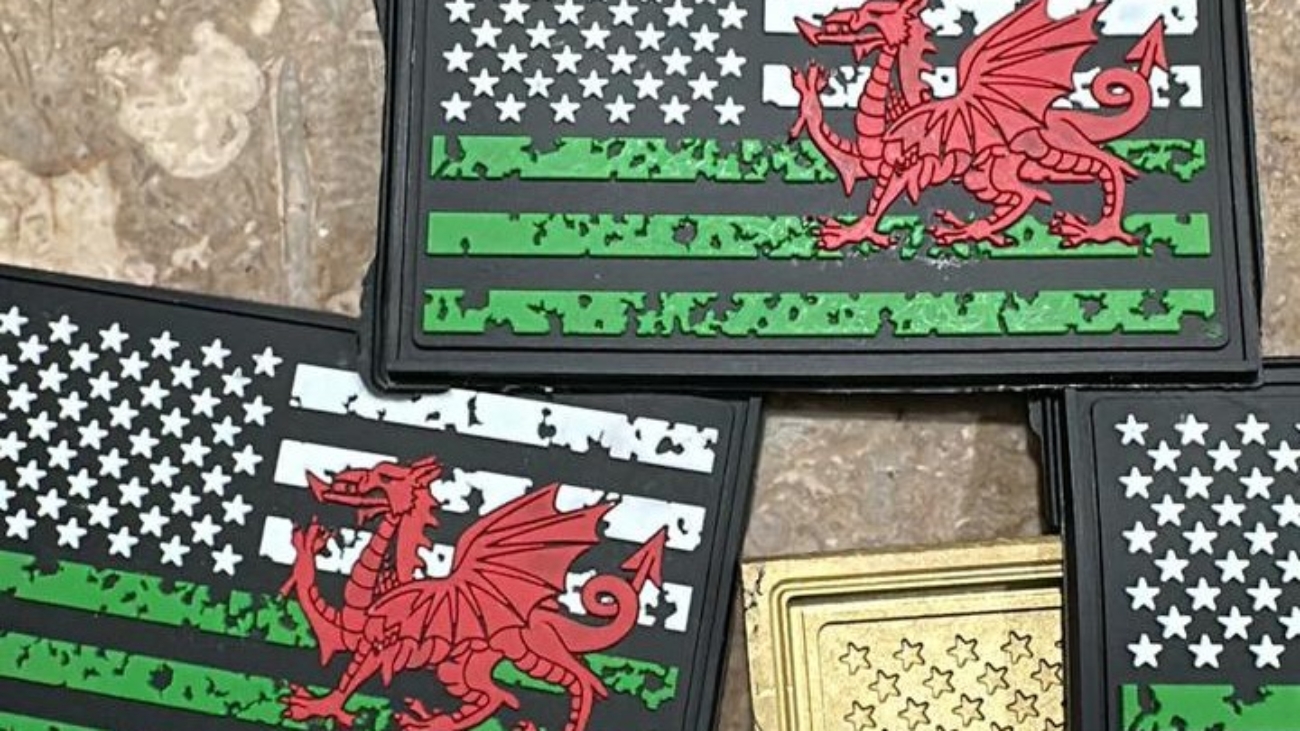
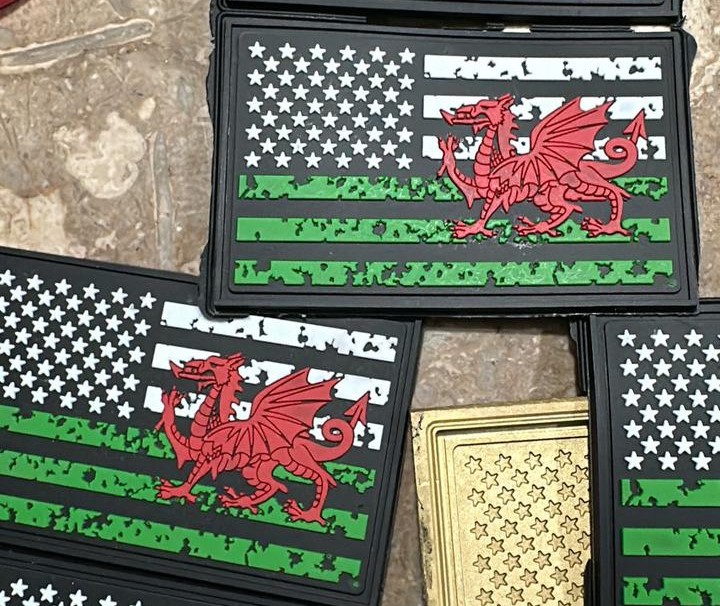
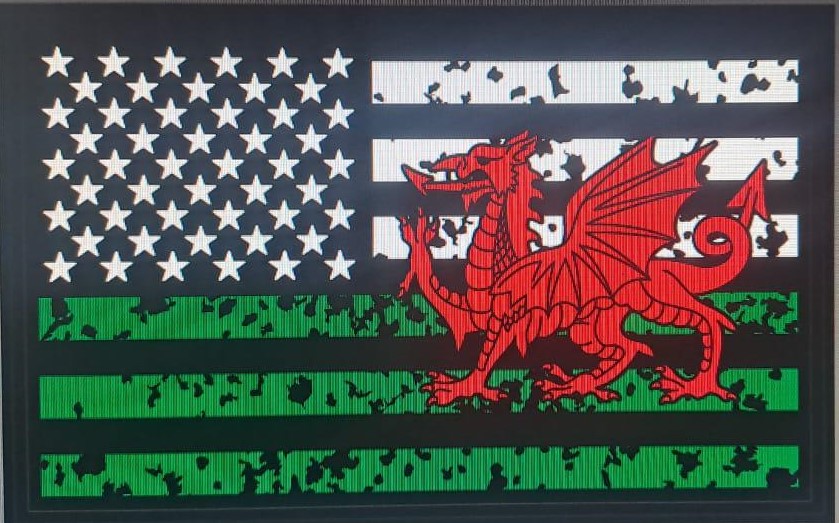
A collection of patches featuring a flag design with green stripes and a red dragon overlay

Why Embroidered Logos are a Game-Changer for Company Uniforms: A GemPunch Perspective

Introduction

At GemPunch, we understand the importance of branding and how every element of a company’s presentation contributes to its public perception. Embroidered logos on company uniforms are a powerful tool for branding, providing a sophisticated touch that enhances professional image and employee pride. This blog explores the various benefits of choosing embroidered logos through the lens of GemPunch’s expertise in custom embroidery solutions.

Logos are Game Changer

Enhancing Brand Image with GemPunch

The Professional Appeal

GemPunch specializes in delivering high-quality embroidered logos that add a touch of class and sophistication to any uniform. This professional appeal is crucial for businesses aiming to establish a serious and reputable brand image in competitive markets.

Consistency Across All Mediums

With GemPunch’s precise embroidery techniques, your brand identity remains consistent across various mediums. Our advanced technology ensures that the logos on uniforms match perfectly with those on other promotional materials, maintaining brand integrity and recognition.

Durability and Longevity

Withstanding the Test of Time

Our embroidered logos at GemPunch are designed to endure. Using top-grade threads and equipment, these logos can withstand frequent washing and the rigors of daily wear without fading or fraying, which is essential for businesses with active or outdoor roles.

Cost-Effectiveness in the Long Run

While the initial cost might be higher than other logo applications, the durability of GemPunch’s embroidered logos means you won’t need to replace them as often. This makes embroidery a cost-effective solution in the long term, reducing the overall expense of uniform renewals.

Boosting Employee Morale

A Sense of Belonging

Uniforms with GemPunch embroidered logos help foster a team environment. When employees wear these uniforms, they feel part of a cohesive group, which can significantly boost morale and productivity.

Pride in Professional Appearance

GemPunch’s attention to detail ensures that each embroidered logo looks impeccable, enhancing employees’ confidence in their professional appearance. This confidence translates into better customer service and improved business outcomes.

Versatility in Design

Multiple Fabric Options

GemPunch offers embroidery services on a wide range of fabrics, making it easy to integrate high-quality logos into any type of uniform, from lightweight shirts to rugged outerwear.

Color and Texture

We provide a vast selection of thread colors to perfectly match your corporate branding. The texture added by embroidery also gives your logo a standout appearance that can make a significant visual impact.

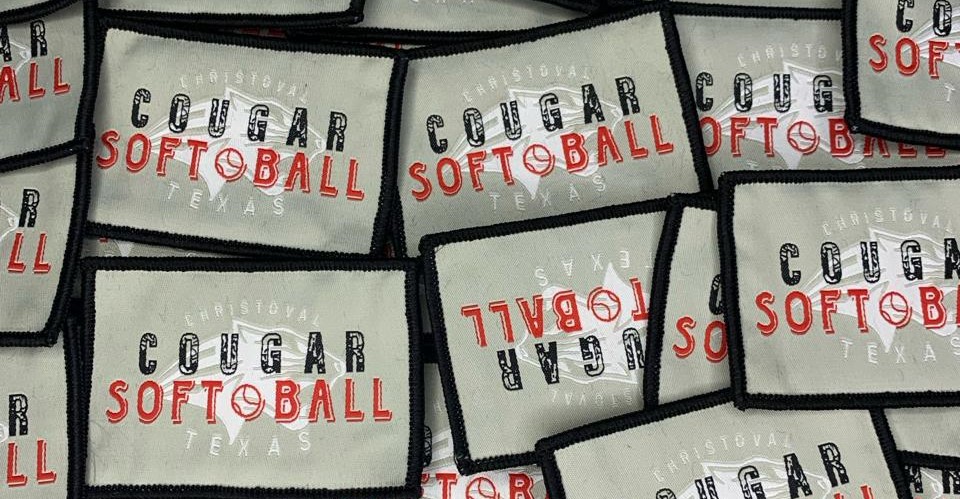
Cougar Softball Christoval Texas Patches Logo

Marketing Value

Walking Advertisements

Employees donned in GemPunch’s embroidered uniforms become ambassadors for your brand, naturally promoting your business wherever they go and helping to attract new customers.

Event Uniformity

For events like trade shows or corporate gatherings, uniforms with GemPunch embroidered logos ensure that your team looks professionally coordinated, which can enhance your company’s image in the eyes of potential clients and partners.

Conclusion

Choosing GemPunch for your embroidered logos means opting for a premium branding solution that offers durability, professionalism, and a strong marketing advantage. As experts in embroidery, we ensure that your company uniforms are not just apparel, but a key part of your branding strategy.

FAQs

How long does GemPunch embroidery last?

Our embroidery is crafted to last as long as the garment itself, ensuring your investment is durable.

What types of garments does GemPunch offer for embroidery?

GemPunch can embroider a variety of garments, including polo shirts, jackets, hats, and corporate wear, all tailored to meet your needs.

Is there a color limit for embroidery at GemPunch?

Our state-of-the-art machines handle multiple colors, allowing for detailed and vibrant representations of your brand logo.

Can embroidered uniforms from GemPunch be machine washed?

Yes, our embroidered uniforms are designed to be machine washable, adhering to care instructions that preserve the integrity of the embroidery.

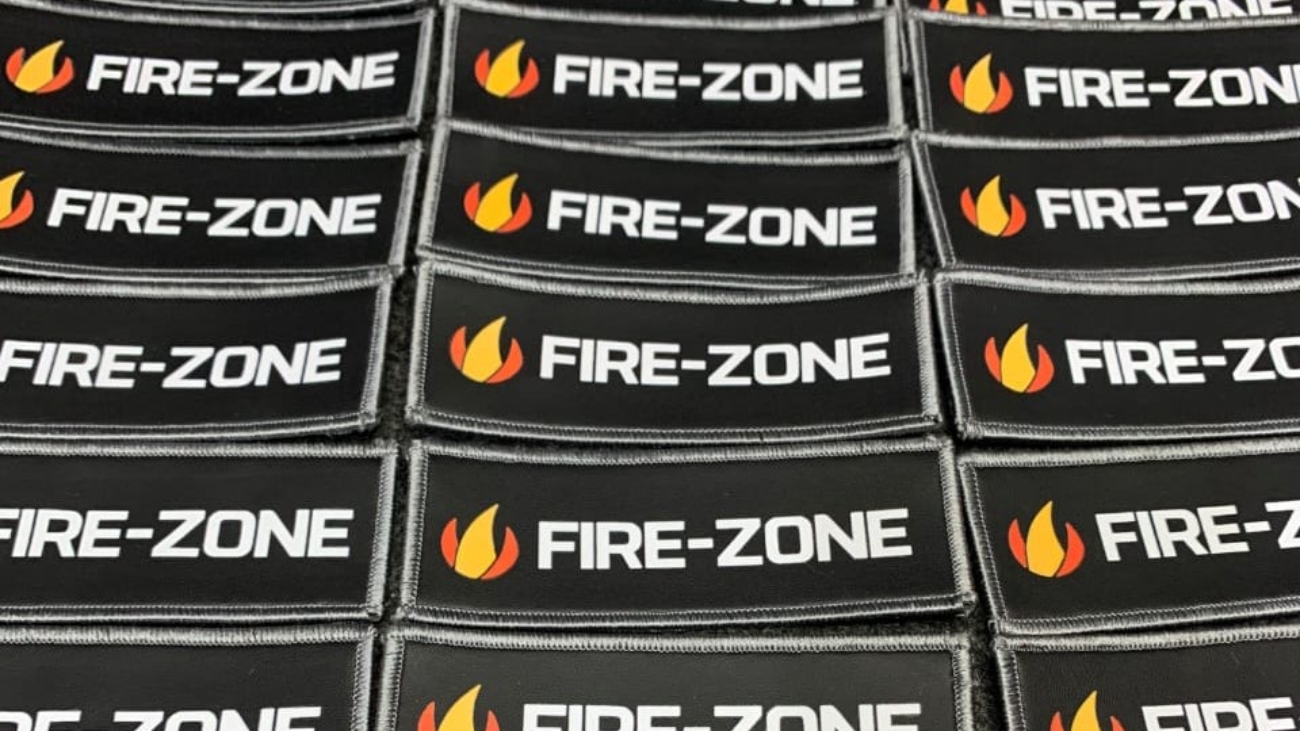
Rectangular patches with a black background displaying the text 'FIRE-ZONE

Tips for Maintaining Embroidered Apparel: Care and Longevity

Embroidered clothing adds a touch of elegance and personality to any wardrobe. Whether it’s an intricately stitched blouse or a personalized hat, proper care is essential to maintain its beauty and durability. This guide will provide comprehensive tips for caring for embroidered apparel, ensuring that your pieces last for years to come.


Understanding Embroidered Apparel

Embroidery is an art form that involves decorative stitching on fabric, creating patterns or images that enhance the garment. There are two main types of embroidery: machine embroidery, which is faster and more uniform, and hand embroidery, known for its unique and delicate finish. Understanding these differences helps tailor your maintenance approach.

Rectangular patches with a black background displaying the text 'FIRE-ZONE

General Maintenance Tips

Handling embroidered garments with care is vital. Always hold them gently to avoid pulling or straining the stitches. Regular care, such as proper washing and storage, extends the garment’s life and preserves its vibrant appearance.


Washing Tips for Embroidered Apparel

Proper washing is one of the most critical aspects of maintaining embroidered clothing. Here’s how to ensure your embroidered pieces remain pristine:


Hand-Washing vs. Machine Washing

Hand-washing is the safest method for cleaning embroidered garments. Use cold water and a mild detergent to gently cleanse the fabric without agitating the threads. If machine washing is necessary, turn the garment inside out, use a mesh laundry bag, and select the delicate cycle with cold water.


Using Mild Detergents

Harsh chemicals can weaken embroidery threads and cause fading. Opt for a gentle, color-safe detergent to prevent damage.


The Importance of Cold Water

Cold water helps retain the vibrant colors of embroidery and minimizes the risk of shrinkage or thread loosening.


Spot Cleaning Techniques

For minor stains, spot cleaning is a great solution. Use a soft cloth or cotton swab dampened with a mild soap solution. Blot the stain gently without rubbing to avoid fraying or loosening stitches. Steer clear of bleach or other harsh chemicals that can degrade the threads.


Drying Tips to Prevent Damage

Air drying is the preferred method for drying embroidered garments. Lay the item flat on a clean, dry towel and gently reshape it while it dries. Avoid direct sunlight to prevent color fading, and never use a tumble dryer as the high heat can shrink or distort the embroidery.

Flag with a red Welsh dragon over black, white, and green stripes

Ironing and Steaming Techniques

Ironing embroidered clothing requires special care to protect the stitches. Use a low-heat setting and place a cloth barrier between the iron and the embroidery. Alternatively, steaming is a gentler option that can help remove wrinkles without direct contact.


Storing Embroidered Apparel

Proper storage is essential to avoid wrinkles and fabric damage. Fold embroidered garments carefully and place acid-free tissue paper between folds to prevent the stitches from being crushed or discolored. Hanging them on padded hangers is another good option for certain items.


Avoiding Moisture Buildup

Moisture can lead to mold or mildew, damaging both the fabric and embroidery. Store garments in a cool, dry place, ideally with silica gel packs to absorb excess moisture.


Managing Wear and Tear

Everyday wear can lead to loose threads and fraying. To minimize damage, avoid overuse and consider rotating your clothing. If threads start to unravel, carefully trim them without pulling and use a clear fabric glue to secure the ends.


Seasonal Maintenance Tips

Summer and winter can present unique challenges for embroidered apparel. During summer, sweat and sun exposure can affect the color and quality of the threads, so wash garments more frequently and store them in shaded areas. In winter, dry air can lead to static, which may cause threads to snap.


Repairing Minor Damage

If you notice minor issues, such as loose or broken threads, simple repairs can be done at home using a needle and matching thread. For significant damage or specialty embroidery, it’s best to seek help from a professional tailor who can restore the garment without risking further damage.


Embroidery-Specific Care Products

Several products can help maintain embroidered apparel. Gentle fabric softeners and color-safe stain removers are great additions to your laundry routine. Specialized embroidery cleaning kits are also available to deep-clean intricate pieces safely.

Embossed brown leather tags reading 'Zolezzi Insurance Agency: A Better Brand of Insurance Service

Long-Term Preservation Strategies

To ensure that your most cherished embroidered garments remain in excellent condition, consider periodic deep cleaning by professionals who specialize in delicate fabrics. This can refresh your clothing and maintain the integrity of the embroidery.


Preventing Color Bleeding Over Time

Testing for colorfastness is crucial when washing embroidered apparel for the first time. Dampen a hidden area of the garment and press it with a white cloth to check if any color transfers. To avoid bleeding, wash similar colors together and use cold water.


Conclusion

Caring for embroidered clothing may require some extra effort, but it’s worth it to maintain the garment’s beauty and longevity. By incorporating these maintenance practices into your routine, you can enjoy your embroidered apparel for years without worrying about fading, fraying, or damage.


Frequently Asked Questions

1. Can you wash embroidered clothes in a washing machine?

Yes, but it’s best to use the delicate cycle, cold water, and place the garment inside a mesh laundry bag.

2. What is the best way to remove stains from embroidered clothes?

Spot clean with a mild soap solution and gently blot the stain without rubbing.

3. How can I prevent embroidery from fraying?

Avoid excessive washing, and trim loose threads carefully without pulling.

4. Is it safe to dry clean embroidered apparel?

For delicate or highly valuable items, professional dry cleaning is advisable to avoid damage.

5. What should I do if the embroidery starts to unravel?

Use a needle and matching thread for small repairs or seek a professional tailor for significant damage.